- Home
- About Us
- Join/Renew
- Member Benefits
- Member Pages
- Log In
- Help
- Museum Store
Home Page › Forums › What did you do with your P-A today? › Arrowlite work
I posted this on the AACA site and then thought I should post it here as well…
While waiting on the engine parts to return I bought a pile of taillight bits that needed some work but were in decent enough for making a set for the right hand as a safety measure. Each bucket needed a little dent removal and one literally had a bullet hole in it… Here’s a couple before and after pictures of the repairs.
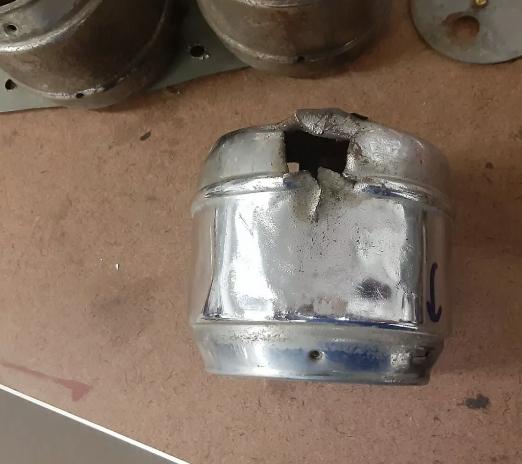
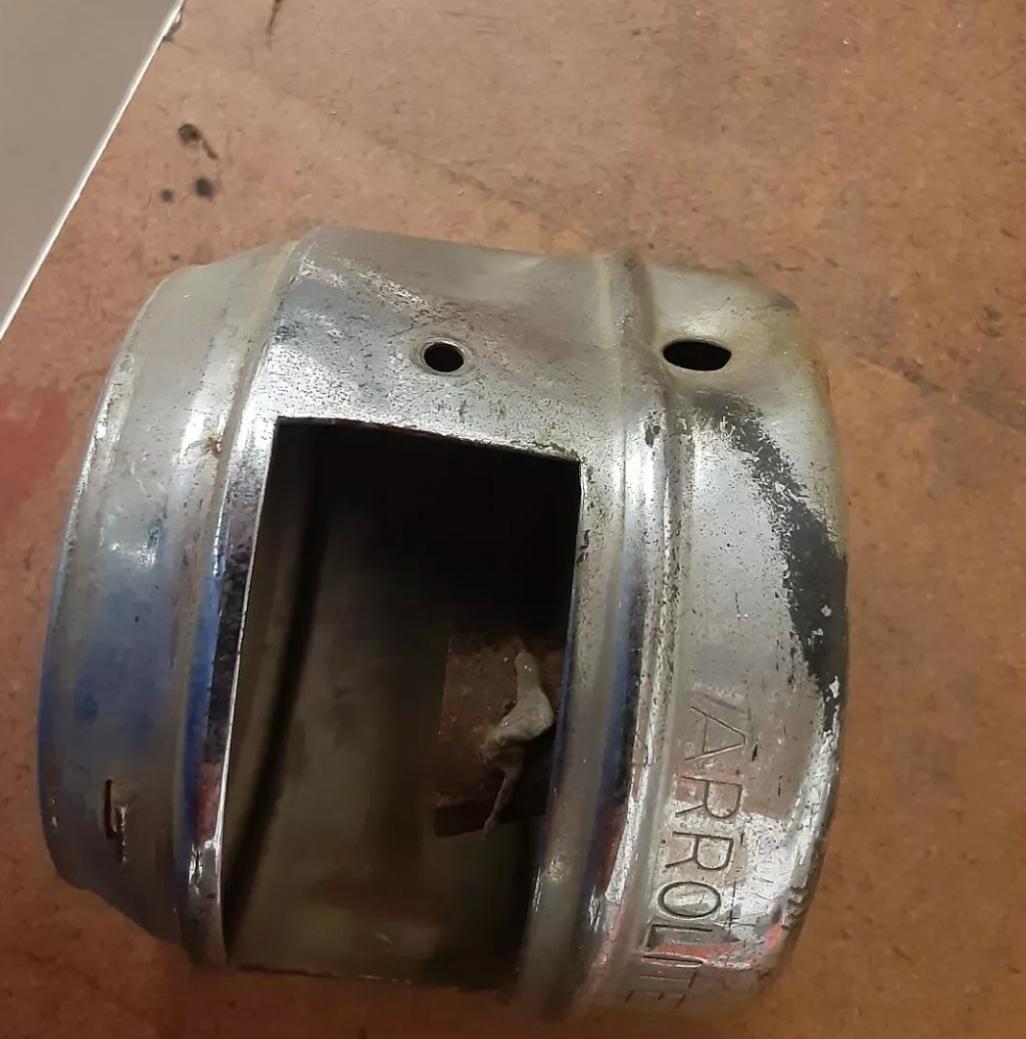
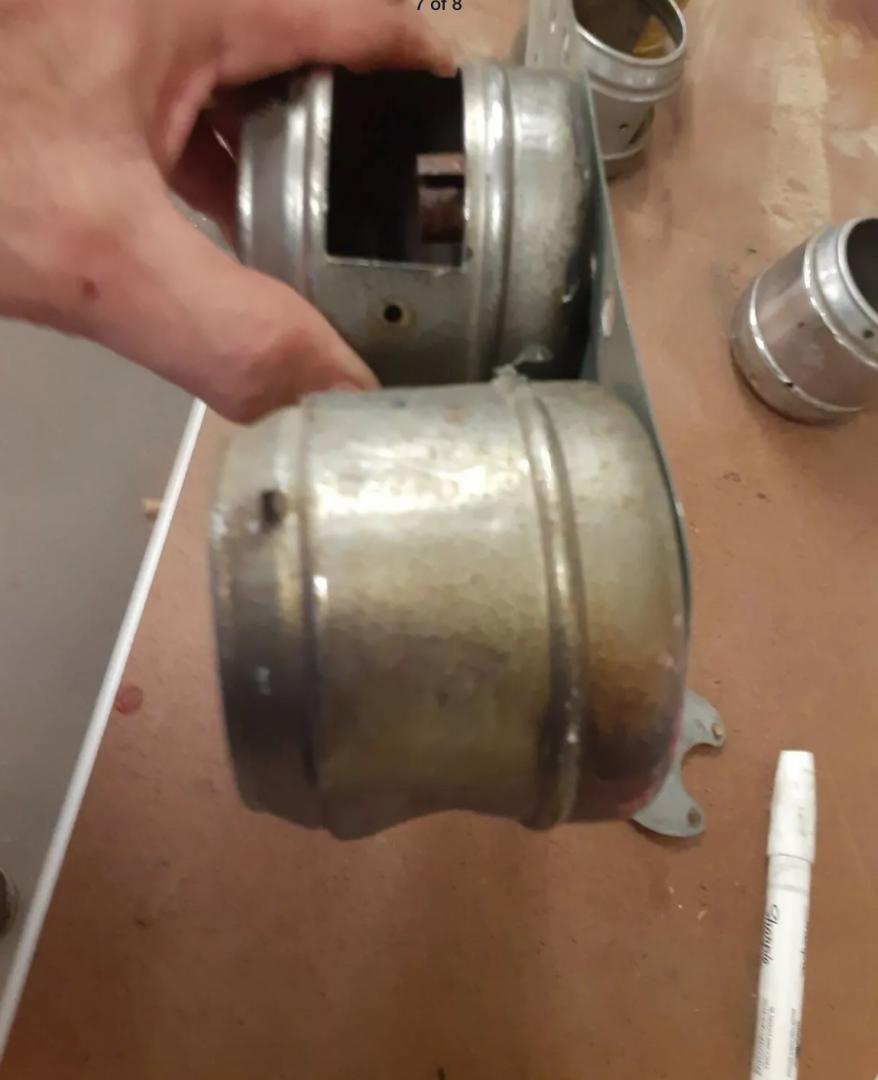
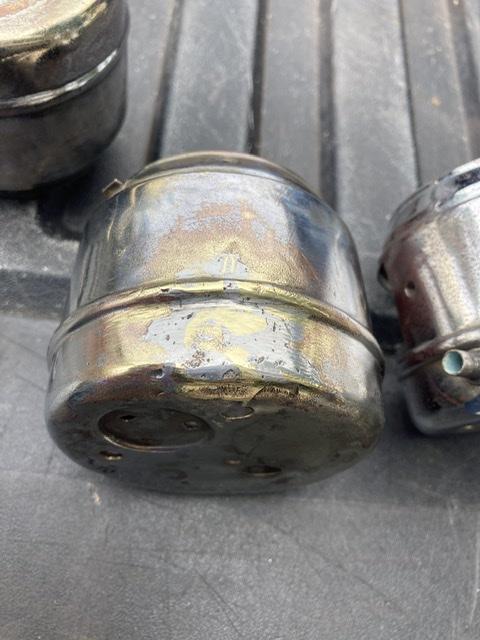
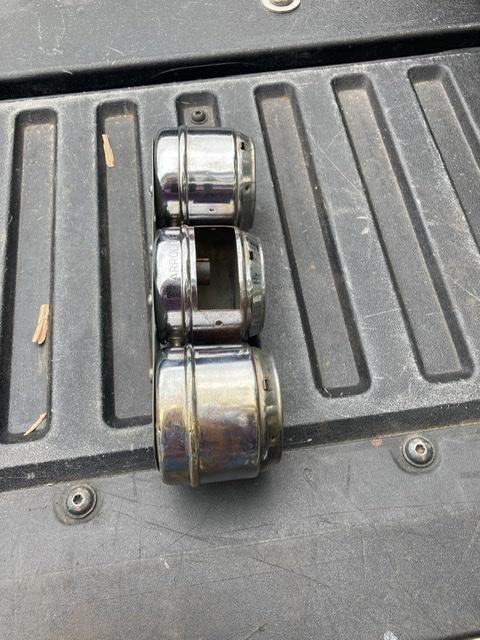
Here are the repairs that were done on the rims. Wherever there is a crack just started there’s a piece of rolled brass wire snuck in behind the lip and soldered in place to keep it from propagating. And wherever they traveled up the edge I made a patch from some soft copper flashing that fit the inside contour and held the cracks shut with a hose clamp while I soldered it in place along with a wire snuck in. Both before and after soldering I also quenched the brass to anneal it and hopefully remove the internal stresses that caused the cracks in the first place.
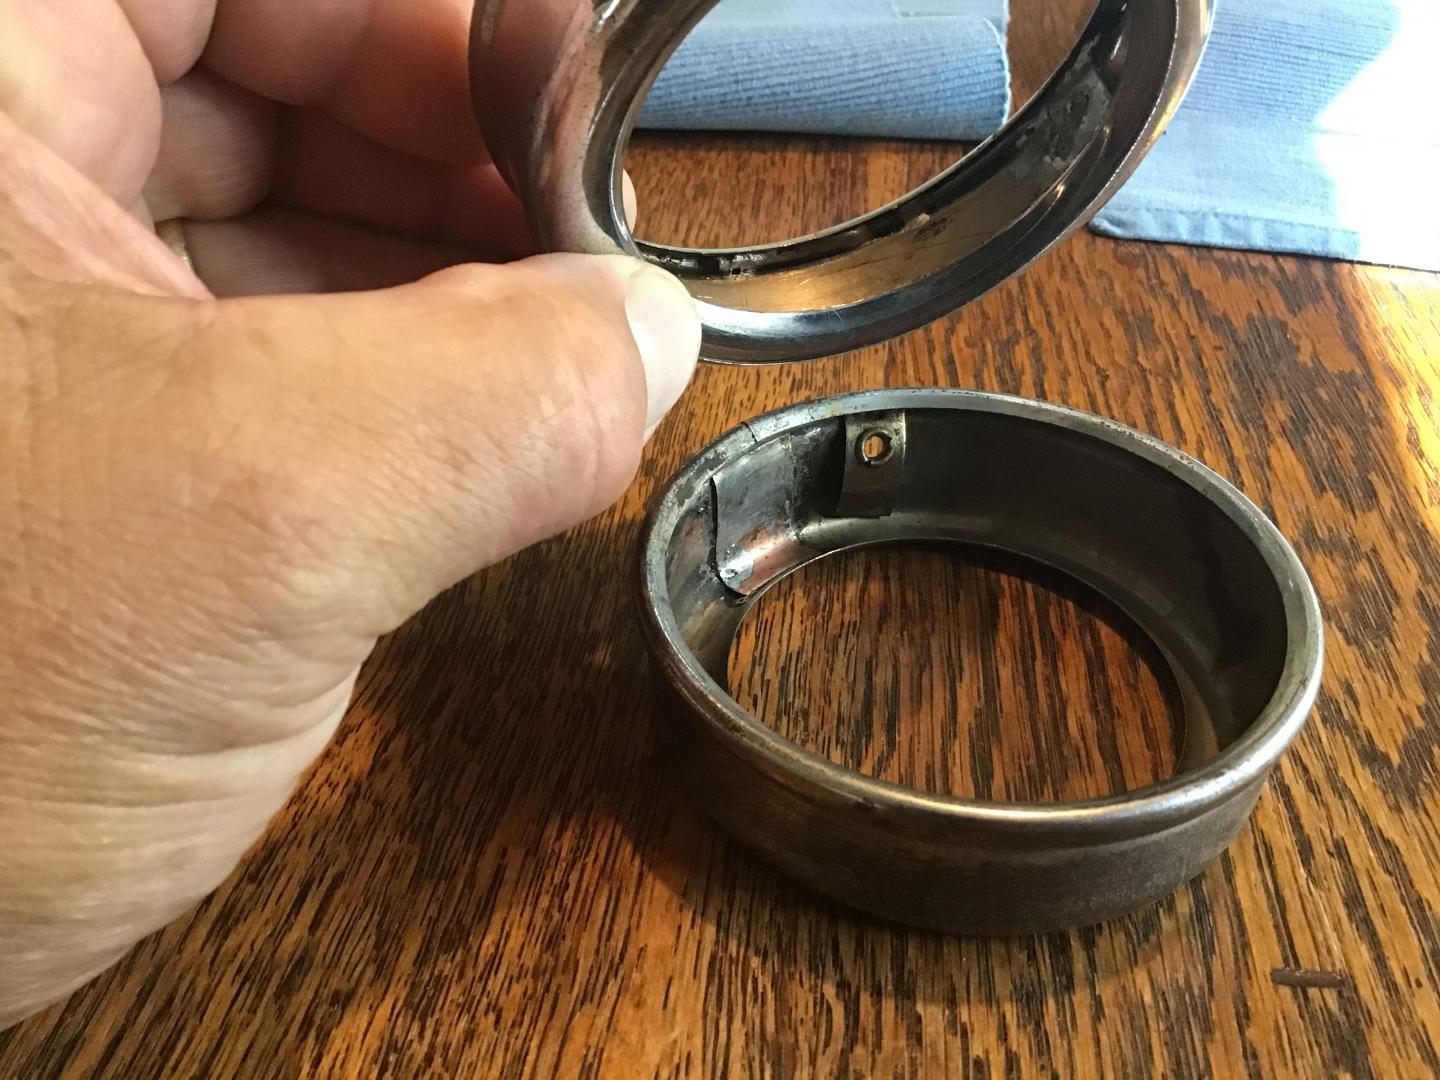
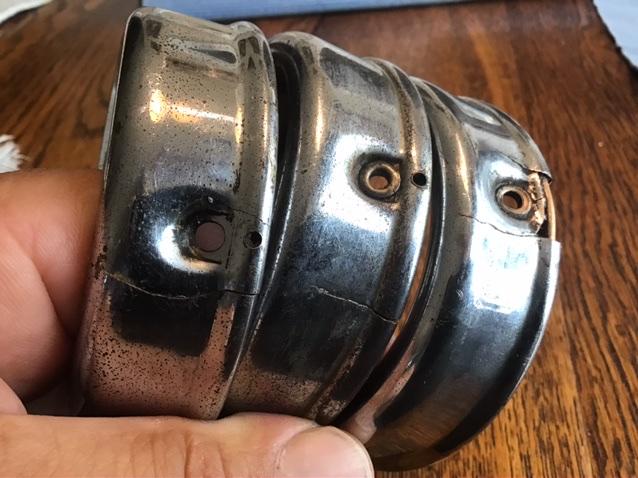
The last picture is showing the outside which still looks cracked but again it is going on an unrestored car and that is the look I’m after.
Very cool Mark.
Great work!
Nice, thanks for posting, I have a set to work on too!
great work! Thanks for sharing!
Thank you for your comments!
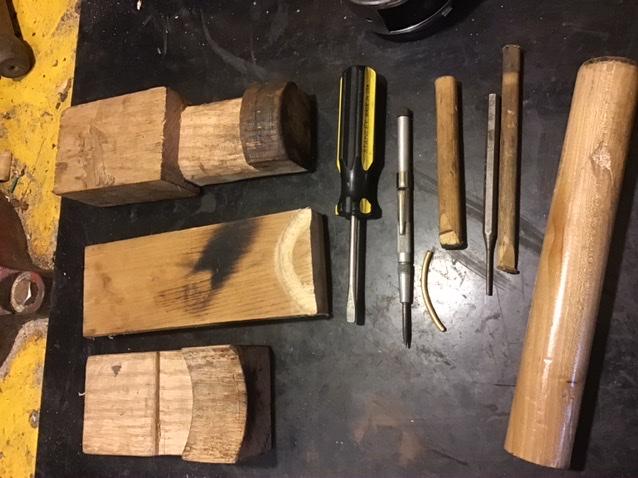
Here’s the “tools” I came up with while doing the work on the taillight buckets and rims. These were suggested to me by Greg Long and I would have preferred to make them in metal but I no longer have access to a machine shop so the books are oak and ash. A little crude but I was able to do a lot with them
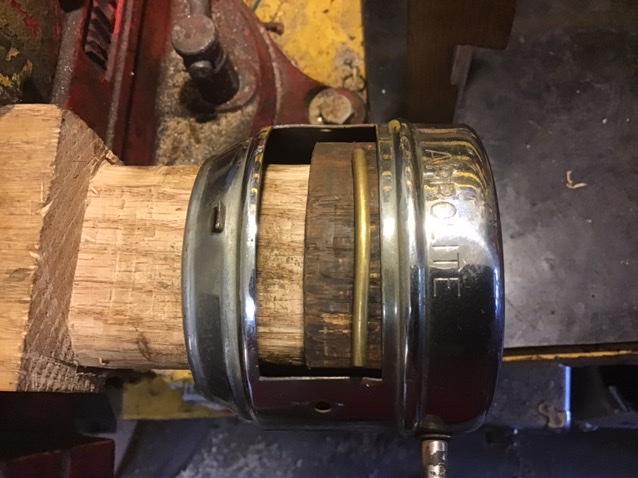
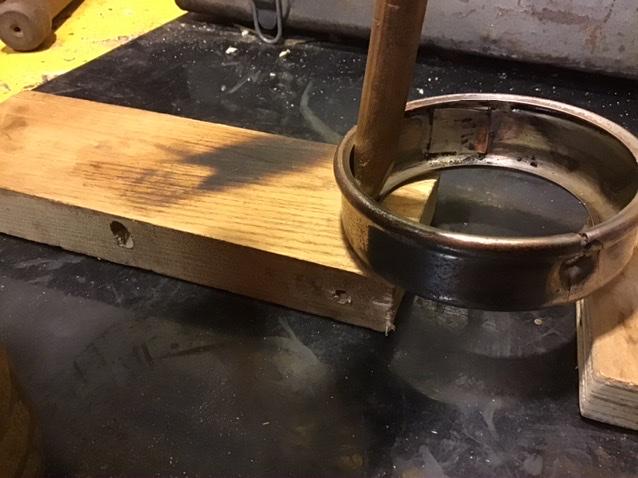
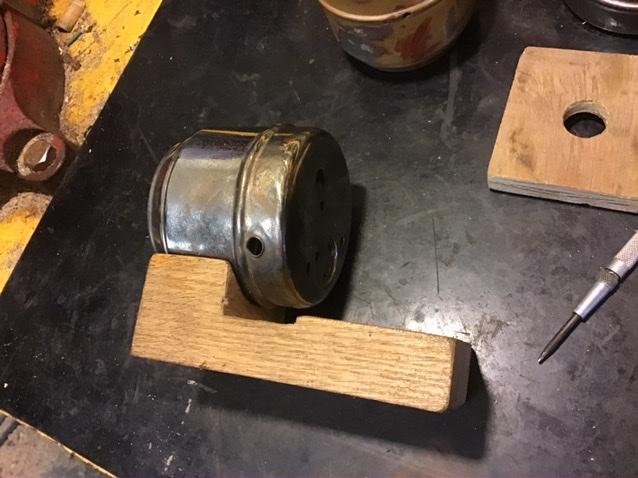
The first block fits the inside contour and is cut so there is clearance for the lip at the opening, the second one was carved out to support the face radius of the rim, and the bottom one fits the outside contour of the bucket. I also made up some punches from hardwood dowels to fit different contours and use to rub out the brass, they wear out quickly but are easily made. The push-punch and drift punch were slightly rounded at the end for very small sharp dings and the screwdriver was also ground to a radius for using to rub the brass into the wood blocks to remove any creases. The brass wire piece was set on the internal contour block for working kinks out from the ridge. The inner and outer blocks could also be used with a c-clamp to remove the larger dents. If I had access to CNC equipment I could have included the ridge and outer flange contour to these and they would have been a lot smoother to use.
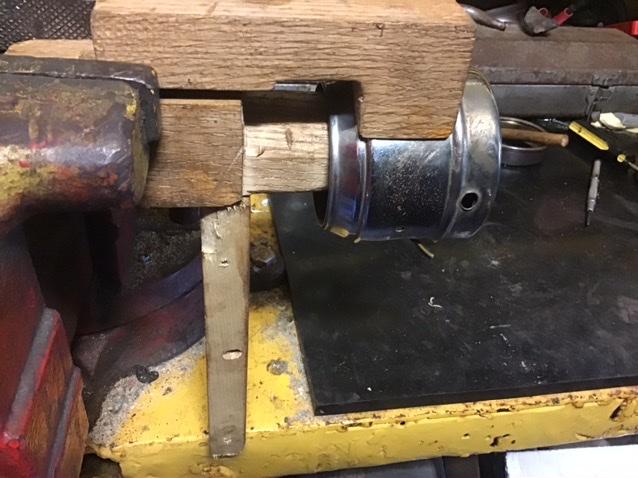
The brass used for the taillight parts would quickly work harden and needed to be annealed several times while working the brass especially on the larger denting. I also annealed each piece after the soldering as best as I could without melting the soldered patches I showed above.
Hopefully this will help others out, I pretty much made it up as I went along as there doesn’t seem to be any books on restoring cracked spun brass items.
Mark,
You can send them back now. Thanks for fixing them. Seriously, very nice work.
How did you anneal them?
Bill
Brass is annealed by quenching. I used a propane torch and heated them to a dull red which appeared to chase the flames and turn dark, then very quickly quenched them in a half full 5 gallon bucket of ice water. You would think this does something to the plating but it was surprisingly fine after a quick polish.
The lack of damage to the plating is a pretty major revelation.
I guess I will have to go get a bucket.
Mark,
I know this is going to start a big discussion but I’m pretty sure that you don’t have to quench the brass, just the heating to dull red anneals it.
Jim Livings
Thinking about it I am pretty sure Jim is right, but that is the way I was shown… not to mention that it takes a long time for the brass to cool when the outside temperature is mid 90’s
Mark, those taillights look great !
I do have right side taillight stands or brackets. They are cast from an original right side bracket.. probably for a right hand drive export car. If you don’t already have one, I have them in stock.
I’m glad my suggestions worked out on your lights.. !!
Greg Long
I’ve had my 1933 1236 over at Bob Lederer’s shop for a few weeks now, attending to the things on the car that needed attention that Scott Stastny didn’t get to. I’m really happy with the progress being made, and with the great level of communication with Steve at Bob’s shop. In addition to installing the correct left Arrowlite, they’ve repaired the leak in the gas system, the leak in the cooling system, installed the radio, and repaired the casting that the left rear taillight mounts on, and installed the rear compartment clock. Ed Wagoner gave me a 1932 Arrowlite with the car, and Greg Long donated the correct mounting plate for a 1933, and all in all, it worked out well as these pictures show. The picture is of the final correct assembly.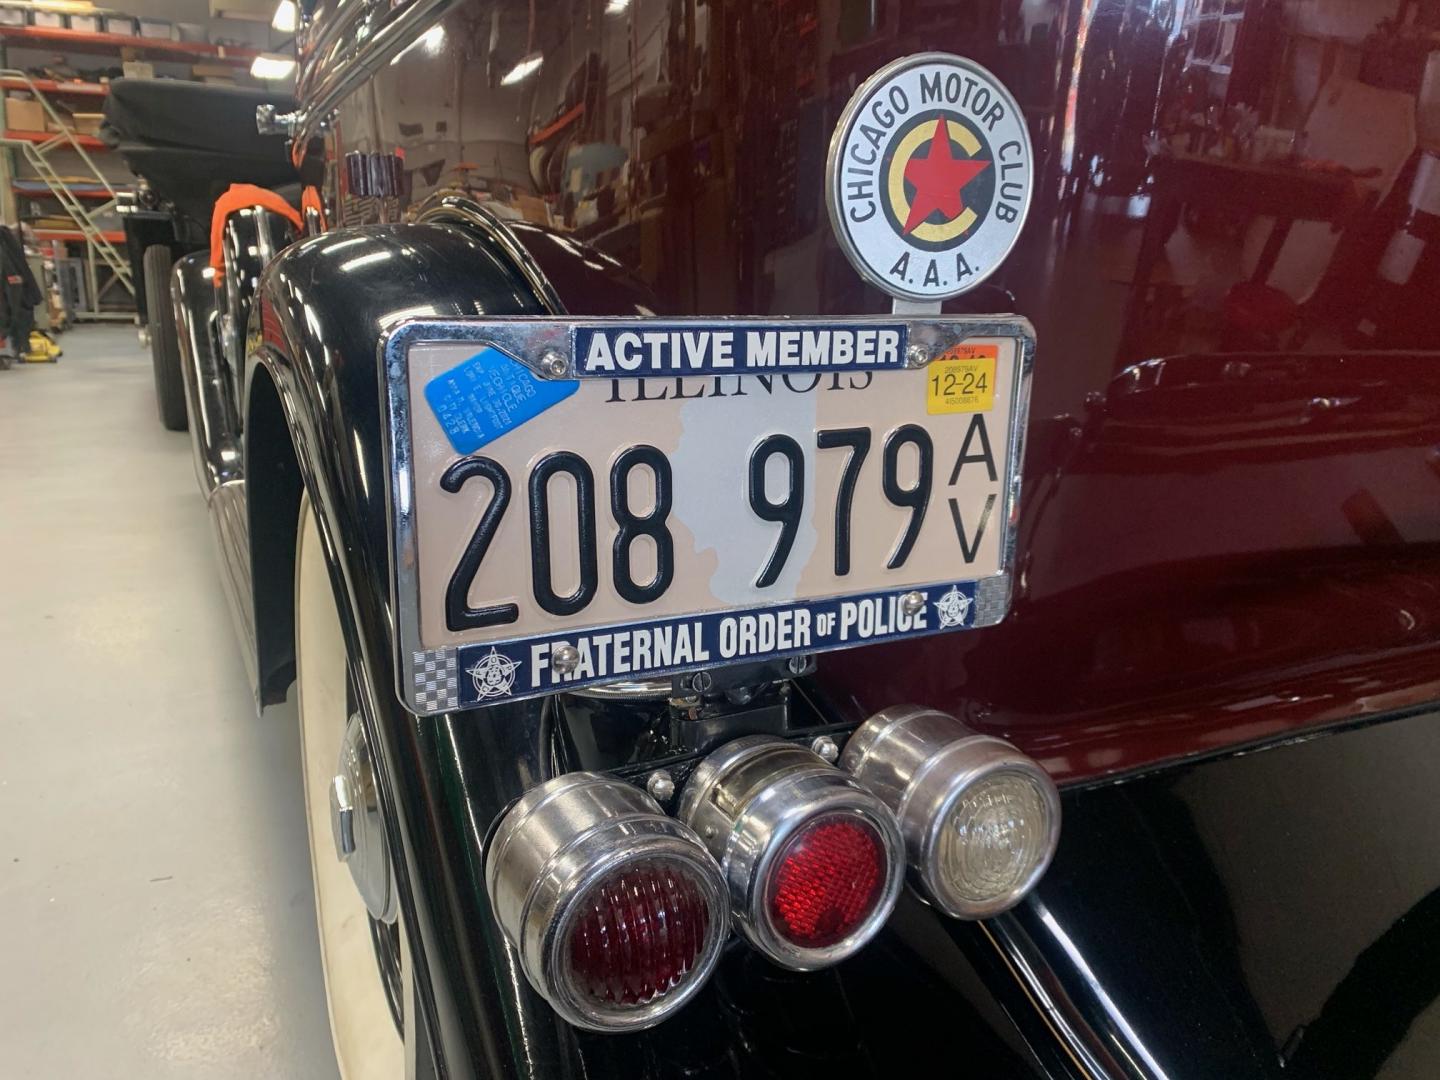
I’ve had my 1933 1236 over at Bob Lederer’s shop for a few weeks now, attending to the things on the car that needed attention that Scott Stastny didn’t get to. I’m really happy with the progress being made, and with the great level of communication with Steve at Bob’s shop. In addition to installing the correct left Arrowlite, they’ve repaired the leak in the gas system, the leak in the cooling system, installed the radio, and repaired the casting that the left rear taillight mounts on, and installed the rear compartment clock. Ed Wagoner gave me a 1932 Arrowlite with the car, and Greg Long donated the correct mounting plate for a 1933, and all in all, it worked out well as these pictures show. The picture is of the final correct assembly.
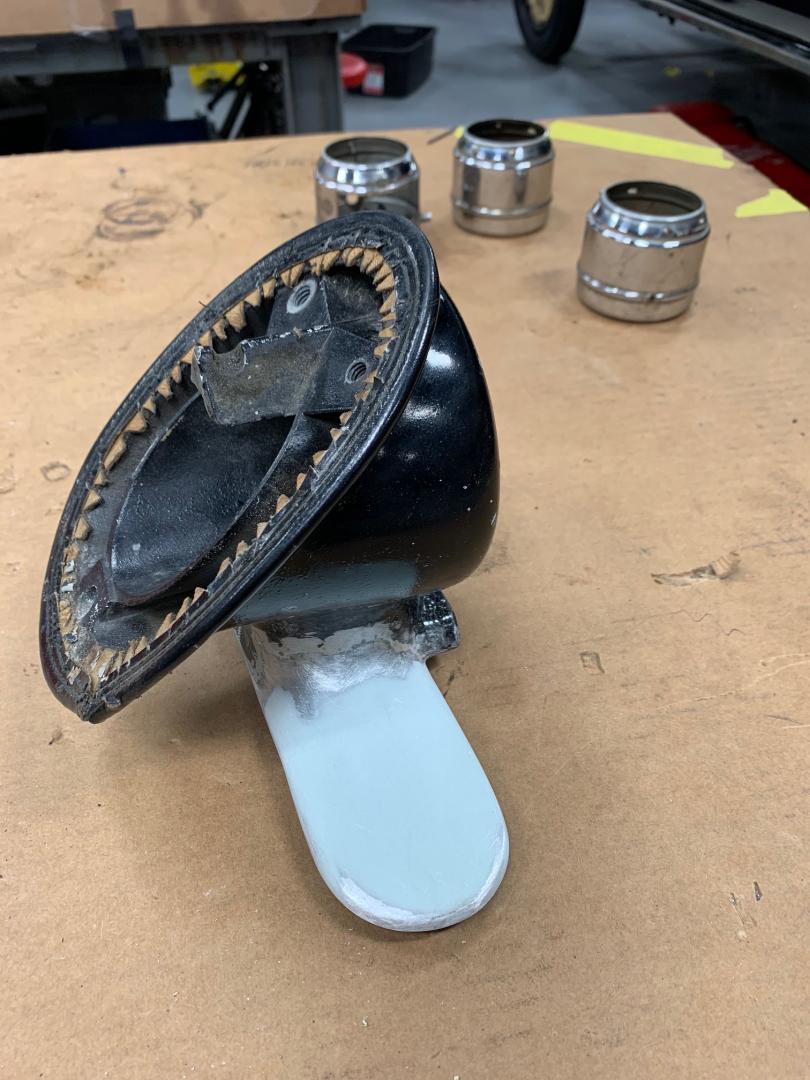
Here are a few more pictures of the work in progress. The car had a home made Arrowlite when I bought it, but the seller gave me an Arrowlite that would be correct for a 1931 or 1932 with the car. Greg Long donated the correct backing plate for a 1933, and we were in business. During the disassembly, it was discovered that the “wing” on the back of the casting behind the Arrowlite was broken off, and a new one was fabricated and welded on. Finished product looks great.