- Home
- About Us
- Join/Renew
- Member Benefits
- Member Pages
- Log In
- Help
- Museum Store
Home Page › Forums › What did you do with your P-A today? › The block returns from Covid lockdown
I picked up my 2 blocks that had been quarantined at the machine shop.
I had to take it to several shops until I could find one that could handle the size of the blocks.
My original ’33 Pierce 8 block had very little wear and just needed to be decked.
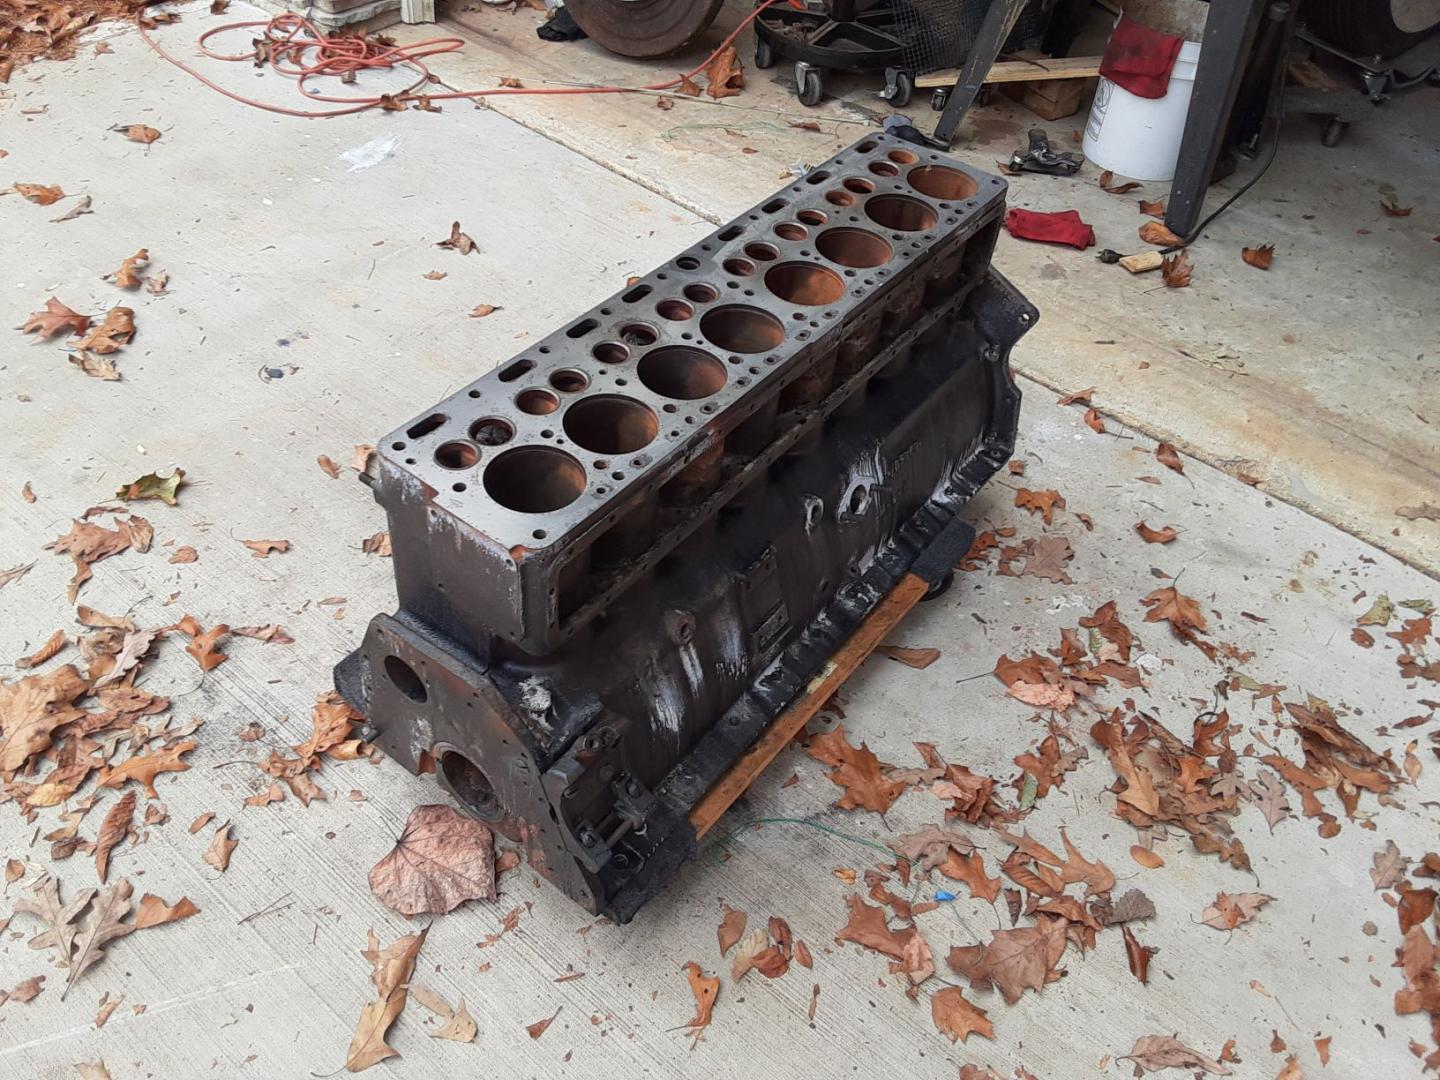
It was showing some surface rust so I rubbed it with an OSPHO soaked abrasive pad to neutralize the rest. The white areas indicate they need more work.
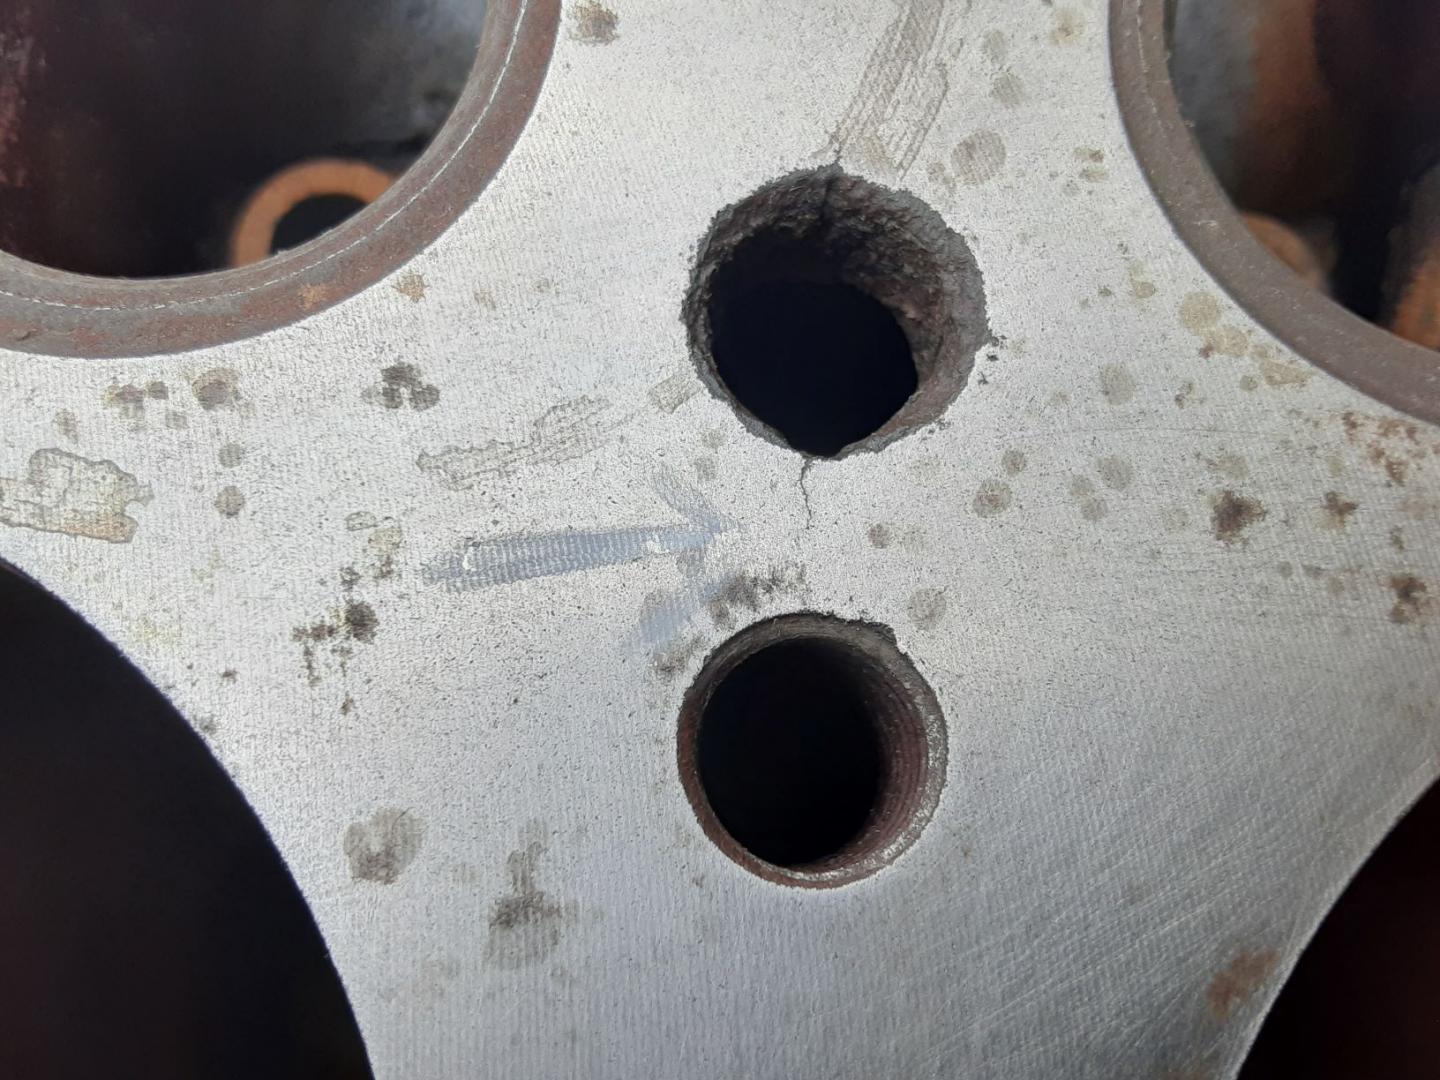
One concern I have is there is the beginning of a crack between #4 & 5 between the bolt hole and a water return hole. It doesn’t do all the way across, so I was going to drill a “stop” hole at the end, tap it and insert a piece of threaded rod. I don’t think the tapered plugs are called for, but I am looking for opinions.
Next I recut the valve seats, then will do crosshatch the bores and fit the cam bearings
Bill, I don’t have any direct experience with cracked blocks, so not sure. The location and direction of the crack is a bit puzzling to me, but it seems it might be a combination of over stress from over torqueing the nearby stud and stress corrosion. Apparently the surface has a a high tensile stress left to right around the stress concentration of the hole and a lot of corrosion. As the crack starts it generates a very high stress concentration at the leading edge of the crack that exposes more virgin metal to corrosion and lets the crack grow more. My first thought is to stop drill only with a pretty small hole and without a tapered pin. The tapered pin would increase the local tension stress at the crack stopper hole. Maybe that’s a good thing to yield material locally around the hole to reduce fatigue, but can’t sort it out in my head at the moment. I might use a bit lower than recommended bolt torque for that stud when installing the head.
Jim
I noticed the oil gallery plugs didn’t appear to have been removed by the shop.
I removed them and tried to force a wire thru from end to end. Wire stopped after about 3 inches.
I switched to a threaded rod on a drill and was finally able to break thru from end to end.
Ended up with a about a 1/2 a cup of debris falling out.
Going to switch to a gun cleaning brush and some acid/evaporust to thoroughly clean the gallery and all the other oil holes to the mains and cam.
I am sure the engine would have self destructed in short order if I had tied to assemble as it was.
I have seen this movie before involving a Jaguar XKE. The shop that did the crank failed to remove the journal plugs (and I didn’t check assuming they knew to do that) and once the oil got up to temp, all the contaminates freed up and trashed the crank and rods. Of course this wasn’t found out until the car arrived in Antwerp Belgium.
So I guess the lesson is to be absolutely sure everything is clean, even if it just came from the machine shop. Assume nothing and double check everything. The shop that polished the crank had the decimal part of the measurements .040″ off.
Like Ronnie said, “Trust but verify”
Good thing you checked! Does that mean they cut the crank down .040?
No, luckily they just measured it wrong.
Looks like a 12 and/or 16 gauge shotgun cleaning brushes would work for the galley clean up along with some brake cleaner and some Evaporust or something similar.
I am having problems with the plug below #1 cam bearing. The slot stripped so I am going to center drill it, tap the hole for a left hand thread and use a 5/16″ left hand thread bolt to remove it. Have you priced 5/16″ left hand thread bolts lately, not much left from a Jackson.
My block didn’t have rust issues and to flush the galleries I bought a 12v high volume/high pressure fuel pump and filter and attached a long tube to pump kerosene. I had the oil pan underneath the block to catch and recycle the kerosene. I smelled pretty bad that day.
McMaster should have the LH tap and bolts.
Bill,
Thanks for posting the detail picture of the block. I share your concern about the crack(s) from the water jacket for a few reasons. My guess is that the root cause was likely the result of a significant overheating event at some time in the past; having cracked the head on my small block chevy motor years ago when it broke the fan belt and cooked itself. Second, the rust molecules (Fe2O3) are larger than just the iron (Fe), so rust will continue to expand the crack like ice does to cracks in rocks. Third, you can see on the side toward the head bolt hole that the corrosion in the water jacket has a thin spot, so coolant may have been leaking past the head gasket for a while and washed the crud out of that area.
Your idea of drilling a stop hole is an excellent one, but I would recommend an allen head set screw (about #8 size – McMaster-Carr has a good selection of lengths) instead of using plain threaded rod. The reason is that you can use a allen key to insert the set screw so the top a slightly below flush with the top of the block and allow the head gasket to seat when you assemble the engine. Also, consider putting a second stop hole and setscrew into what appears to be a smaller crack on the opposite side of the water passage, so that spot does not become a problem in the future. Then, consider cleaning the water passage hole and painting it with high temperature engine paint and a Q-tip to prevent the rust from returning to that spot. Careful use of a drill bit may be a good way to get the hard rust out of the passage.
Good luck with the restoration and I am looking forward to seeing the car on the road when you finish. Best Regards, Herb Tull
Jim,
McMaster is here. Hole is threaded, just using some Kroil and some heat and I will try and remove it tomorrow.
I think I will use acetone or MEK. They smell better than kerosene
Herb,
Thanks for the input, you are a pretty good metallurgist. I think I might use stainless set screws.
I took out a small square headed plug from the front of the block. I turns out that it goes to the front cam bearing and “Y’s” off to the front main.
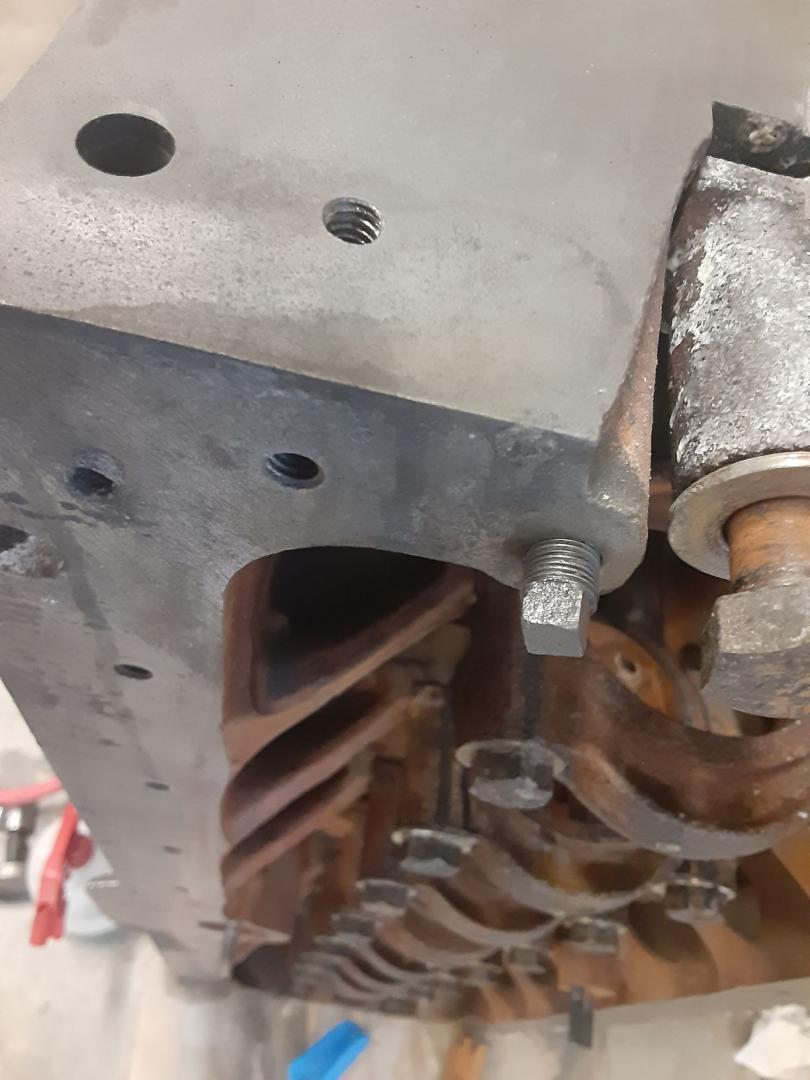
Here is what I found once I got it out
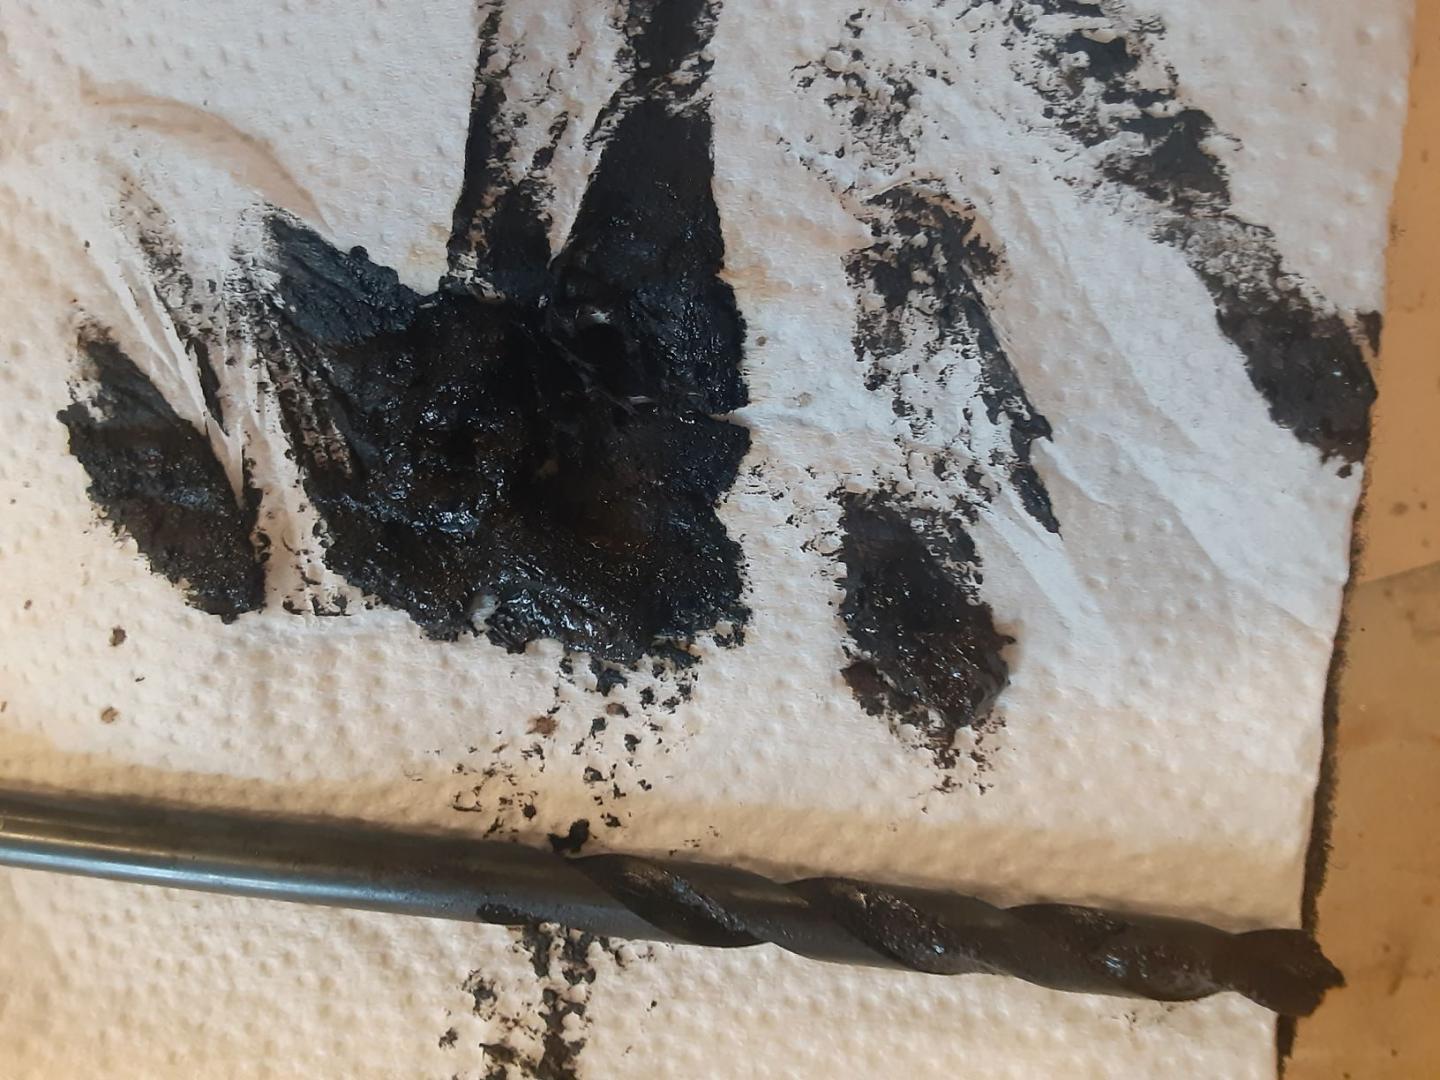
So that would have caused 2 bearing failures.
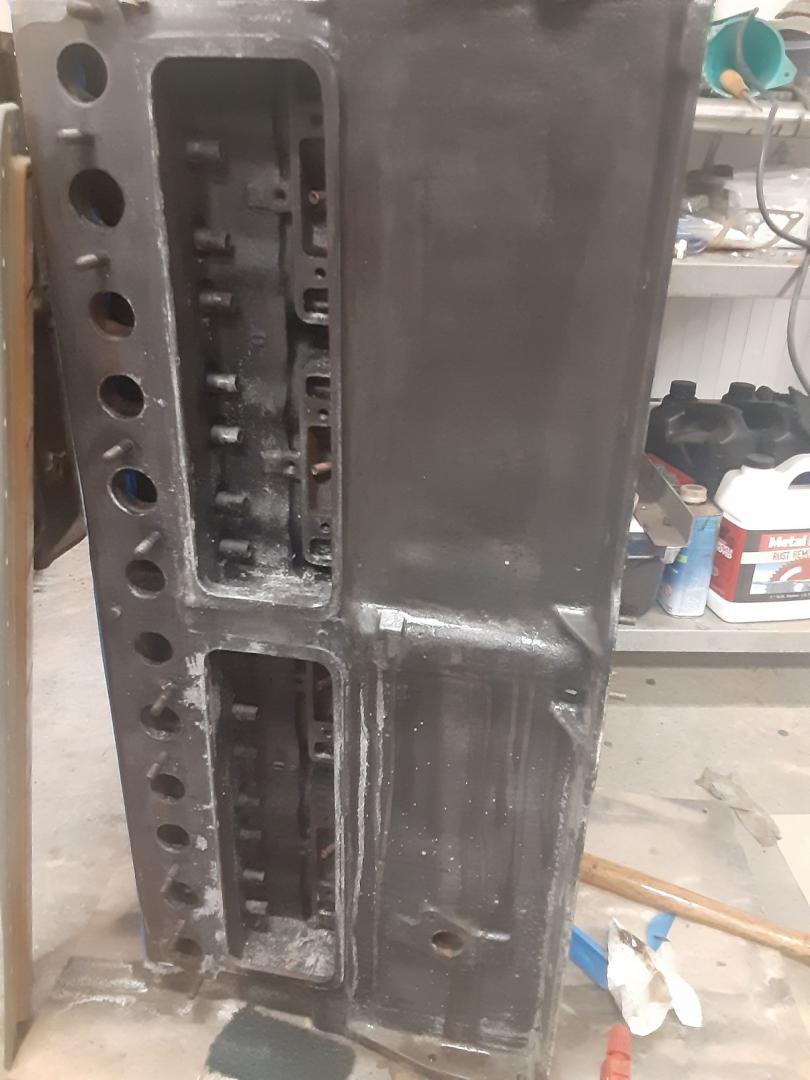
Here is the surface after spraying with OSPHO and using a very coarse scotchbright pad.
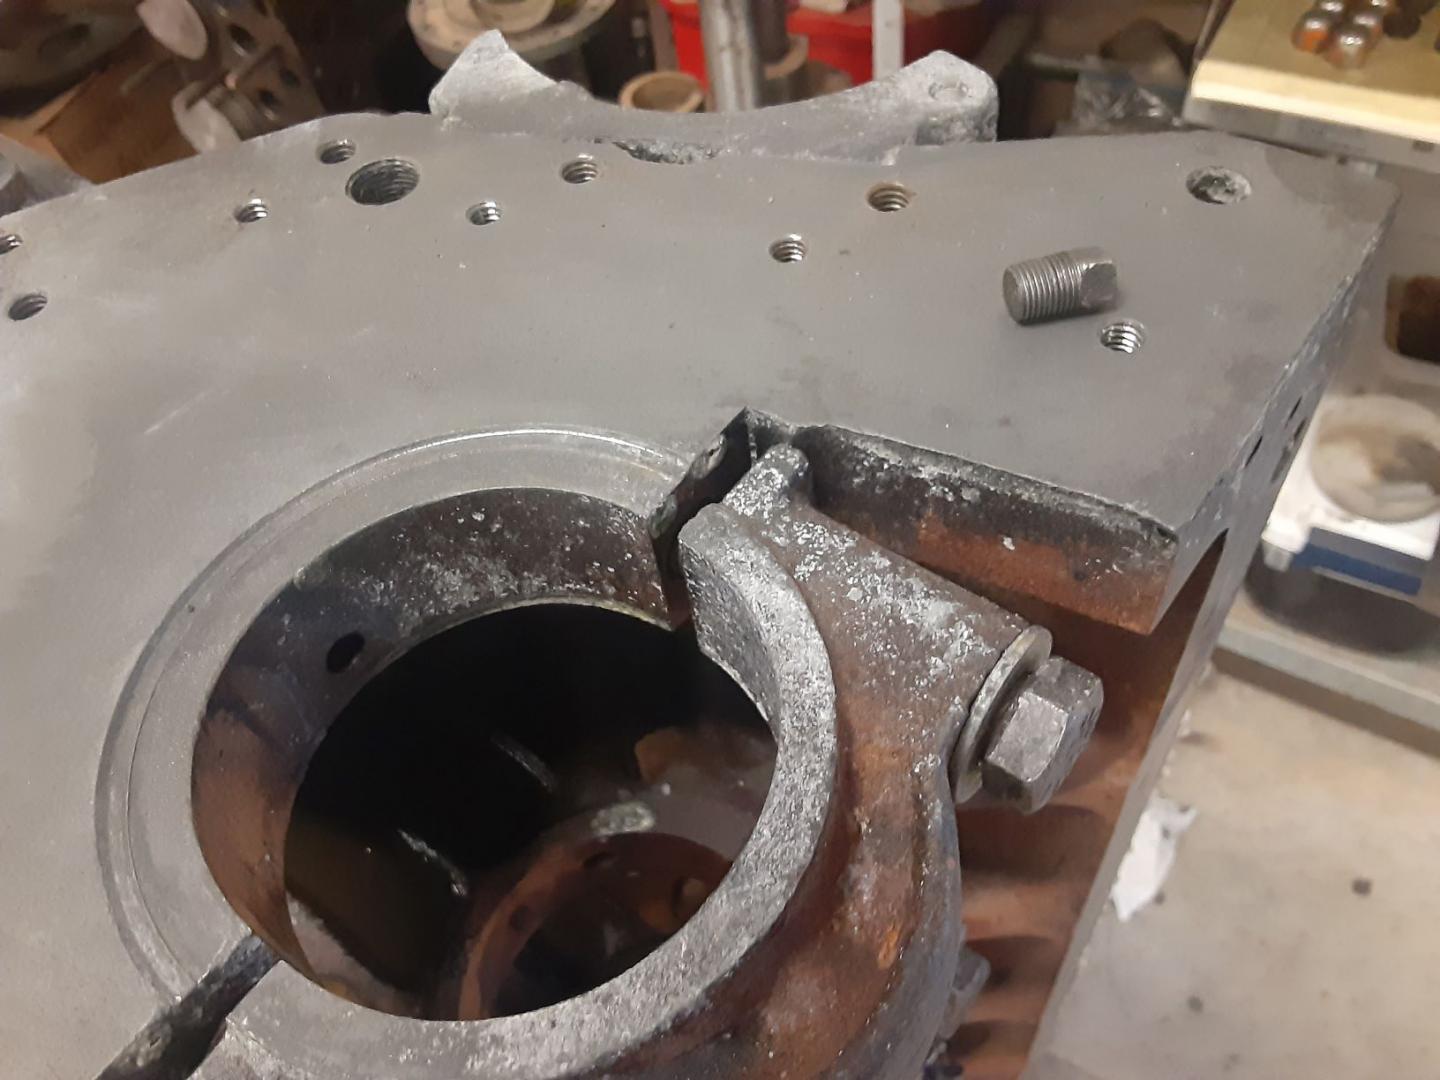
Here is the sales pitch from the OSPHO site. I keep wetting and rubbing until the rust is gone. You can tell if there is still rust as it will have a raised surface or white patches
HOW SKYCO OSPHO WORKS
When applied to rusted surfaces, it resists/retards rust in chemical change on drying to a tough, hard surface ready for priming. A paint job will last longer after an application of OSPHO because subsequent paint coating securely attaches itself so that moisture and oxygen normally do not attack the metal. OSPHO is water-thin, can cover a larger area than paint, and goes on easily. It is equally effective for exterior and interior work alike. SKYCO OSPHO: a balanced formula of Phosphoric, Dichromate, Wetting Agents and Extenders . . . compounded exclusively by the Skybryte Company since 1947 … recommended by paint manufacturers.
Here is the block after one coat. You may be able to see the white areas and the rough areas on the flange on the right. It needed another treatment. Spray, let soak, scotchbright, brake cleaner and a rag.
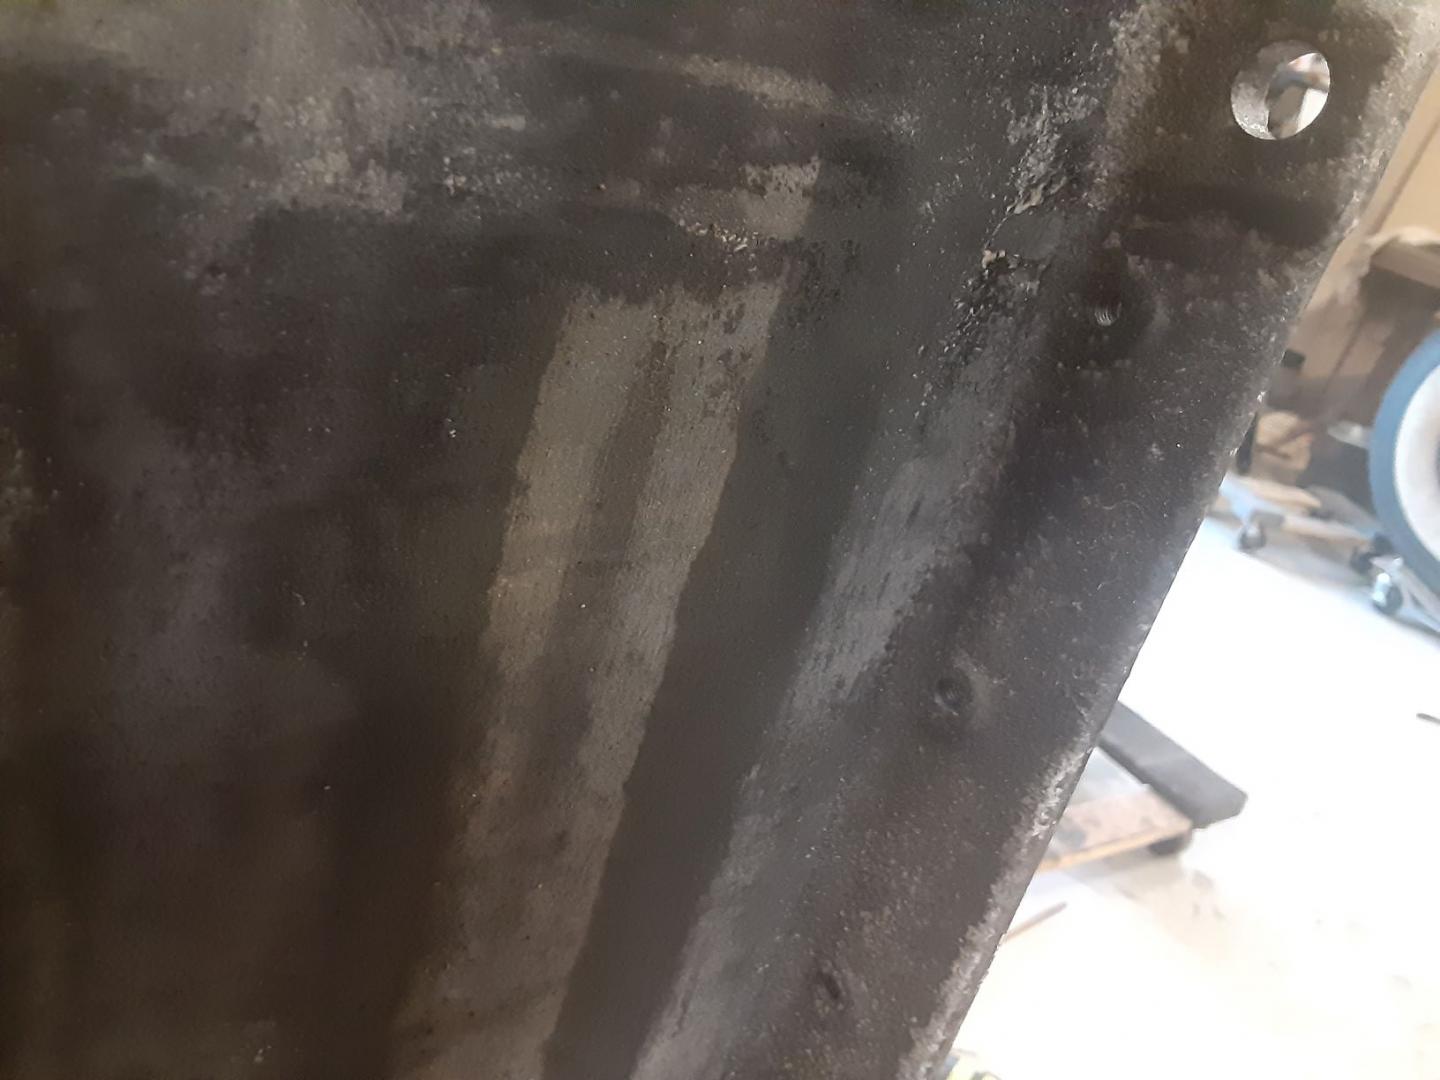
Here is how it ended up. Top 1/2 has had 2 rounds and the bottom has had one. The intake/exhaust area has only had one also.
