- Home
- About Us
- Join/Renew
- Member Benefits
- Member Pages
- Log In
- Help
- Museum Store
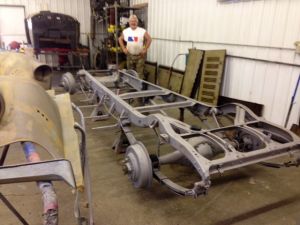
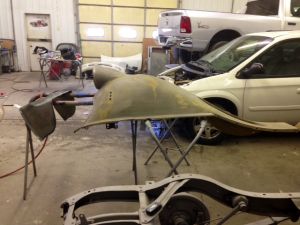
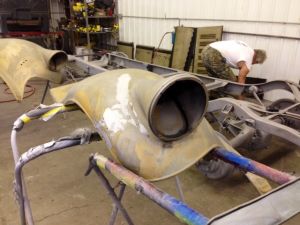
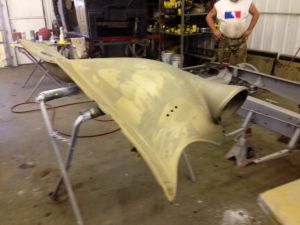
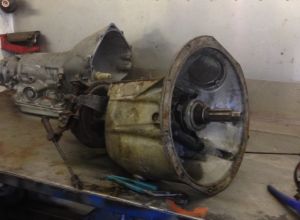
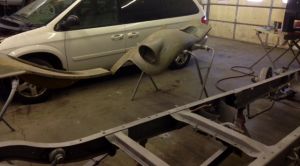
The engine was sent off to get rebuilt, the body and and frame have been blasted. Now the fun begins.
`
`
`
`

`
`
`
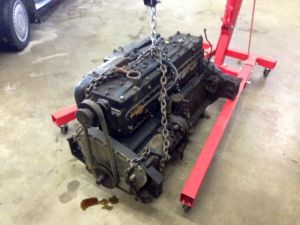
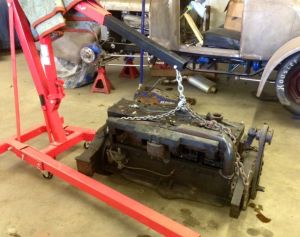
Once that engine was out, it looked ten times larger than when it was in. Even the engine guy was laughing becuase he said, “even my engine lift was screaming a bit when it lifted it out””. Man that thing is a solid beast.”
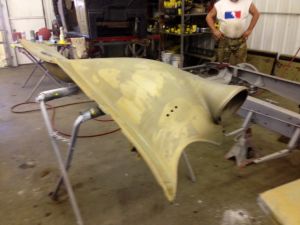
The body guys indicated that the car had a love tap somewhere in its life. When together, they could tell the frontfender was a bit off. After it was totally apart, he could see the small dent in the fire wall that caused the setting of the fender to be off.
I wonder what the story behind that fender bender is!!!!!!? lolol
Making quick progress! I’m sure you’re going to do this anyway, but each piece of the suspension is going to need to be taken apart, cleaned, and rebuilt as needed. Usually a frame is sand blasted by itself, and the individual components cleaned or blasted (after disassembly) apart from frame. The sand, or whatever media you used, gets everywhere inside what you think is a “sealed” component. The only case this isn’t true is with soda or CO2 blasting. That engine assembly weighs over 1000 pounds, so yes, quite a load! Thanks for keeping us informed of progress, interesting stuff! Did you ever find your Pierce restoration “consultant”?
Dave, The extra parts are also being taken off the frame. I guess I can not answer why they waited until the frame was blasted before the additonal dissasembly occurred.
Very nice to see the progress.
Keep the pictures and updates coming.
Not meant as criticism, just an observation, figured you were taking everything apart eventually! And, get some epoxy primer on that frame quickly, once blasted the surface is very prone to quickly rusting! Good progress, and as you say, now comes the fun part!!
To echo what David has said, and not just because we both are near tidal water here in Virginia, you want to use an etching primer on that frame and frame related hardware ASAP. If you want to see just how much moisture is in metal, try giving it a quick fan spray with a broad flame MAPP gas (like you would spraying paint out of a conventional spray gun) about 2-3 inches away from the part, and see how much moisture is removed with the heating process. Prior to spraying bare metal with an etching primer, I always clean the metal with a “Prep-sol” type product (Dupont product name) to remove wax and grease, then heat it with a hand held torch of MAPP gas to lower the moisture content, then spray it while it is still warm with the primer. If I am using only Rustoleum, this process helps provide a smoother final paint finish. I have suspensions on cars done 15 years ago and driven regularly with no paint issues, even here in salt heaven. Henry Ford was no idiot, he actually (supposedly) dipped his Model A frames and fenders in a paint bath. You don’t miss as much when the part is immersed in a preservative. The same holds true for powder coating, as long as the powder is applied generously to the part. Keep us up on the progress!
David, that engine may weigh more than 1000 lbs with the two intakes still attached. Be really careful, that is a LOT of weight. Use more than a couple of bolts!
Hi guys!
The pictures of the frame were only a few hours after it was blasted. From my understanding, it was sprayed with something that stops rust in its tracks, then primed. Sorry, I don’t know what it was. they also hand painted this stuff on all the fenders too. The frame was blasted and coated and primed within one day. I had to head off to work so I could make a few more pennies to pay for this gem.
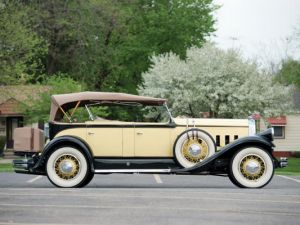
By the way! I do not take any of these comments as criticisms. I take them as knowledge from those who have done and helping me avoid mistakes, and gain benifits from your past endeavours. Keep all the comments coming. I love to learn, even if its from inside out.  Rick
Rick
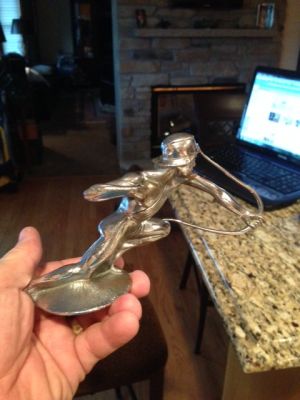
I found an orignal.
Hi Richard, I see that the engine has the original exhaust and intake manifold. The exhaust manifold was very prone to cracking just to the rear of the front two cylinders. The manifold is rather tall there, about 4″ tall, and the wide, and fairly thin cast iron cracked from the heat and expansion/contraction.
Our Pierce Arrow Society member John Wozney is reproducing the exhaust manifolds out of new alloy cast iron that is not prone to the cracking. These manifolds will be available in several months. You’ll need to check with John for the time/schedule that they will be done and for sale.
If your manifold is currently crack free, then it certainly can be reused, since it is not a huge job to change it if it cracks in the future.
As for the body-man’s comment about a ‘love-tap’, I’m not clear on where the mentioned ‘small dent in the cowl’ would or could cause the fender to not fit right? Can you get some photos of those areas and parts to show what the dent did to cause miss-alignment of the fender ??
Greg Long
Hi,
Thanks for the info on the manifold. I will check with the engine guy. Did I write cowl??? I ment to say the fire wall had a dent in it. I may misunderstood how it all caused the fender alignment problem. He indicated the fender was out of aligment. The first rempair was not done correctly. They left the dent in the fire wall and did not straighten the fender as they should have.
Greg,
I would love to see pics of all your cars. Rick
