- Home
- About Us
- Join/Renew
- Member Benefits
- Member Pages
- Log In
- Help
- Museum Store
I had a Dentist confirm that you can put the part in a bag with different solutions and hang/place them in the UC and get the same effect.
I might start just putting water in mine and the parts and solution in bags.
That way you have full strength solution that you can discard by the bag full instead of gallons.
Jim,
I was afraid you were going to tell me that.
Thanks
Bill
Jim,
Exquisite. When can I bring my two over for you to duplicate. I even have the top material!!!!
Bill
Herb,
Thanks for the tip. They are both metal braided. I will check out Swagelok.
Bill
Back to the cam bearings.
I made this tool on my lathe out of aluminum. The cam bearings get progressively smaller, so I started with the front hole in the empty block and machined the drift to fit the bare hole with a shoulder at the top. Then I measured the id of the bearing and made a step so the drift just fit the id of the bearing, had a shoulder to sit on the rim of the bearing but would clear the block as the bearing was pushed out.
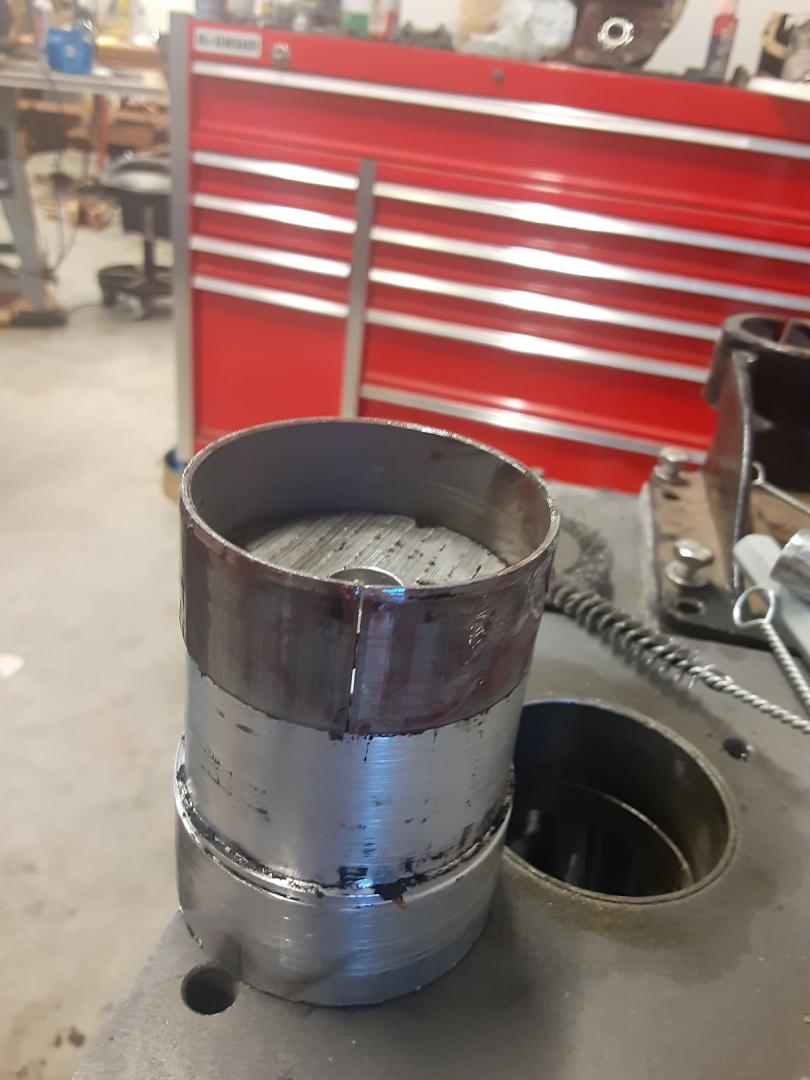
I center drilled it so I could use an all thread rod to pull it in, just in case I had problems driving them in.
Once out I inspected degreased and ultrasonically cleaned the shell. They are numbered and are of the split ring type and were in great shape.
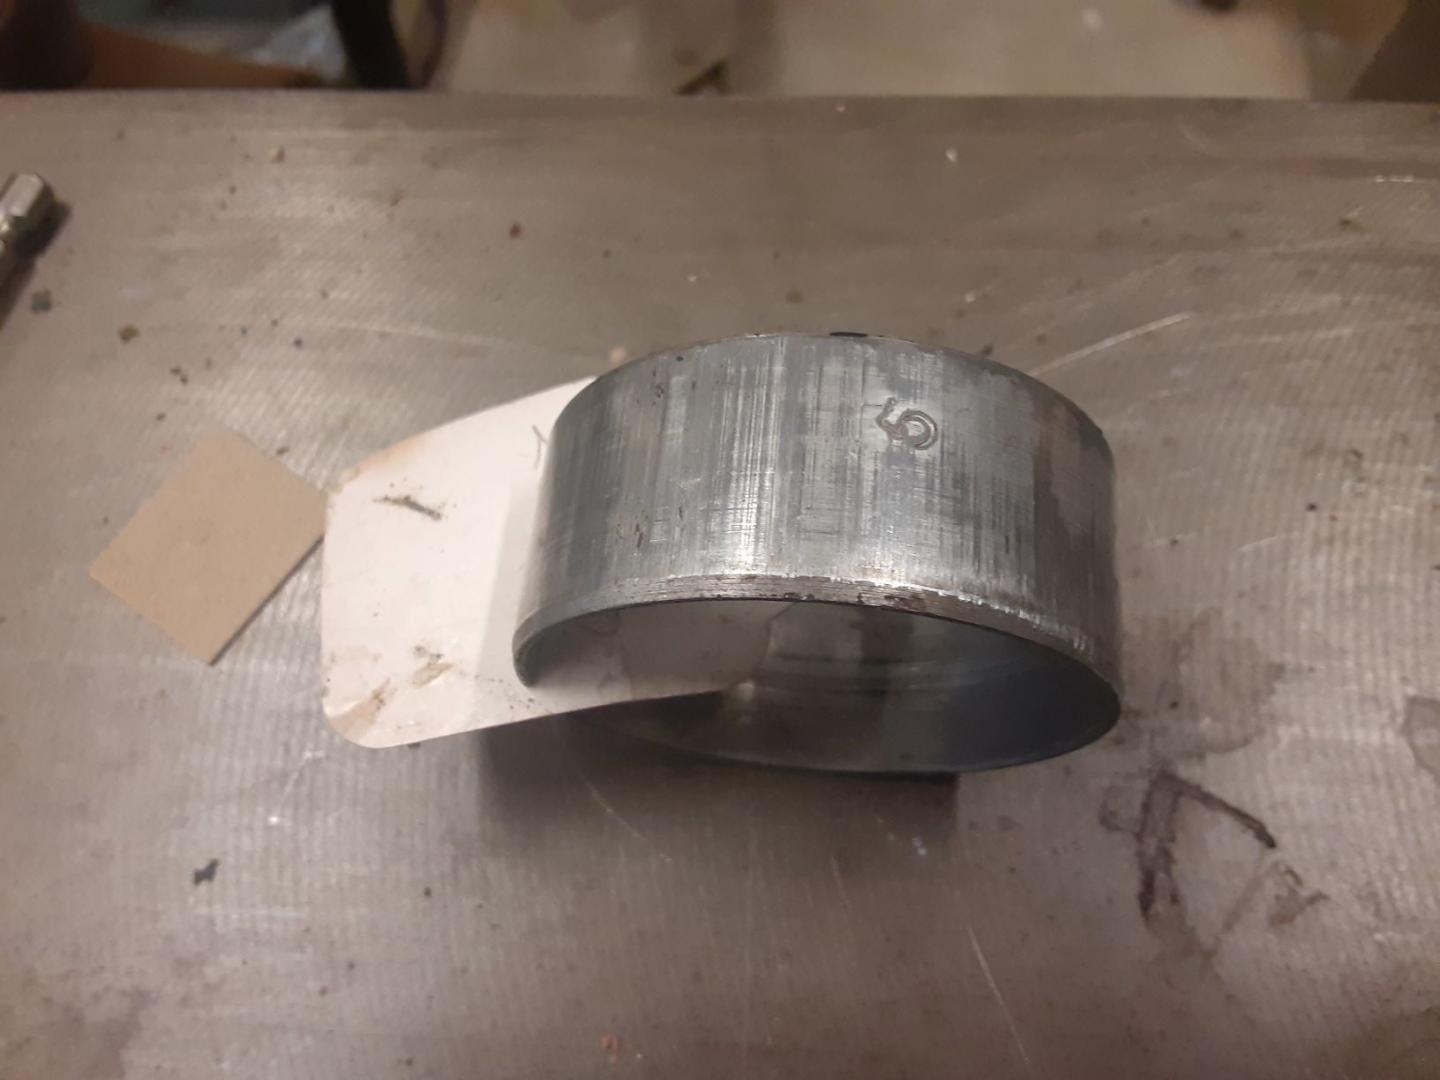
I used the same tool to reinsert them in the new block. Once one was in I repeated the measure and machining process to fit the next (smaller) hole.
5 down and 1 to go but I have to flip the block to get at the rear bearing and plug. Since the cam is thru drilled, bearings 2 thru 5 have no oil holes so there are no alignment issues.
On the Ultrasonic cleaner, I have found out that it is important to rinse and dry the steel parts ASAP and I use a fogging oil on them.
They are so clean, they tend to get surface rust very quickly.
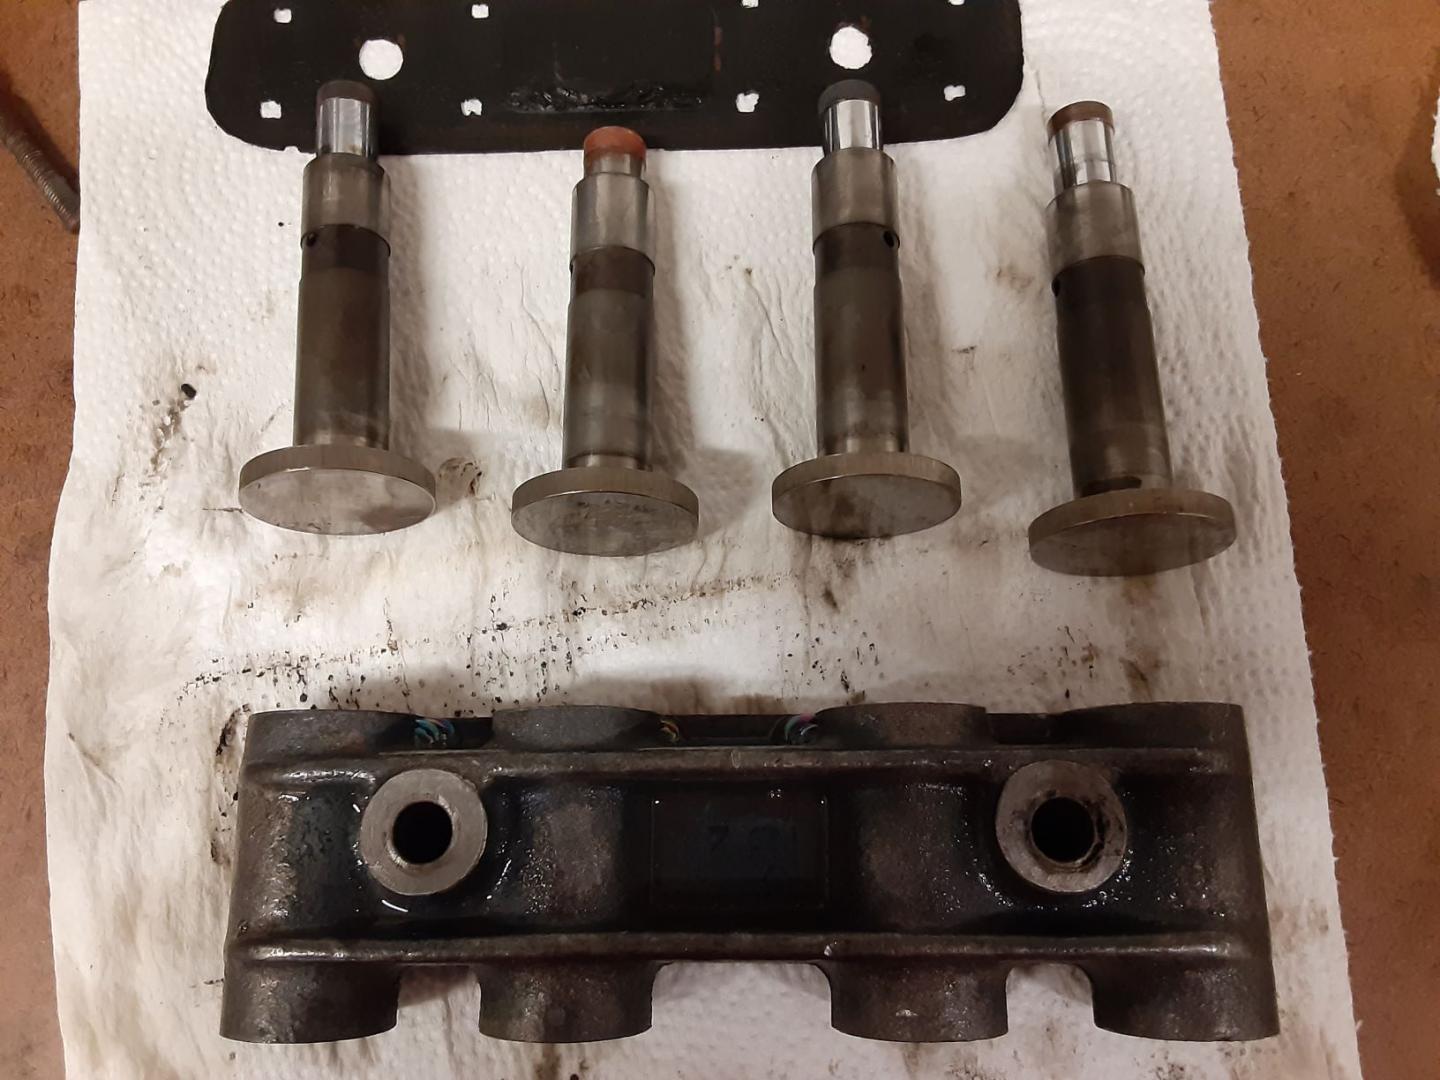
Here is a tappet block before. I punch marked the body (#4) and the rim of each tappet so I could keep them in their original bores.
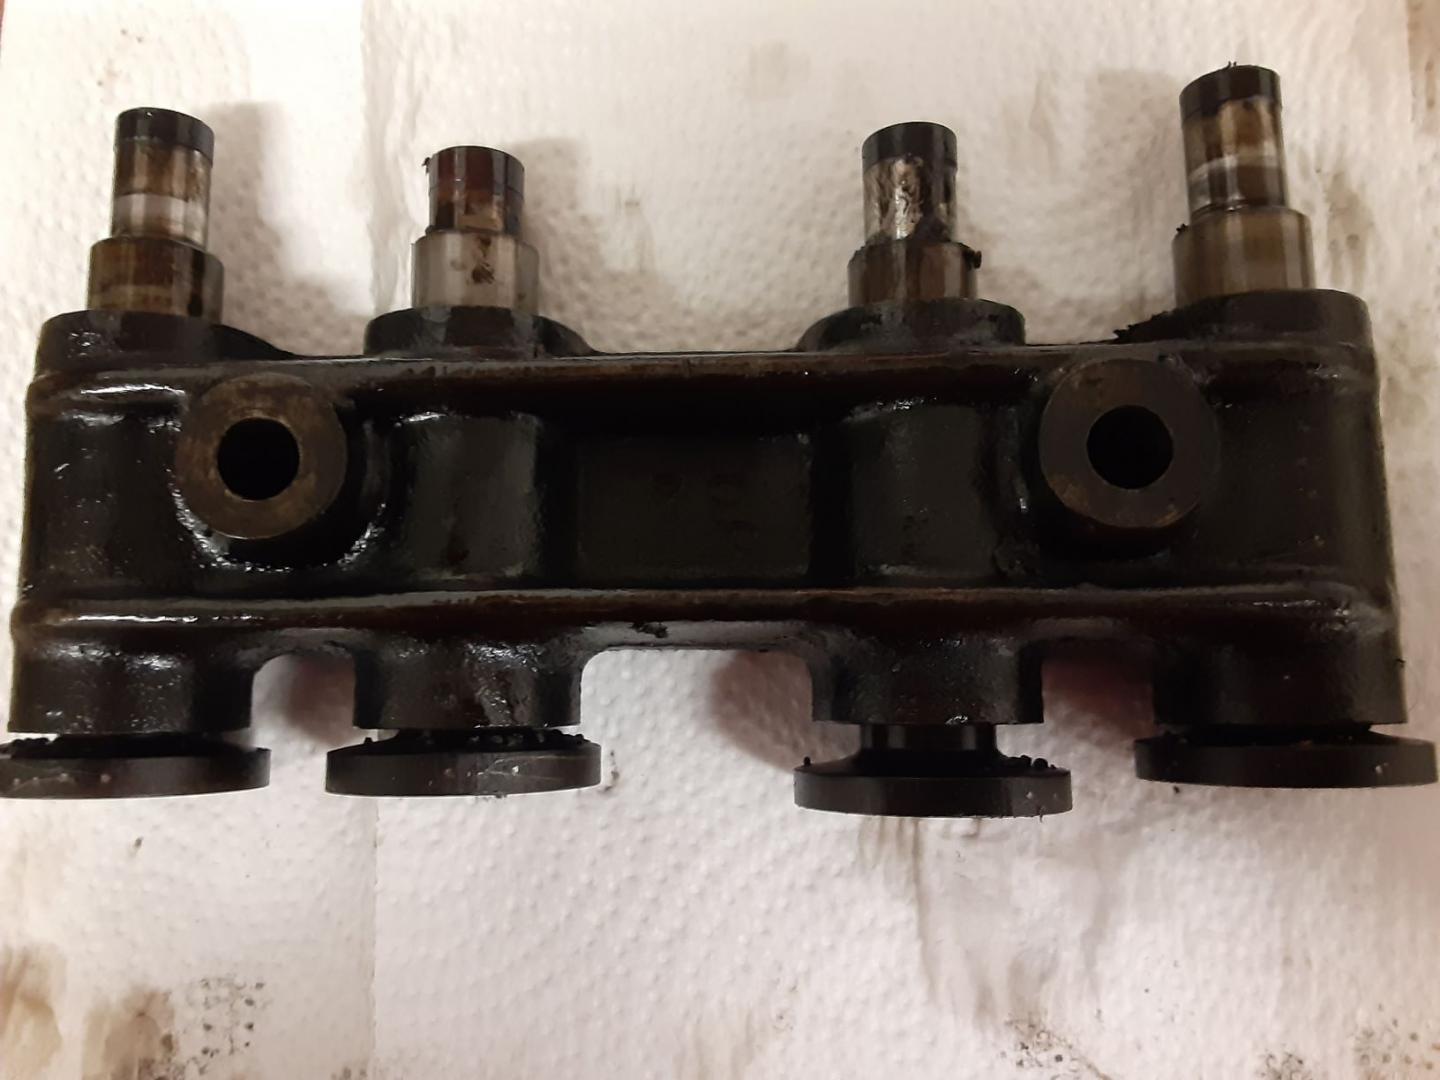
And after 30 min in the UC. Need more disassembly and time in the tank I guess. The oily looking areas on the bracket is just water. They are squeaky clean. Should have bought one of these when I got the car.
Ken,
Good for you. I am envious that you have a running car you can do that with, in spite of the snow.
I relegated my Horrible Freight stands to fully collapsed mode under my wooden boat project. Got some over kill 3 ton ones at NAPA for the cars.
How cold was it? No problems starting, amazing.
Happy New Year.
Ultrasonic cleaner arrived today. Plugged it in and nothing happened. Hummm.
Took a panel off and found an unattached wire, plugged it in and off it went.
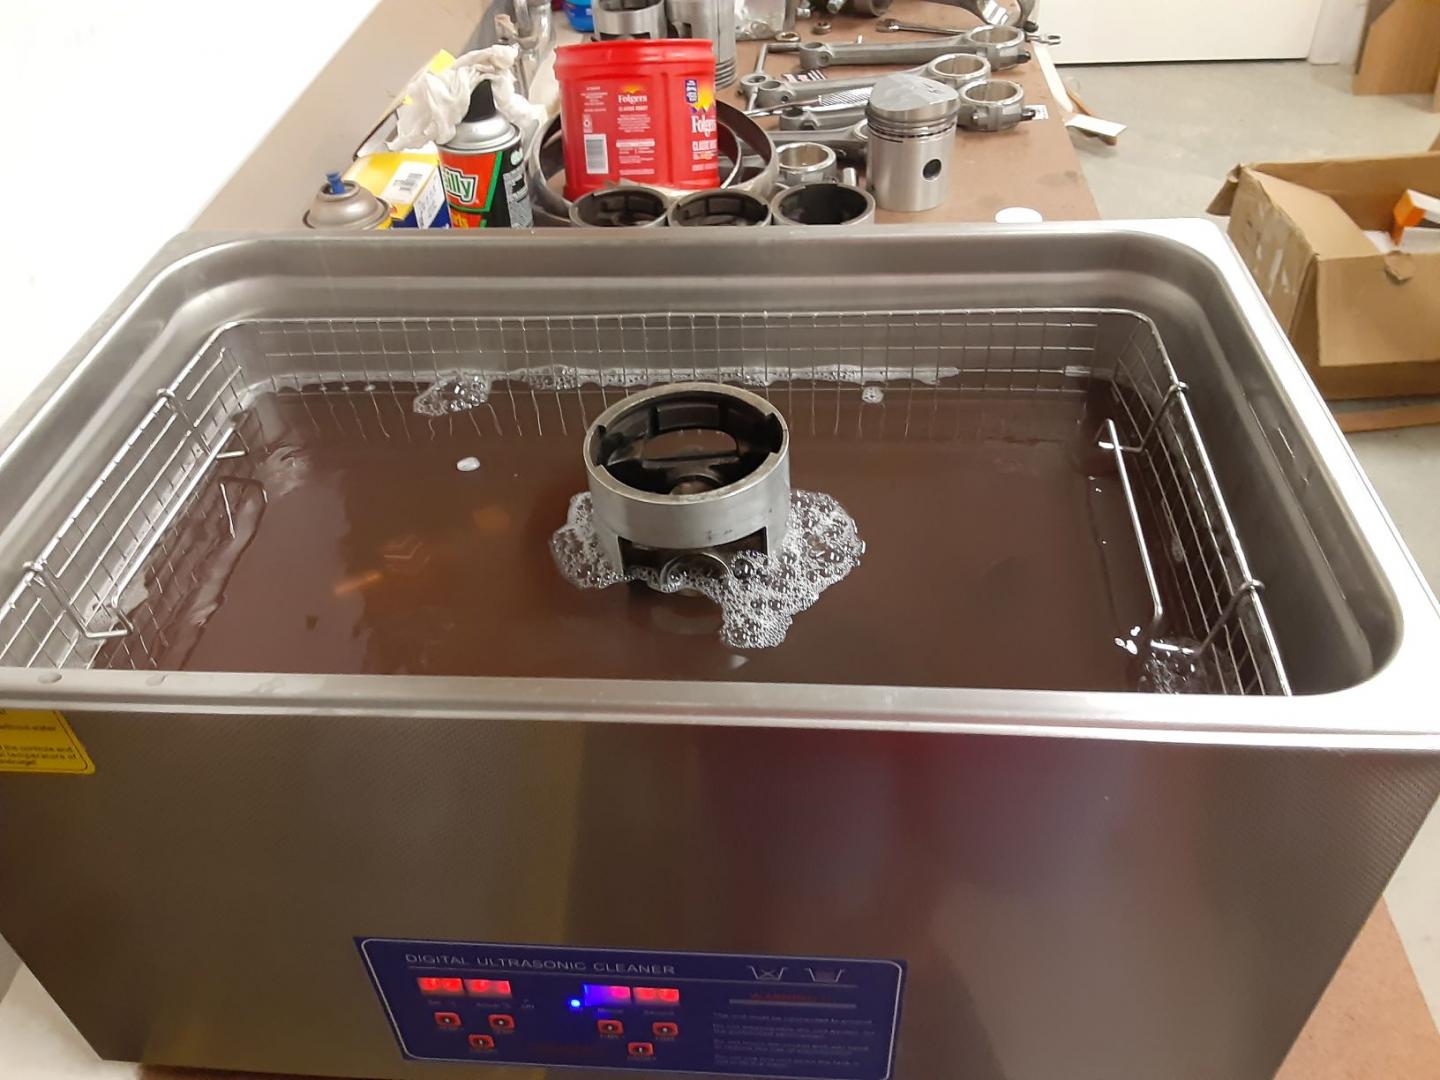
It is a 6 gallon and works with a variety of solvents. I am using Simple Green Concentrate I got at Home Depot. Makes about 13 gallons I think and is biodegradable. The solution gets dirty in a hurry. I got it basically to clean delicate parts but I think I will use it instead of my parts washer to clean greasy/oily parts. If you are trying to do rust removal you would need a different solution.
Seems well made for a Wuhan product. It has a digital heater and timer. Came with a basket and lid. 300 series Stainless it appears.
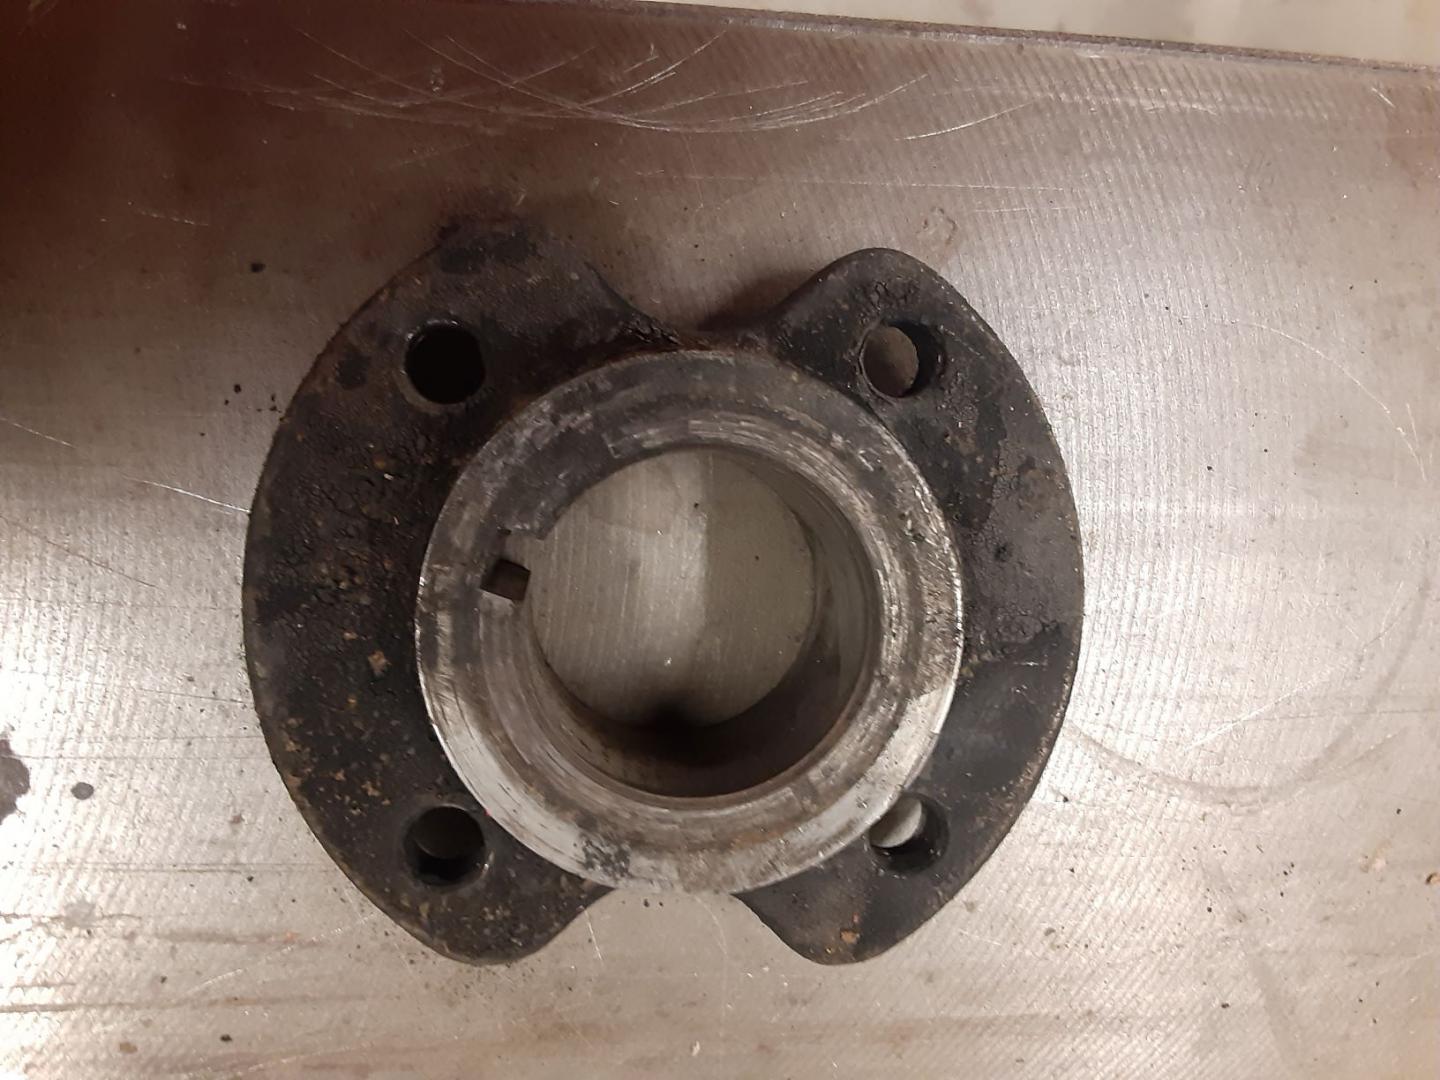
I put the cam retainer flange, which was very greasy, in for 10 min. Here is before
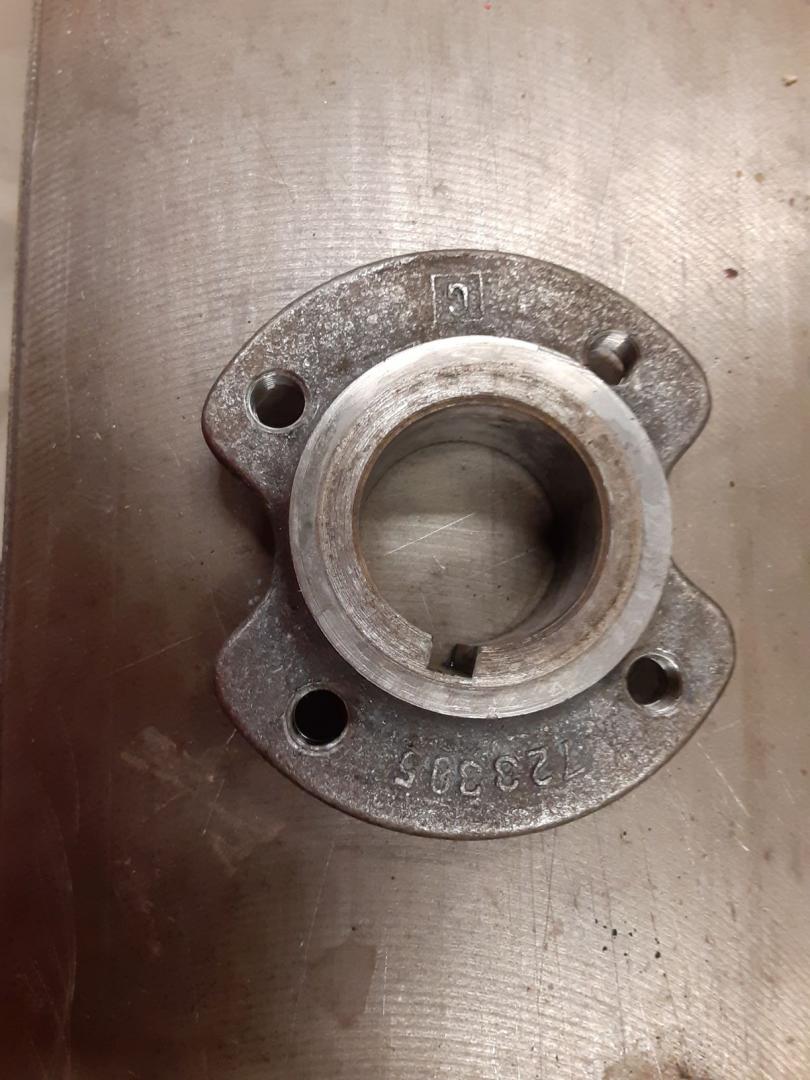
And here is the after. Probably could have left it in for longer. It does a great job of cleaning in threaded holes and bores. Might throw the tappets in later today. Even cleans around the casting numbers.
Thanks Jim and Greg,
Happy New Year, by the way.
I bought an industrial ultrasonic cleaner and plan to use it on the tappet bodies.
Working on getting the rust/gunk out of all the oil passages.
I have 3 cam bearings in and am going to grind the valves next.
Hoping 2021 has less obstacles on all fronts.
Thanks Jim. That is just what I was looking for and makes sense.
Takes me back to my Model A days.
Looks adequate to break your arm if held wrong and you get a backfire.
Ok, that means the head of the bolt is on the left as viewed from the back, or opposite the cam. That would put it on the numbers side of the rod. I guess the right one is a 845 not 840.
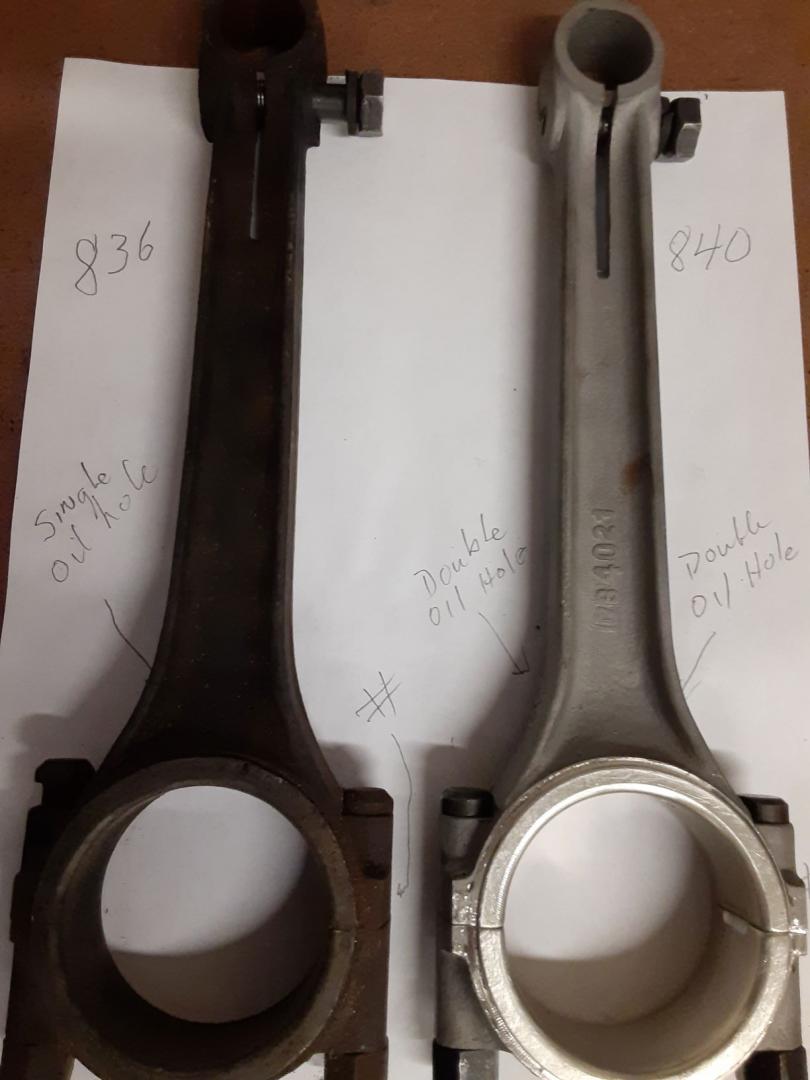
At least that’s what I think.
Jim,
Great, that makes sense. I can figure it out now.
Thanks for looking that up for me.
Bill
Jim,
Thanks for the feedback. I am running the “stroked” rods and they have the 2 oil holes. Must be from ’34?/35 on.
I have 826 rods that only have one hole.
What side should it squirt? Cam side? If I know that I can figure this out.
Bill
I have done the internet search thing and it appears if the Pierce 8 is like other period cars the pinch bolt goes on the cam side.
Anybody know anything different?
Rod,
See if this helps
CR Seal Finder (skfextranet.com)
Good luck
Bill
Jim,
Do you have the original boxes?
If so I have a solution for you.
Bill
Here is the sales pitch from the OSPHO site. I keep wetting and rubbing until the rust is gone. You can tell if there is still rust as it will have a raised surface or white patches
HOW SKYCO OSPHO WORKS
When applied to rusted surfaces, it resists/retards rust in chemical change on drying to a tough, hard surface ready for priming. A paint job will last longer after an application of OSPHO because subsequent paint coating securely attaches itself so that moisture and oxygen normally do not attack the metal. OSPHO is water-thin, can cover a larger area than paint, and goes on easily. It is equally effective for exterior and interior work alike. SKYCO OSPHO: a balanced formula of Phosphoric, Dichromate, Wetting Agents and Extenders . . . compounded exclusively by the Skybryte Company since 1947 … recommended by paint manufacturers.
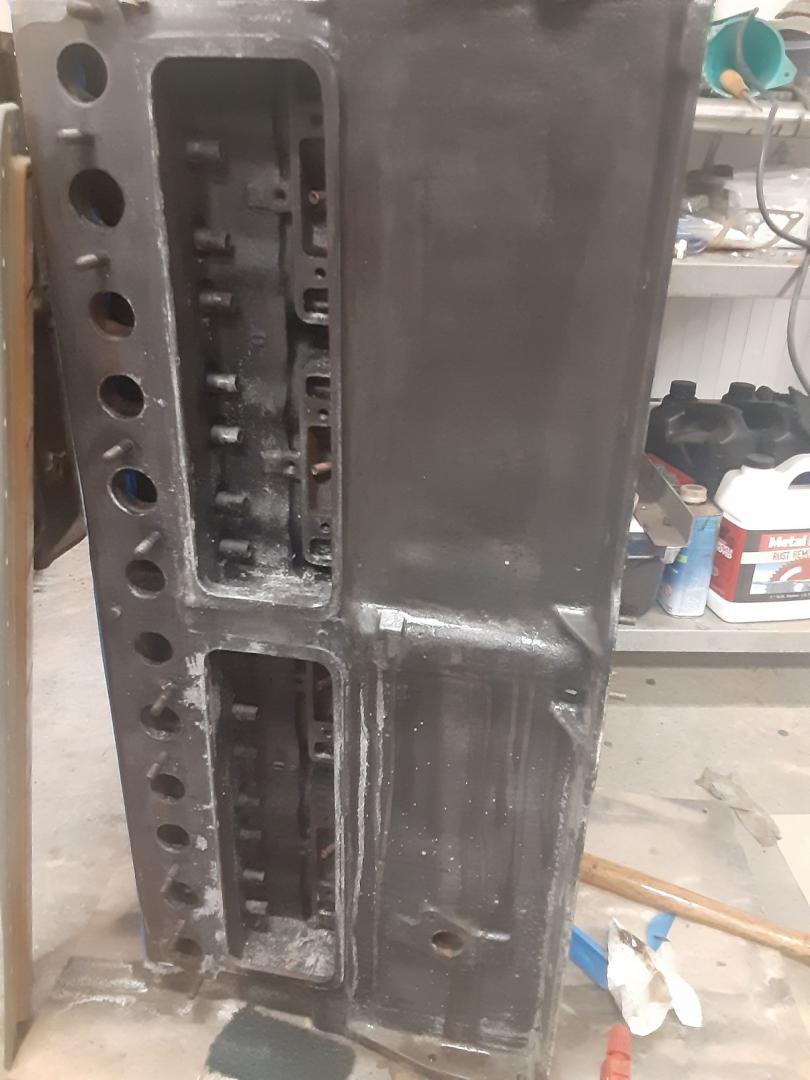
Here is the block after one coat. You may be able to see the white areas and the rough areas on the flange on the right. It needed another treatment. Spray, let soak, scotchbright, brake cleaner and a rag.
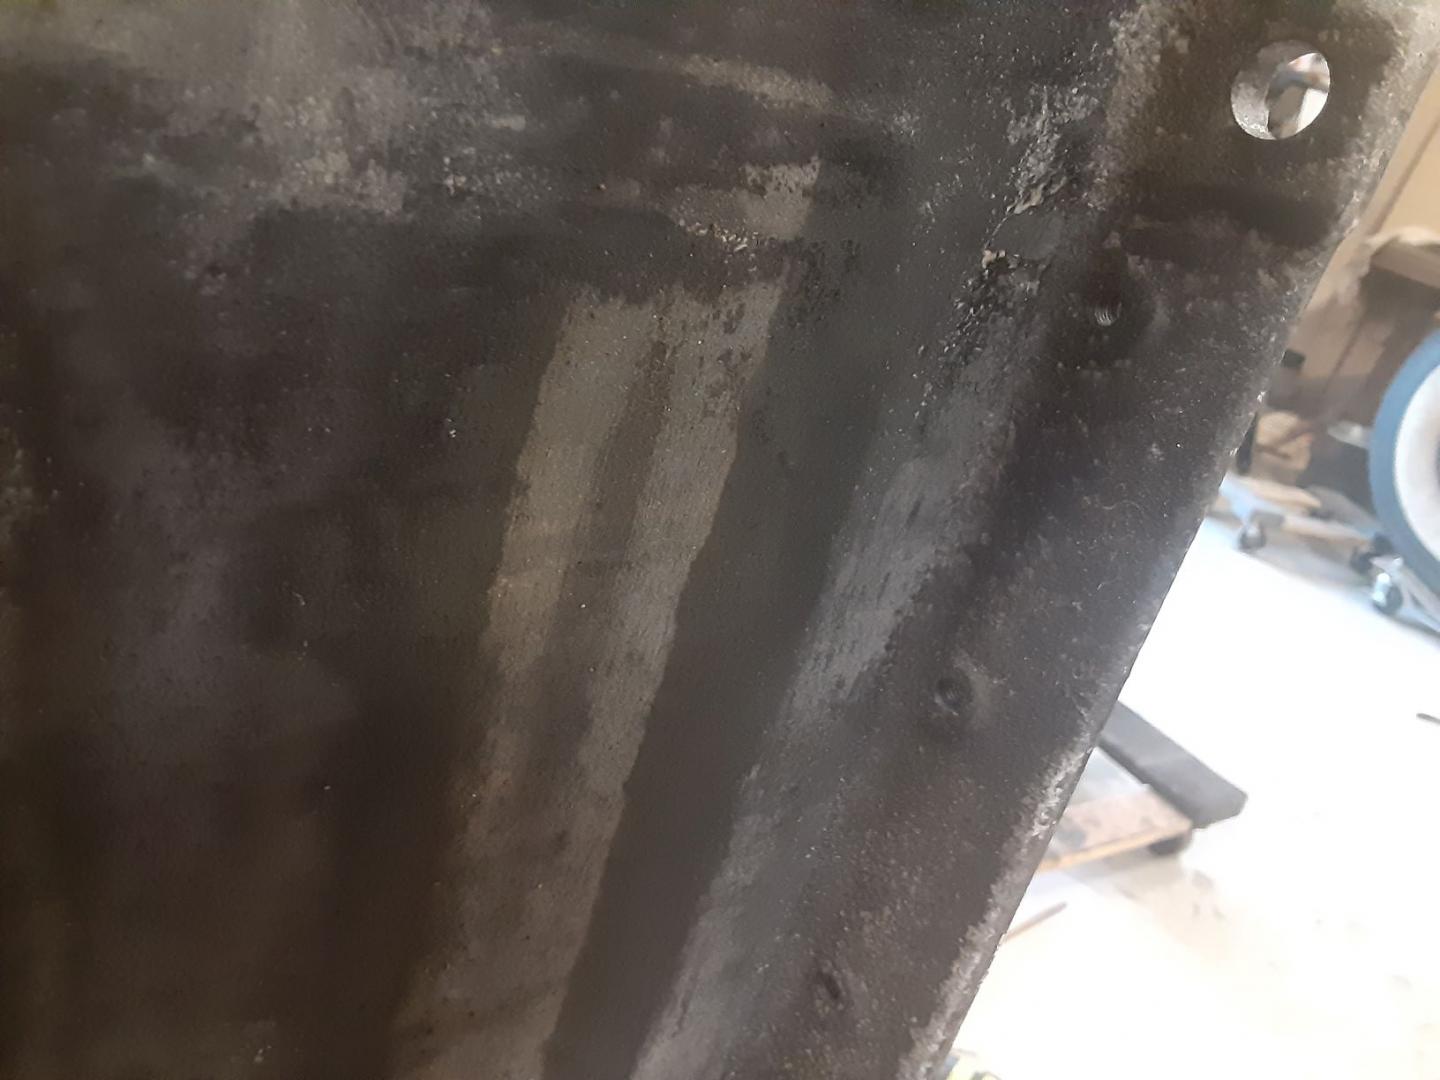
Here is how it ended up. Top 1/2 has had 2 rounds and the bottom has had one. The intake/exhaust area has only had one also.
