- Home
- About Us
- Join/Renew
- Member Benefits
- Member Pages
- Log In
- Help
- Museum Store
I found out who bought the Phaeton and he is a new member here as of yesterday. Hopefully he will fall in love with it and it will stay with him for a long time, but as mentioned above it would not be difficult to get out of it financially either.
I have posted a couple things there already because I think the photo hosting is far easier to use than here, but David’s comments bring up some very good points. I too question what level of access is being allowed through the AACA and believe that unrestricted access there will dilute the value of club membership by more than the benefits gained by increased interest it may generate in the cars. Being fairly new here I may be wrong, but once that genie is out of the bottle do we have any options for reversing it?
Thinking about it I am pretty sure Jim is right, but that is the way I was shown… not to mention that it takes a long time for the brass to cool when the outside temperature is mid 90’s
Brass is annealed by quenching. I used a propane torch and heated them to a dull red which appeared to chase the flames and turn dark, then very quickly quenched them in a half full 5 gallon bucket of ice water. You would think this does something to the plating but it was surprisingly fine after a quick polish.
I soaked the one from my 31 for a little over a month before giving up and getting a replacement unit. I still haven’t added the fluid as the car was apart for so long so I still don’t know if it will work…
here’s the link to the replacement I found, you have to type in king seeley and there’s two pages, that second page had my unit. I am not familiar with your later car and it might be different
http://www.classicandexotic.com/store/xsearch
Thank you for your comments!
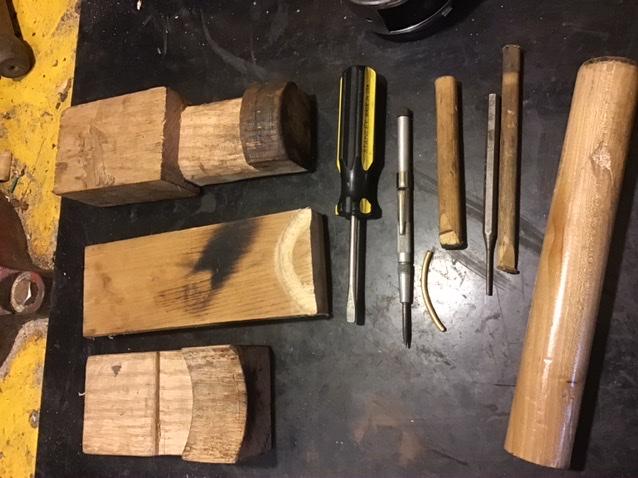
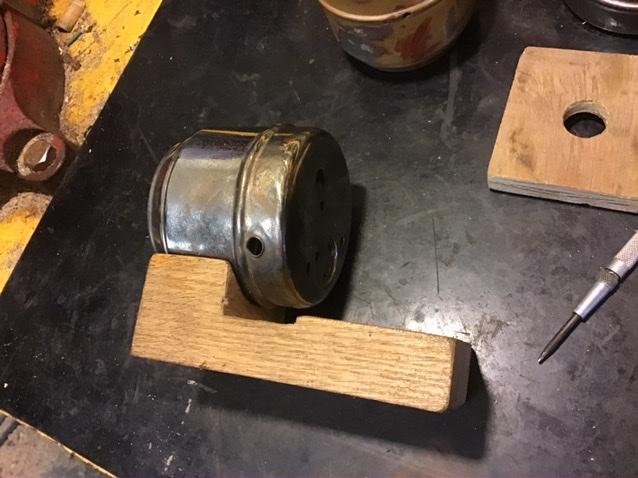
Here’s the “tools” I came up with while doing the work on the taillight buckets and rims. These were suggested to me by Greg Long and I would have preferred to make them in metal but I no longer have access to a machine shop so the books are oak and ash. A little crude but I was able to do a lot with them
The first block fits the inside contour and is cut so there is clearance for the lip at the opening, the second one was carved out to support the face radius of the rim, and the bottom one fits the outside contour of the bucket. I also made up some punches from hardwood dowels to fit different contours and use to rub out the brass, they wear out quickly but are easily made. The push-punch and drift punch were slightly rounded at the end for very small sharp dings and the screwdriver was also ground to a radius for using to rub the brass into the wood blocks to remove any creases. The brass wire piece was set on the internal contour block for working kinks out from the ridge. The inner and outer blocks could also be used with a c-clamp to remove the larger dents. If I had access to CNC equipment I could have included the ridge and outer flange contour to these and they would have been a lot smoother to use.
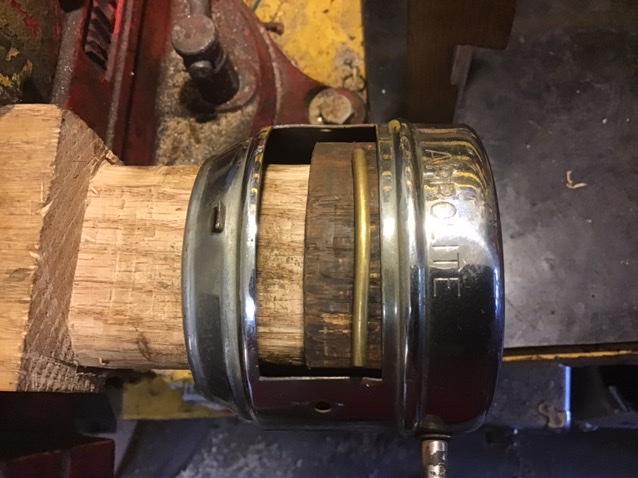
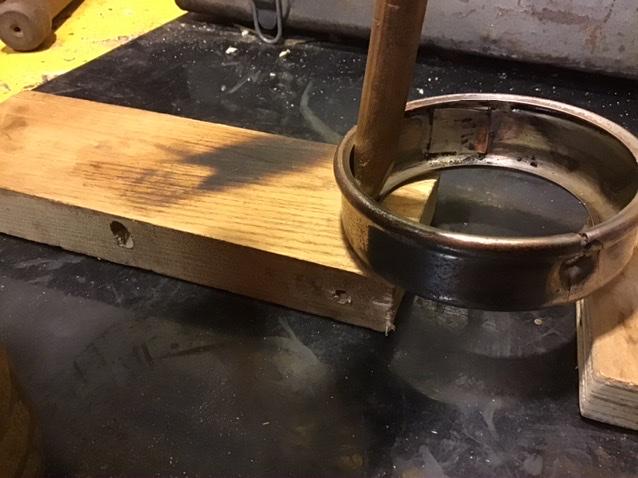
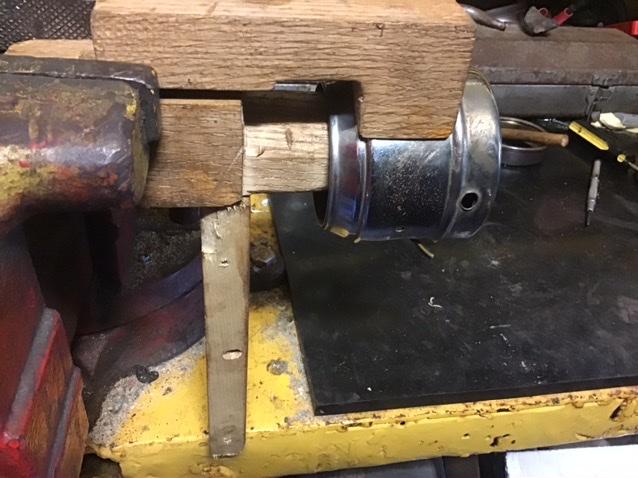
The brass used for the taillight parts would quickly work harden and needed to be annealed several times while working the brass especially on the larger denting. I also annealed each piece after the soldering as best as I could without melting the soldered patches I showed above.
Hopefully this will help others out, I pretty much made it up as I went along as there doesn’t seem to be any books on restoring cracked spun brass items.
This car is being absolutely lambasted on the AACA…
I agree it’s intriguing but without documentation it doesn’t seem to be worth the price of admission let alone the “restoration” costs. Maybe I am off base there but my $0.02 Worth…
I put quotations on restoration because without the missing provenance what do you do with it???
You get two thumbs up! Although one of them feels sprained right now as it is amazing what a teeny bit of rust will do to those housings.
Who ever did the interior rewired the lights backwards somehow and I had a dead short when I opened the back door. Now I can hopefully find that short.
My apologies for the picture at 90 degrees.
When I took mine apart that was all I could think of too.
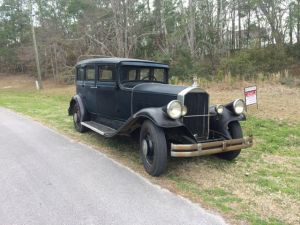
This was on eBay about a year ago give or take.
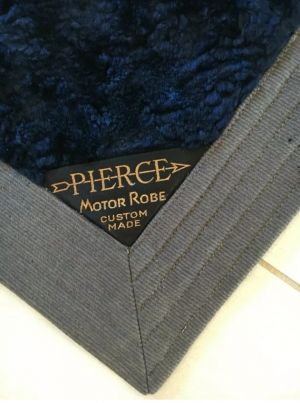
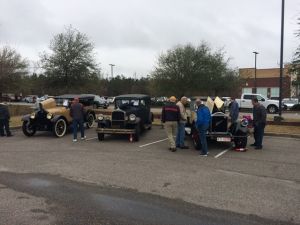
I bought it from Walt and Tim Schilde from the eBay picture you showed. I am currently refreshing the engine with new rod bearings, pistons, valves, etc. I was immediately interested due to the originality of the car not to mention the condition. We drove it to the first show in our area last year right after going through the brake system and received a HPOF trophy just for showing up. The mascot was sitting on my desk for the last 20+ years and now has a better home – for some of the time anyhow…
A closer picture showing the repaint on the door.
How many more pictures would you like?
Thank you Bill, I now see these are similar but different… I’m not very knowledgeable about the exact years of changes and thought they would be the same.
PS, if anyone has a good left bucket with rim and glass backup lens they would part with, I’d be interested…
My left bucket is a mess and I don’t have the rim or lens, Thanks
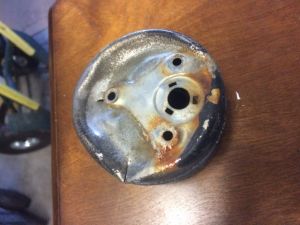
And another one
On my 31 the center bucket is the red running light with the license plate cutout, the backup is on the left and the brake light on the right side of it. Are they different in 29?? Or is that the one you need to get a picture of?
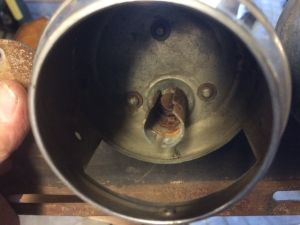
My left bucket is off right now, but here’s a picture of the center one in case it would help.
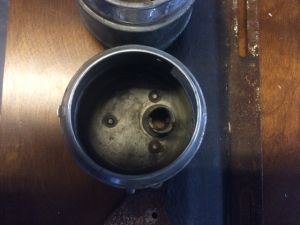
This is what my 31 sedan looks like in that mounting area.
