- Home
- About Us
- Join/Renew
- Member Benefits
- Member Pages
- Log In
- Help
- Museum Store
.
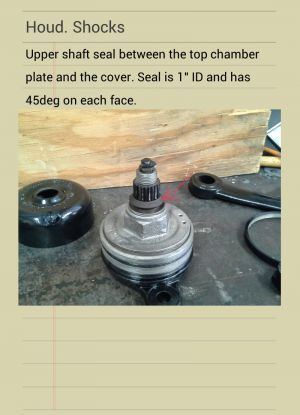
.
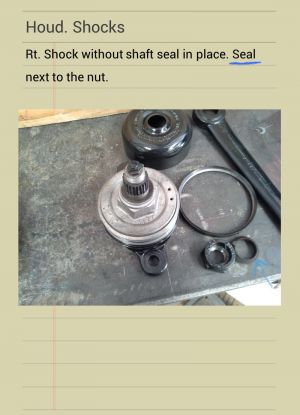
.
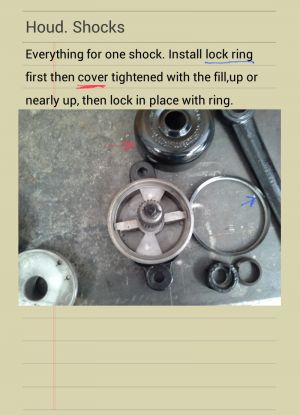
.
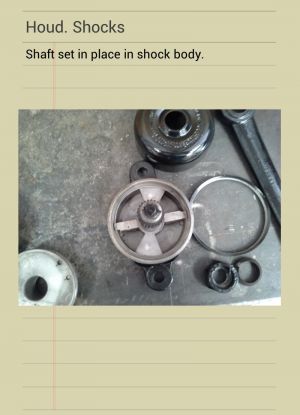
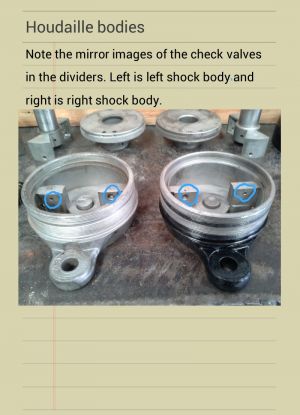
The check balls are held in by a small pin and again they freed up, no spring this time.
According to the Pat. App. the holes are for air to vent from the working chamber so they go up as near as possible when installed in the car. The almost opposite holes are plugged so I think the cover is clocked to the housing and they used the best match and plugged the other two.
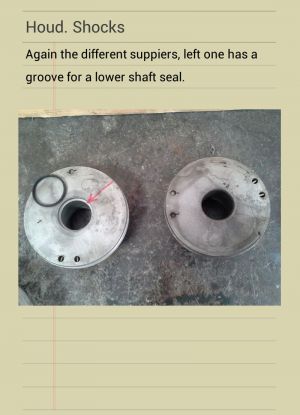
.
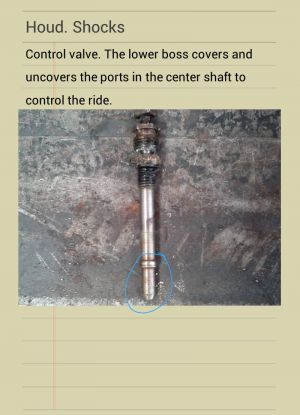
.
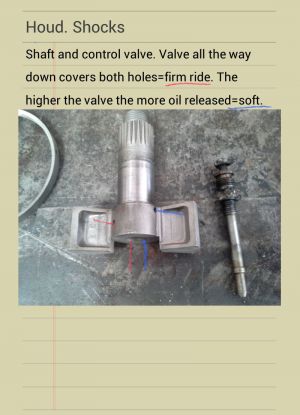
.
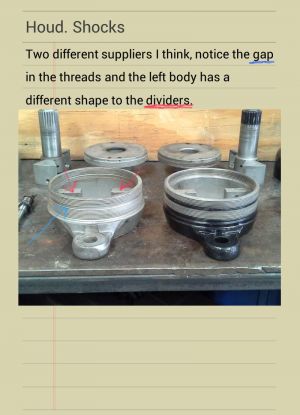
The check balls in these shocks freed up with carb spray, dental picks and air pressure. The springs still had tension and the ball were slightly pitted but the balls seal about 80-90% so since it looks like the only way to get them out involves a lot more work I left them. Your milage may vary.
I think this is going to work now. The pictures might be slightly confusing so ask if there are questions.
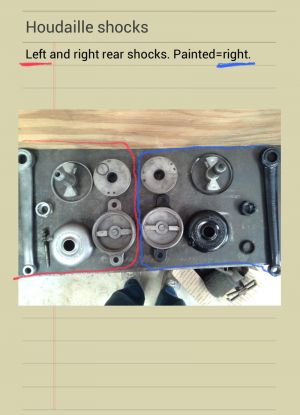
I have 11 pictures with descriptions of the rear shocks disassembled and cleaned. If there is intrest on the board I will see if I can figure out how to post them. Does each picture need to be a seperate post?
If I can only post 1 picture at a time and only a couple of people are interested I can email them to you if you contact me instead of making this thread even longer.
At this time I am going to assume that the front shocks are the same inside.
Greg,
So everybody understands I don’t claim to be an expert of anything in reguards to a PA since this is my first one and no telling who or how many times it has been molested in the past 80+ years. All I can do is deal with what I have now.
The only fixture I have made so far is a 3″X3″X1/4″ piece of angle iron bolted to a heavy steel workbench and drilled to bolt the shock body to. It holds the body securely while trying to get it apart. A 1 11/16″ box wrench from a used tool store and a cheater bar has worked so far in getting the inner plate off. The plate is under the nut, arm and round fluid reserve (with the fill plug)
I think I found seals that will work but wont know until next week. If I need to make anything else I’ll post a picture if I can’t describe it.
I think that when the glycern evaporates that is what leaves the semi-solid in the workings.
I thought I had read in some paperwork that Pierce used glycerin and alcohol.
It’s more the principle. I know I can do it for not much more than 3X what I could send it out for. I made a fixture to be able to get them apart and so far they seem to be in pretty decent shape wear wise. I’ll bead blast them tomorrow for a better look. I don’t see any bushings at this stage and the shafts fit the housing with almost no play.
John Cislac said to use the fork oil but he said that it was an experiment as to the weight of oil.
I had very good results protecting the paint on rims using strips cut out of 1Qt oil bottles. Pry against the strip when removing the ring and put strips between the rim and ring when replacing. Remove the strips after the ring is completly installed. NO chipped paint.
Are these the same pistons as a 1930 8 cyl? 3.5 bore.
Bob,
I went through this same situation with the timing chain and sprockets on my 1930. The counterman said he could get the chain but no sprockets, after my saying several times that if the company makes chains they must have sprockes to go with them. The manager came over to see what the problem was, then he pulled out a book with the sprockets listed. About $600 for the chain and both sprockets. Needed to machine the sprockets to the correct mounting. If doing it again I would send the sprockets to them for the machining. Jim Livings
