- Home
- About Us
- Join/Renew
- Member Benefits
- Member Pages
- Log In
- Help
- Museum Store
Opening scene in Rodney Dangerfield’s Back to School
IMCDb.org: 1933 Pierce-Arrow in “Back to School, 1986”
I have a mixture of PA and Eaton valves. The PA ones have a slot in them for a valve grinder.
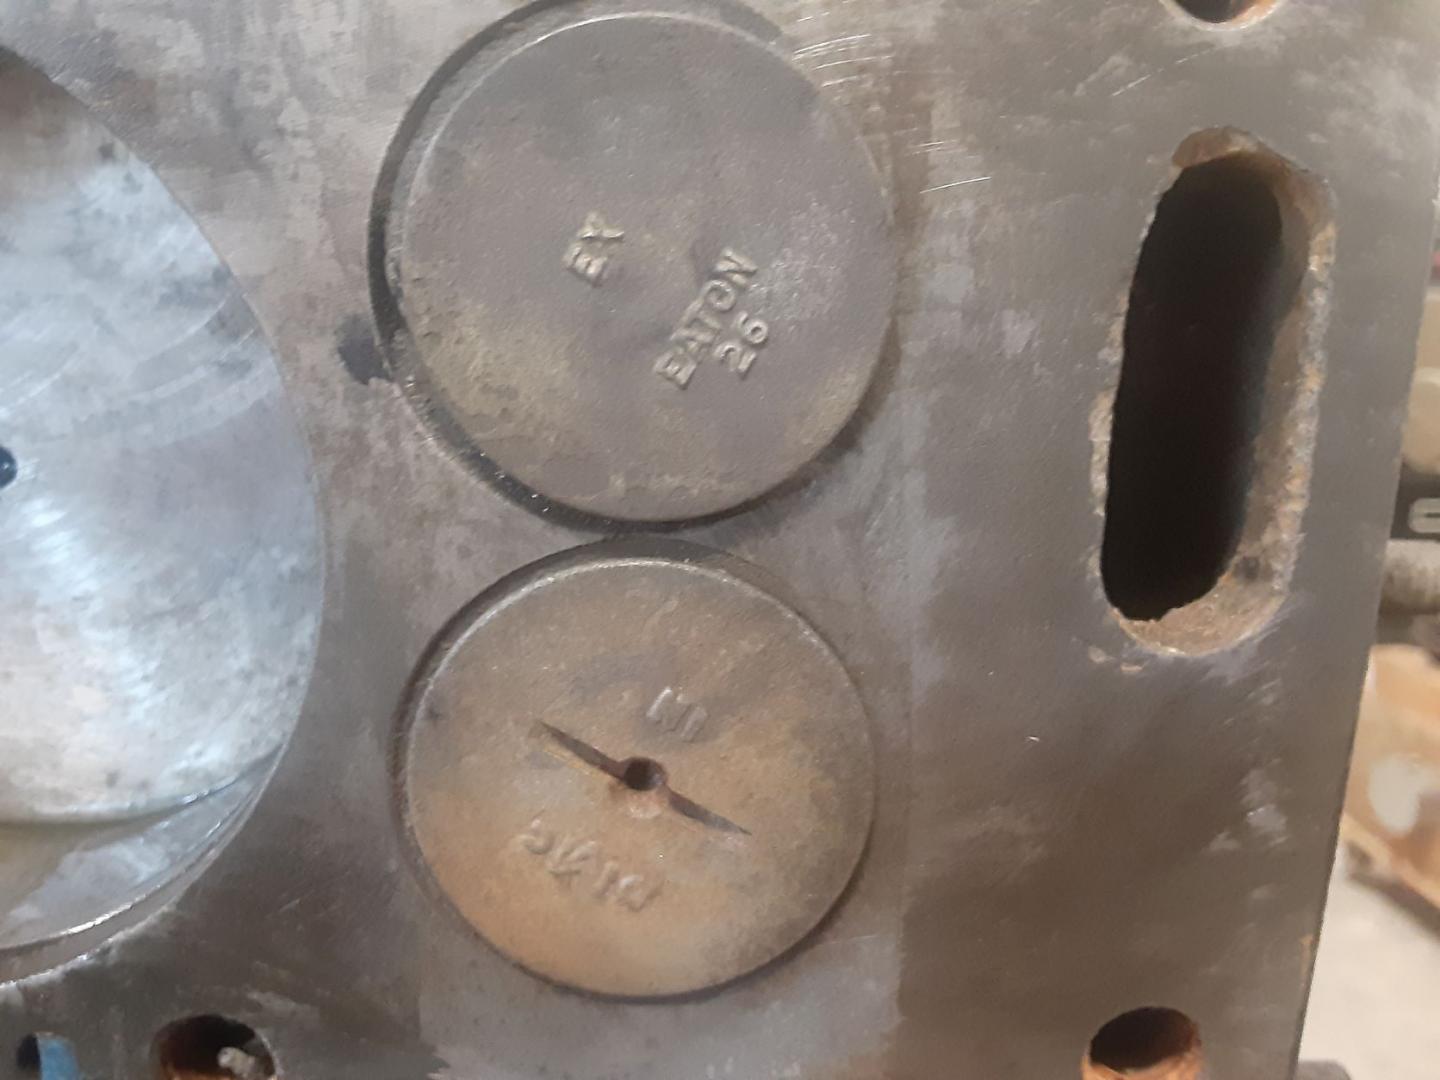
Here is the grinder. You put the 1/2 moon blade in the slot and turn the handle and the grinder rotates clockwise and then automatically switches to counterclockwise.
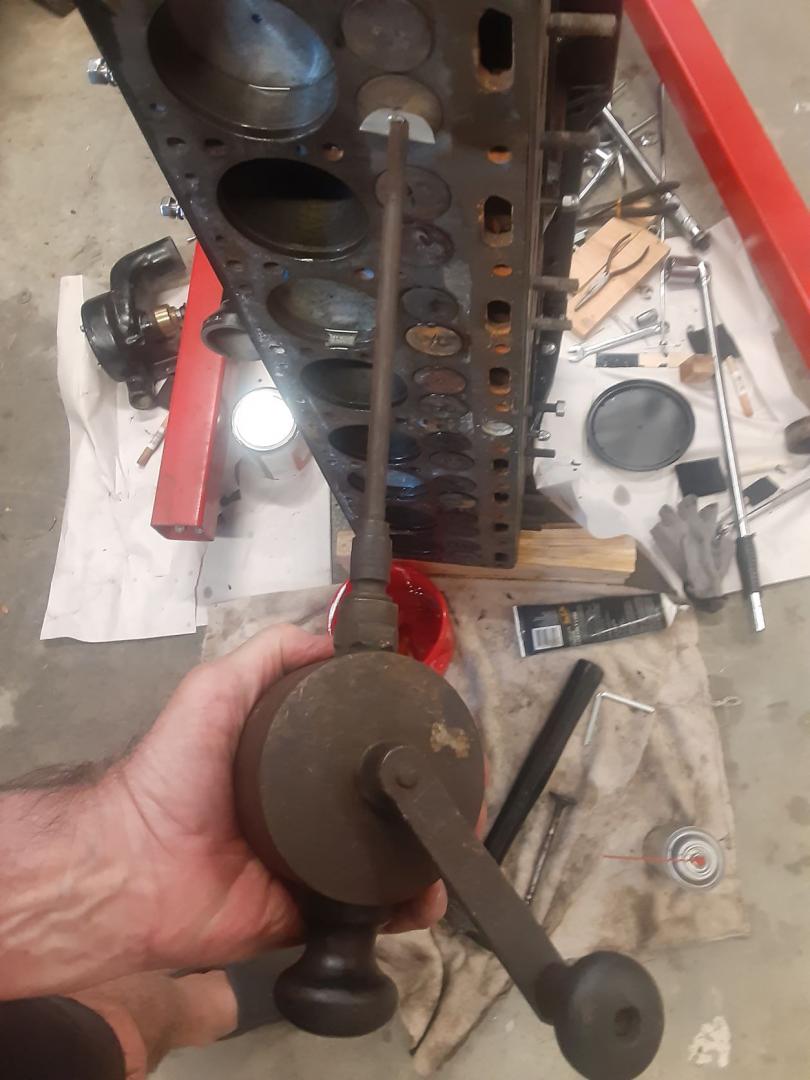
I am trying to fit the magnet setup to this grinder to do the valves that have no slot. The surface is too rough for a suction cup.
Jim,
My ’33 and ’35 blocks, both have the step machined in them. Both were standard bores.
Bill
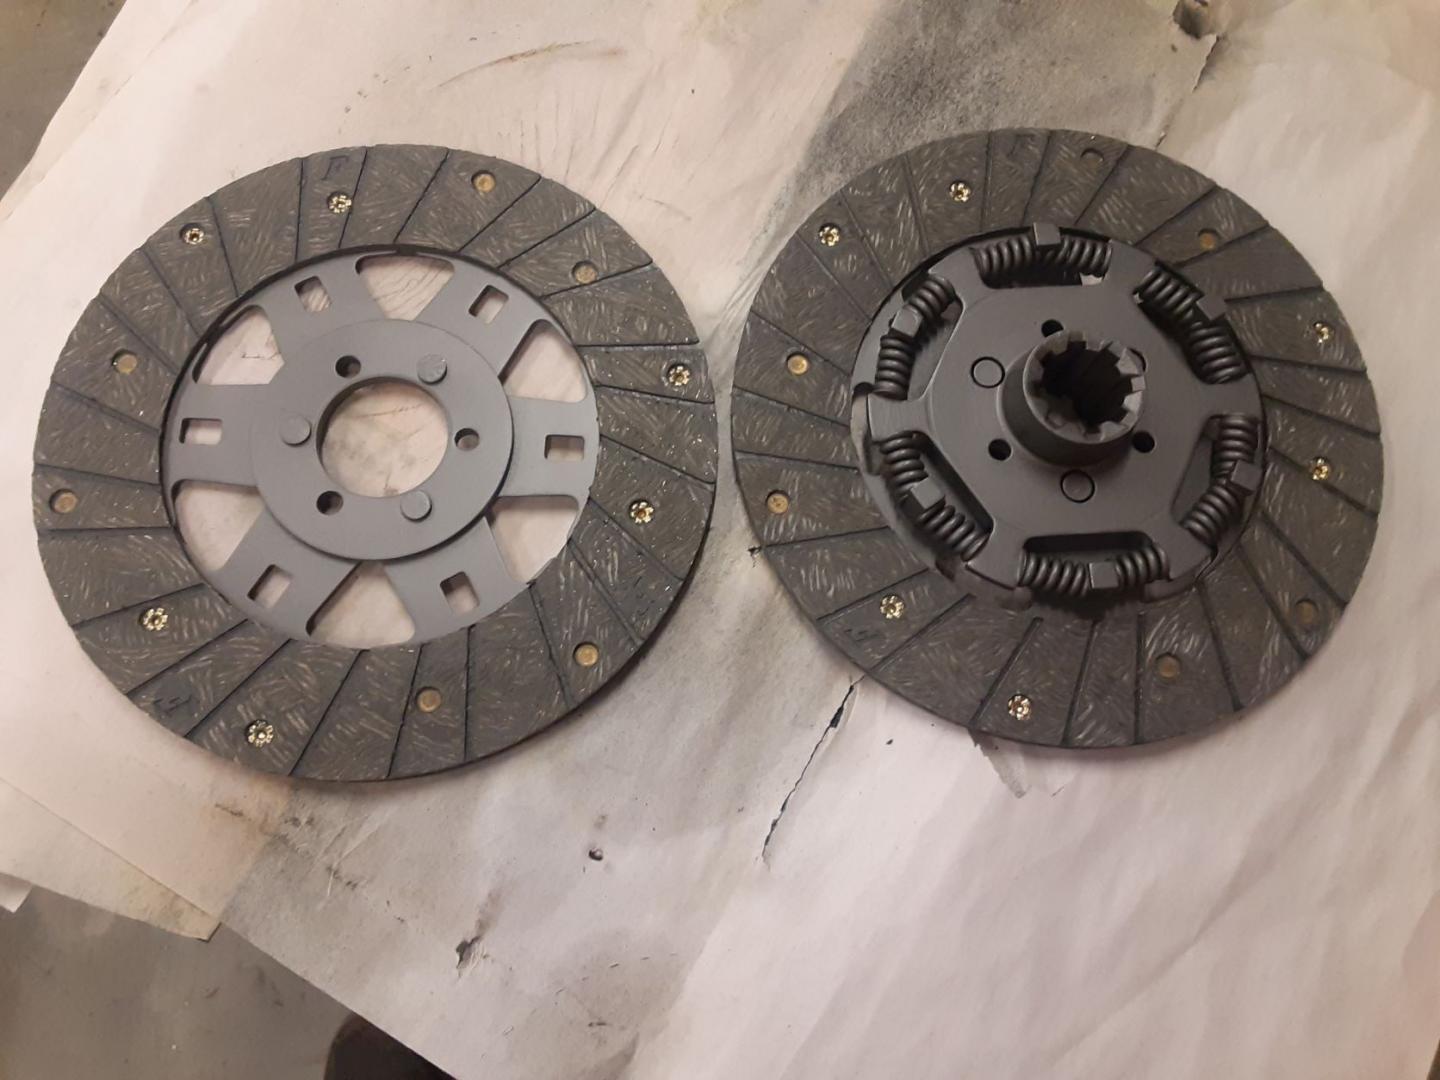
I was very pleased.
It’s back and pretty quick. Here is the returned part. All Friction, Portland, CT. Half the price of Fort Wayne.
Greg,
I even tried to sell them steel for them and got nowhere.
Greg,
I haven’t tried lately, but previous attempts led to being directed to a distributor.
I think some of the people who used to cater to our kind are gone.
Bill
Greg,
I have used these people in the past.
Barbare’s Aluminum Foundry, Inc. – Greer, South Carolina – (barbaresaluminum.com)
I don’t know if they have capability to do that length.
Bill
After discussing with Guru Greg Long, I settled at .004″.
I asked Greg about setting the timing gears and chain.
The crank gear has 1 alignment dot and the cam gear has 2.
Unlike most cars, you do not align the dots opposed to each other. Both dots are at 5 o’clock, when viewed with the engine sitting on the head surface. You place a straight edge between the 2 sets of dots and make sure it goes through the centerline of the cam gear.
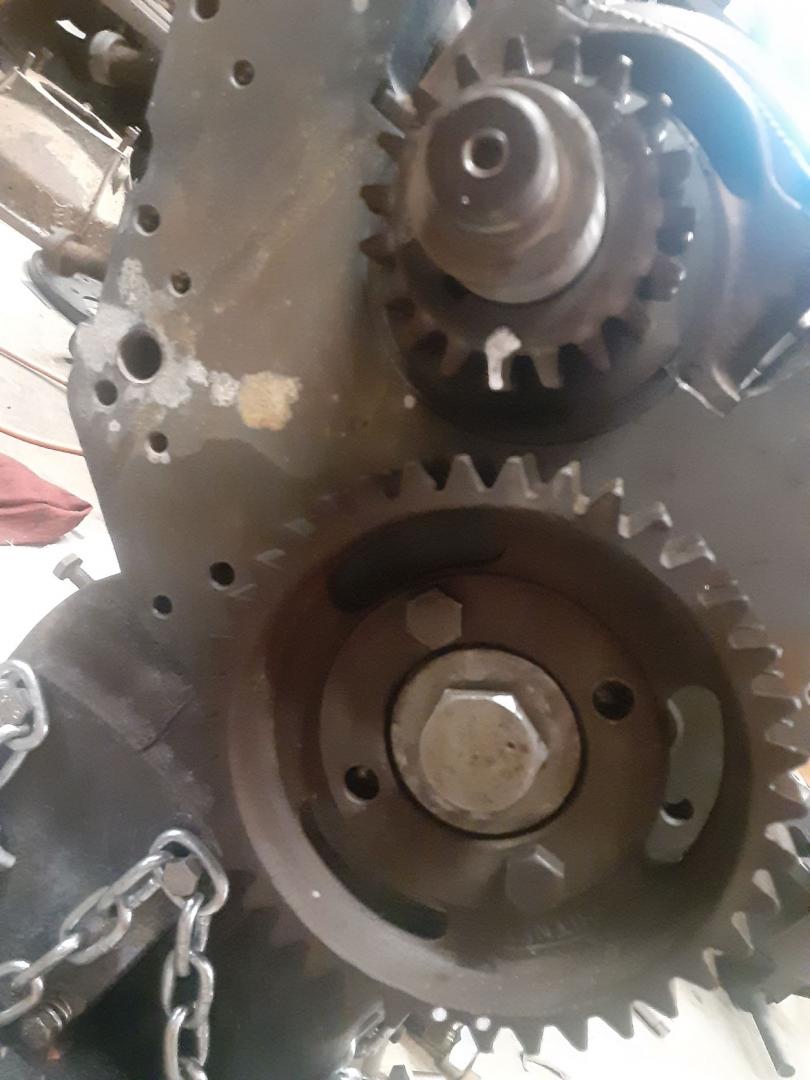
To confirm, place #1 and #8 cylinder crank journals at top dead center. The cam lobes on #1 should be pointing up and #8 should be pointing down. #1 is at the bottom of the picture. Thanks for your help Greg.
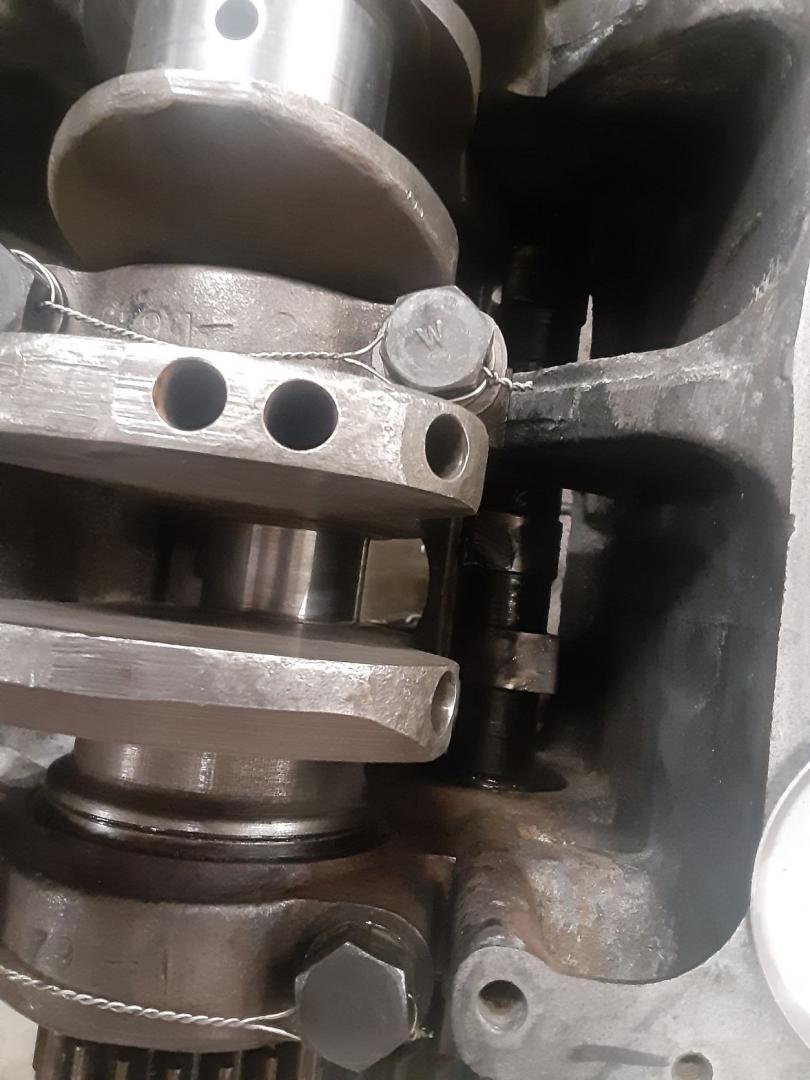
Jim,
I have a new set of 5, 7.50 x 17, white walls.
Bill
First, make sure you have enough wire, 2X distance between bolts plus additional to compensate for the intermediate and final twists.
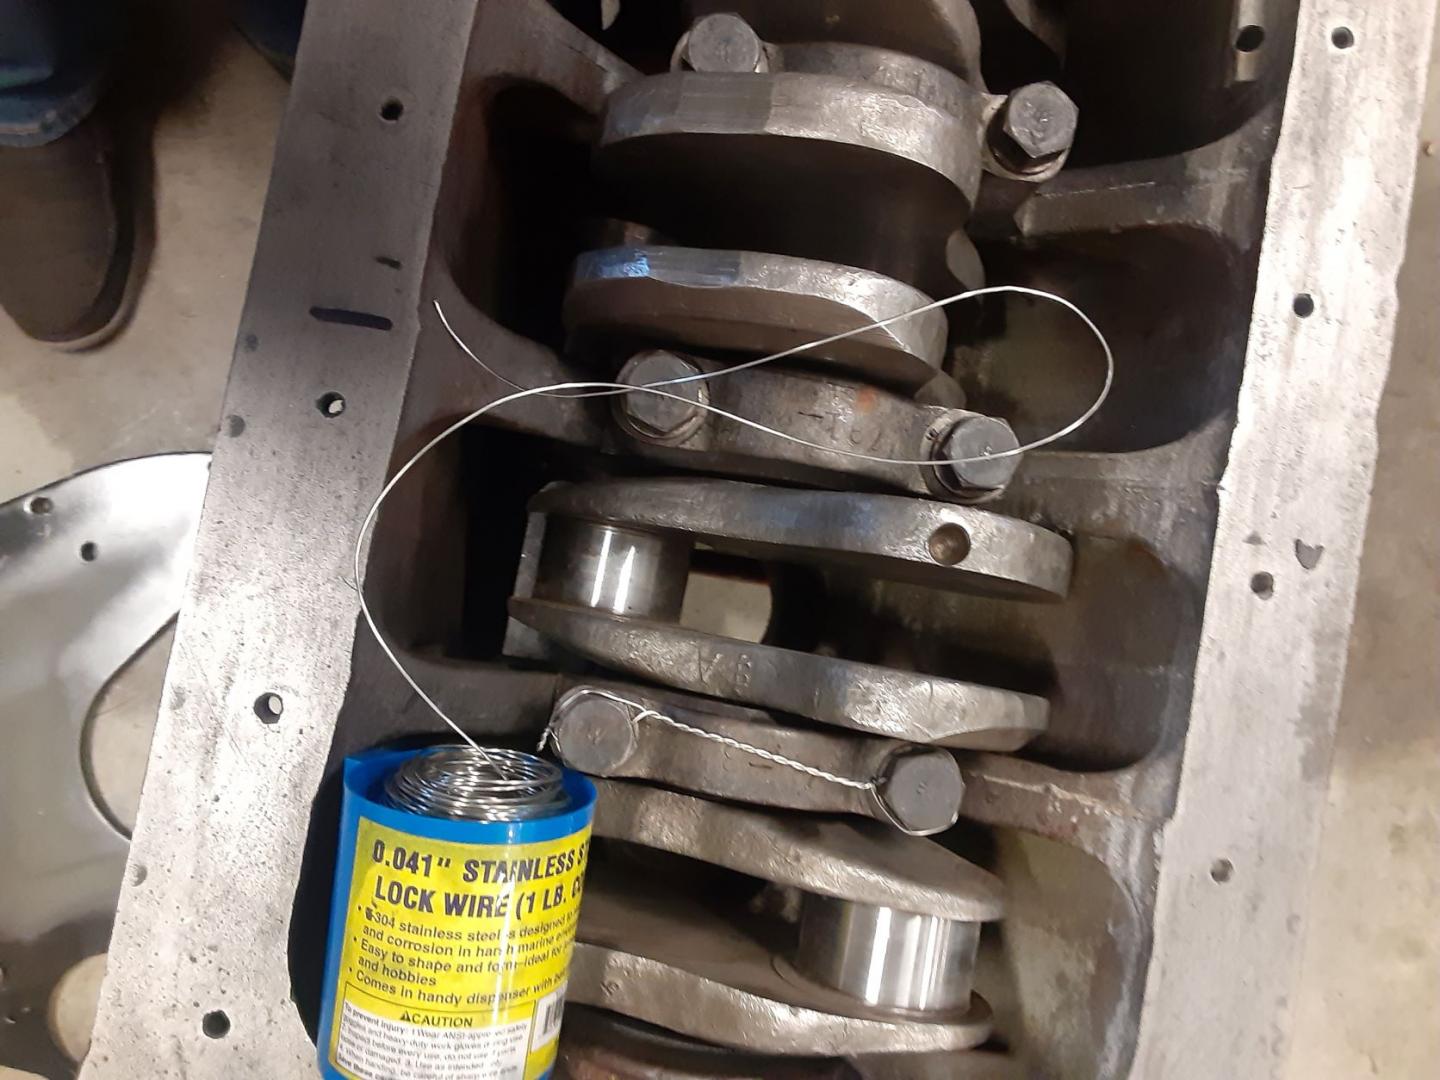
You are going to route the wire in a reverse “S”. After running the wire thru the hole make sure the righthand wire passes under the lefthand wire to start the clockwise winding. The theory is that you want the wire to go into tension if the bolt starts to unwind.
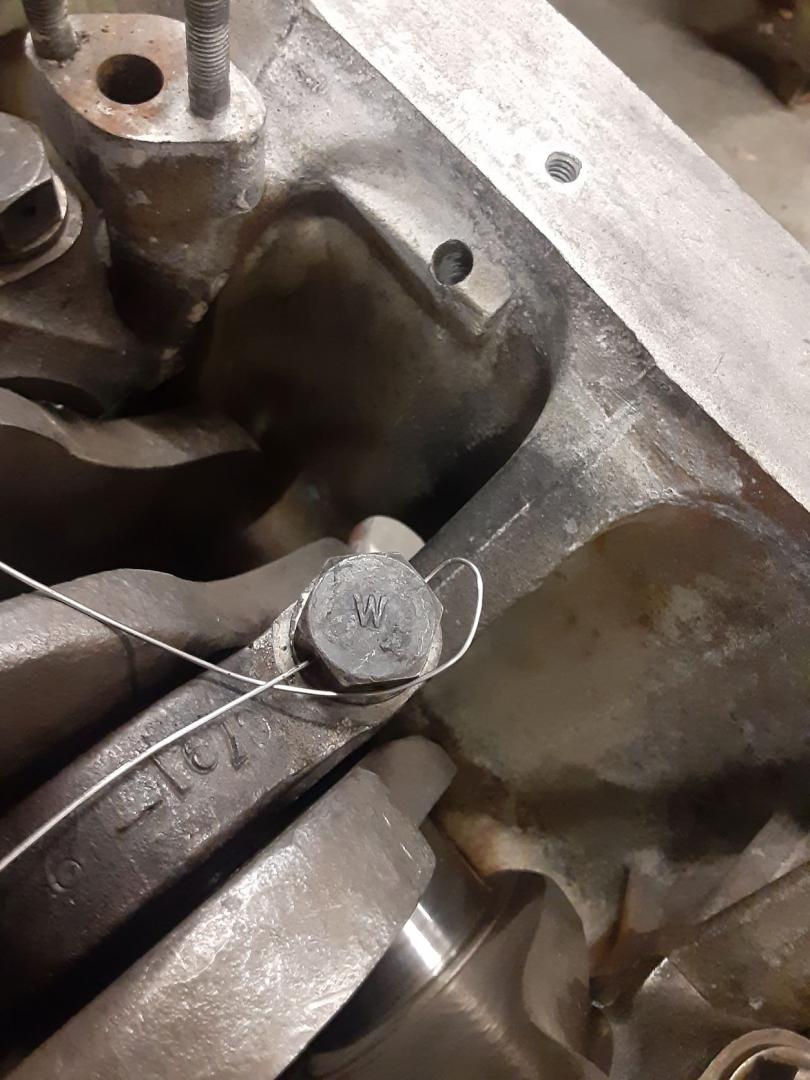
Pull the wire tight and approximate where along the length it will reach the opposite bolt and clamp the spot in the pliers.
Rotate the plier/wire with the drill in forward until the wire is twisted. Some recommend 7 twists per inch, however you measure that!
Pass the free end thru the other bolt hole and repeat the twist. Some say you should make the second twist counterclockwise, but I am not sure that makes a difference. With the drill you just put it in reverse to do the counterclockwise twists. Cut off the excess and bend the resulting pigtail down.
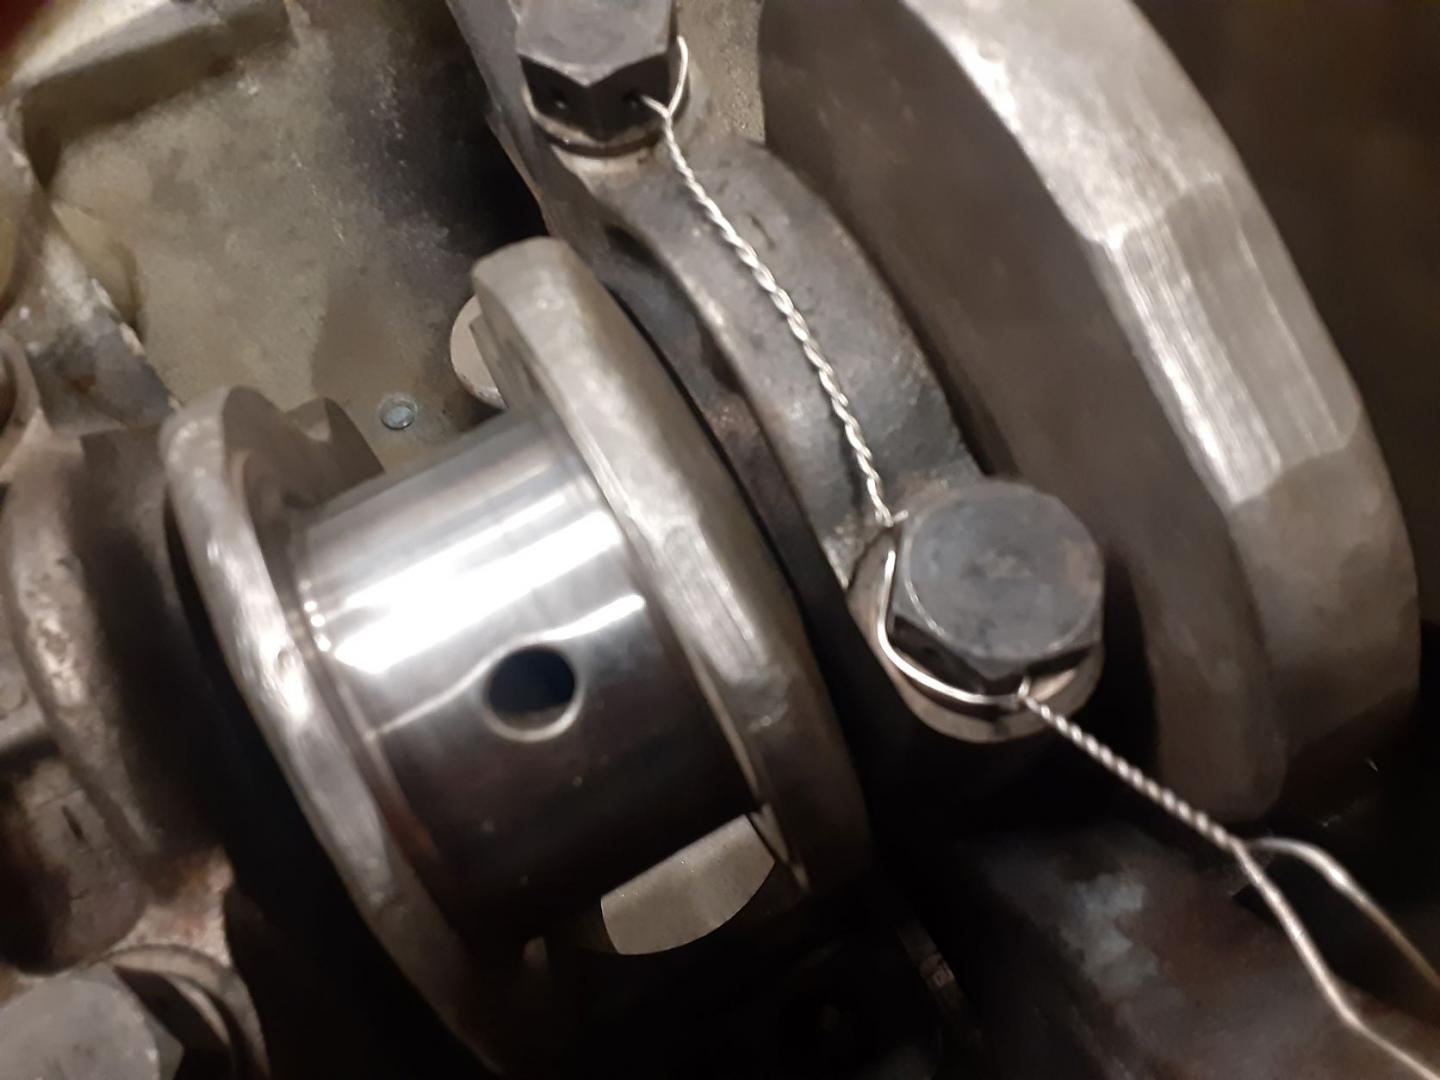
Finished wiring, on to the other 8.
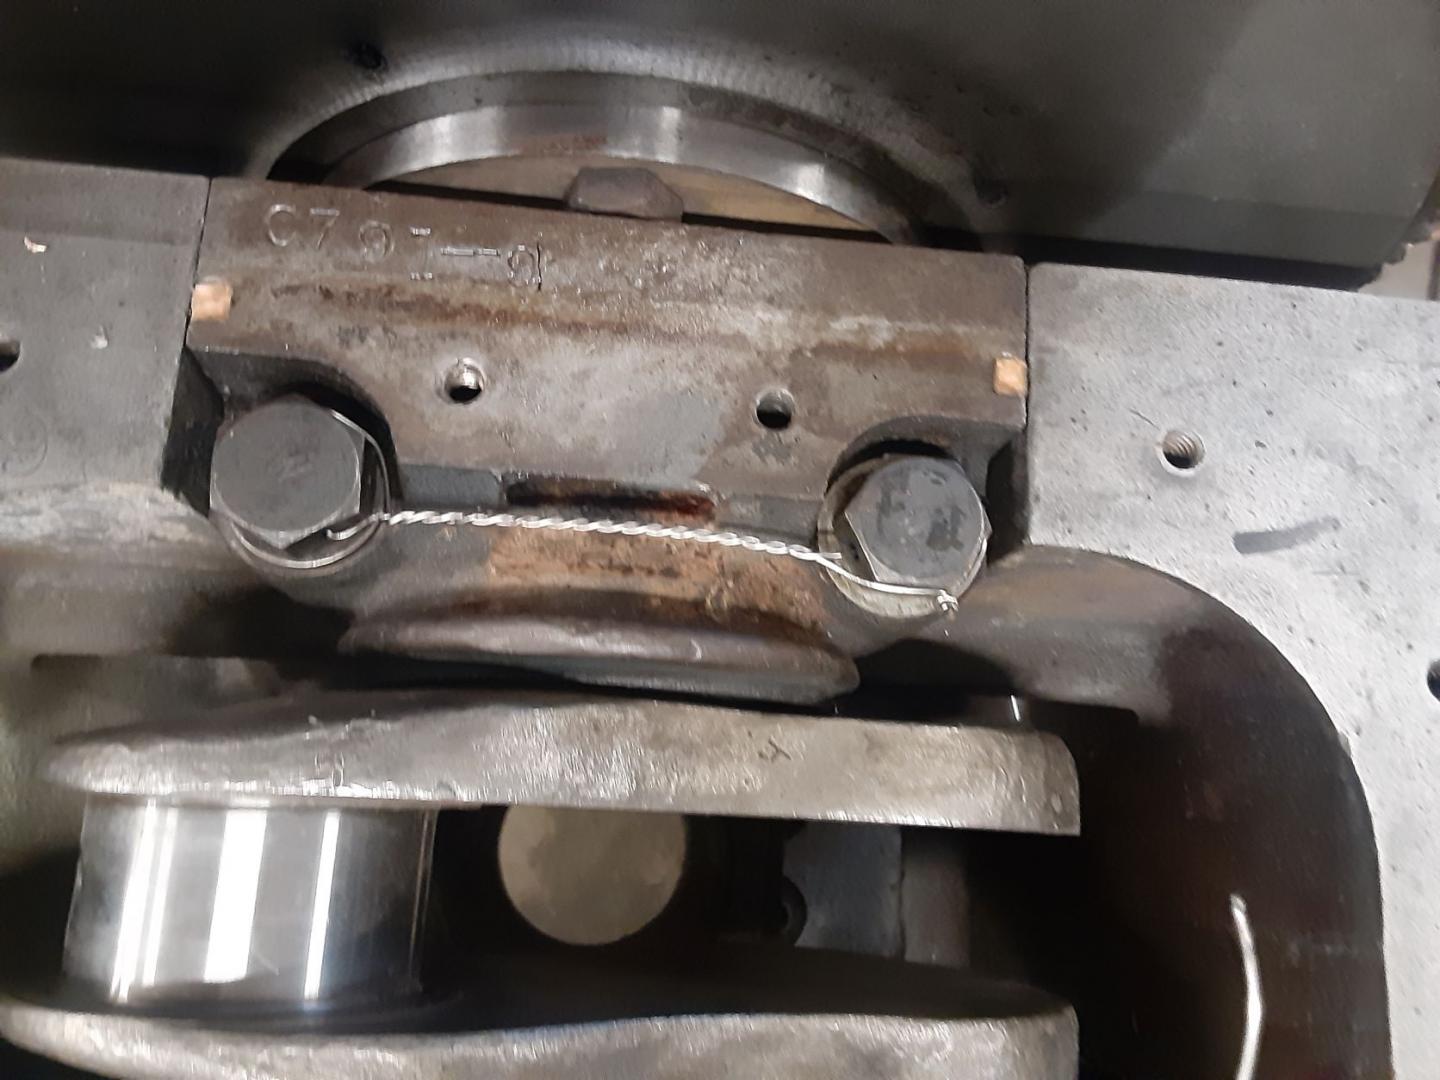
Today I decided to safety wire the main bolts.
I adapted my safety wire pliers so I could use my drill to twist the wire.
I cut off the twisted rod that spins the pliers and inserted a headless bolt into the hole and welded it in place.
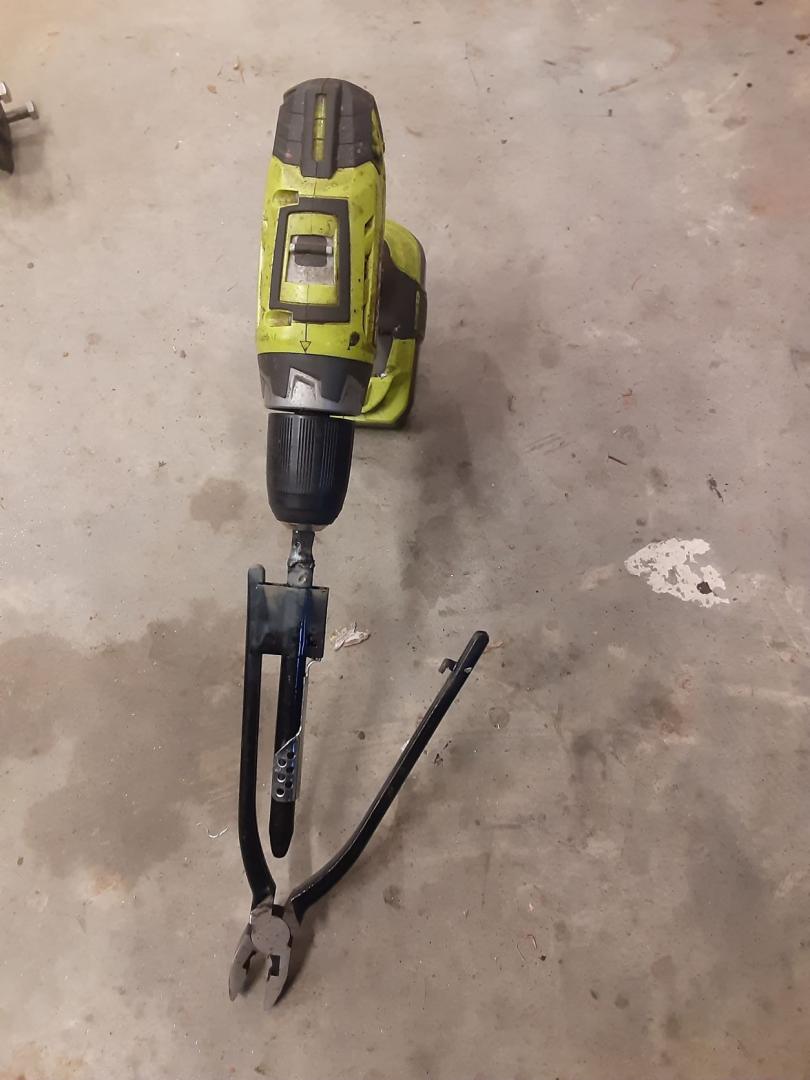
I am using .041 stainless wire.
Cut the ends of the packing at a 45 degree angle, same direction. End up being about 3 7/8″ long.
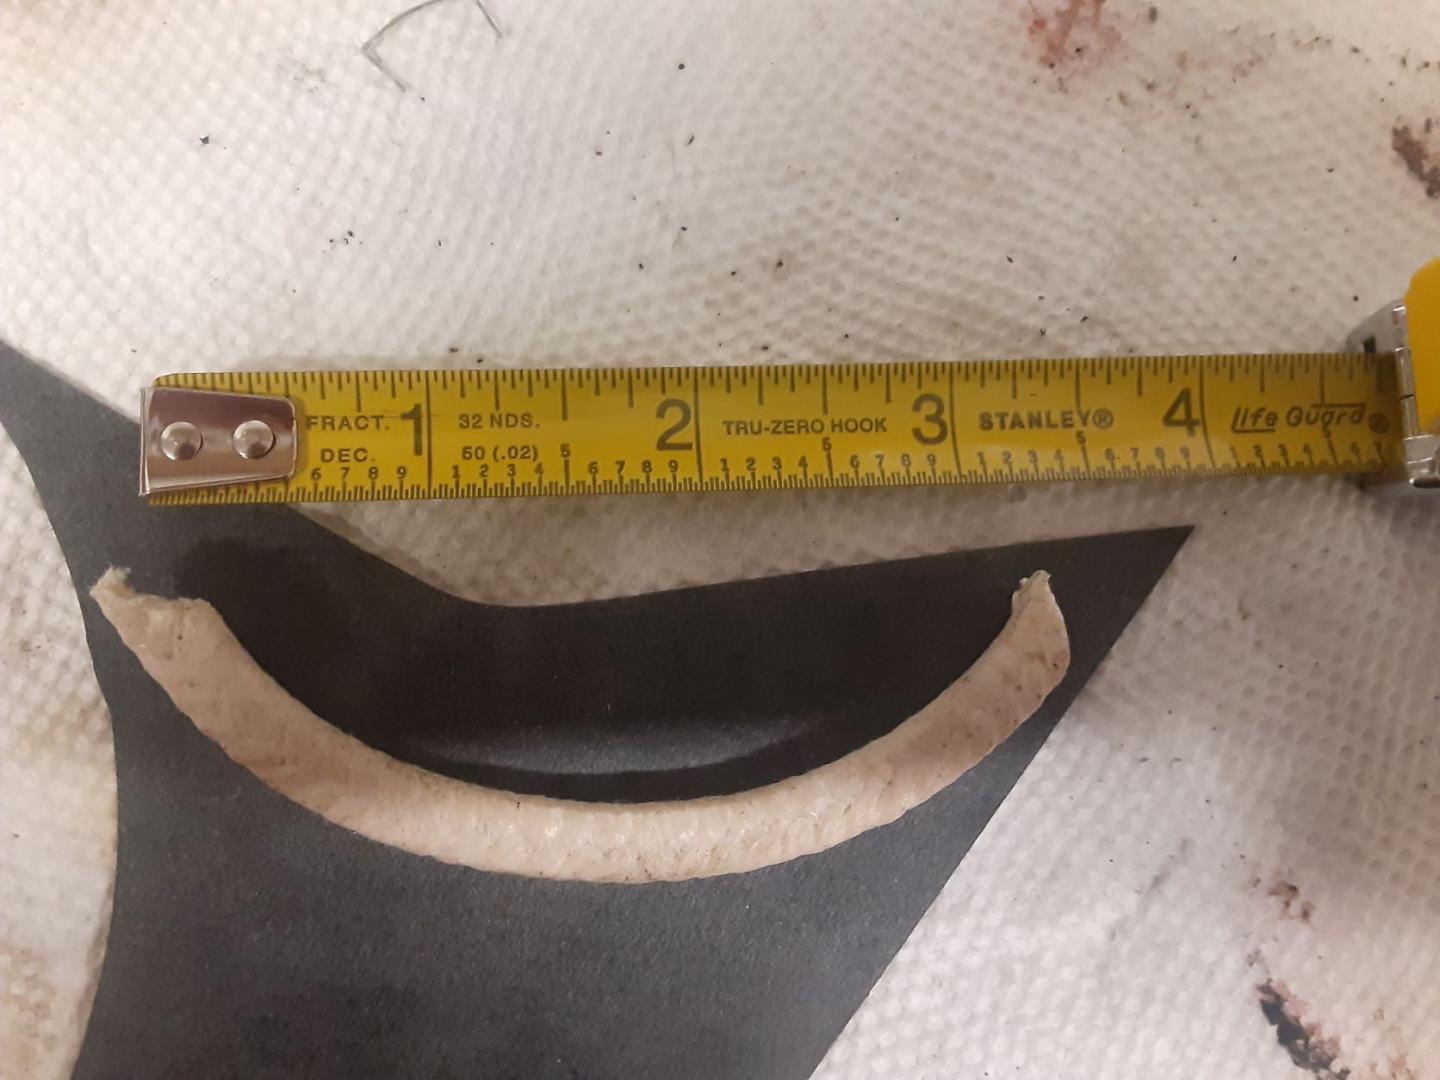
Coat the inside of the packing with synthetic lubricant and insert one end and wrap it around the shaft, pushing it down into the groove between the shaft and housing.
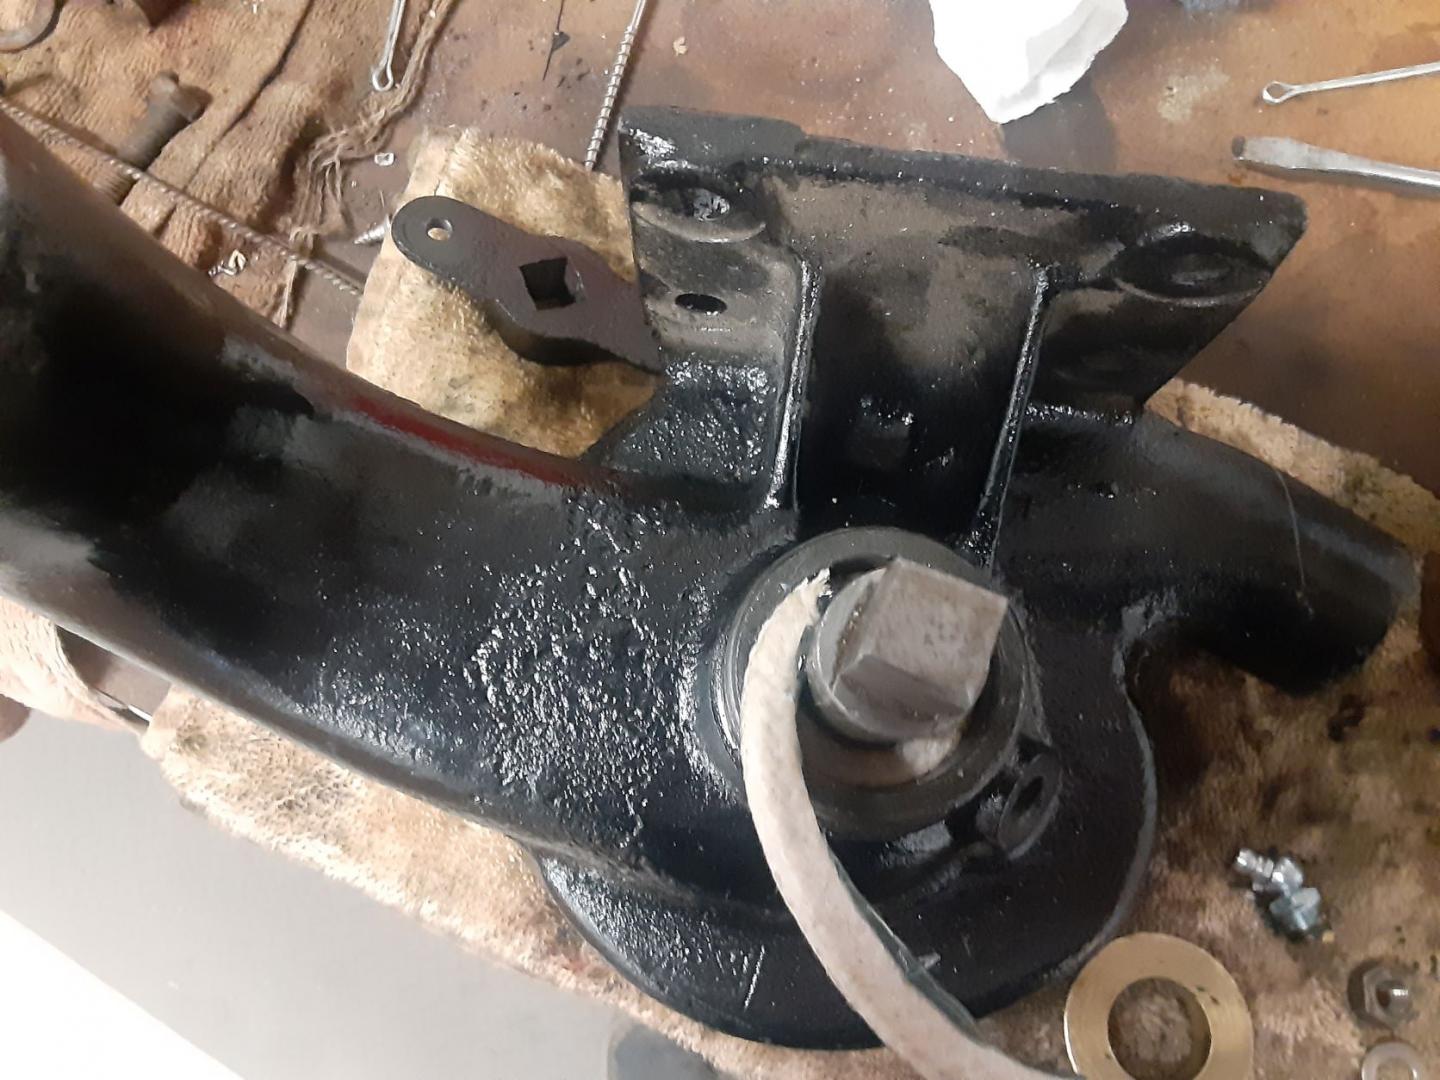
I used a flat blade screwdriver to pack it into the opening.
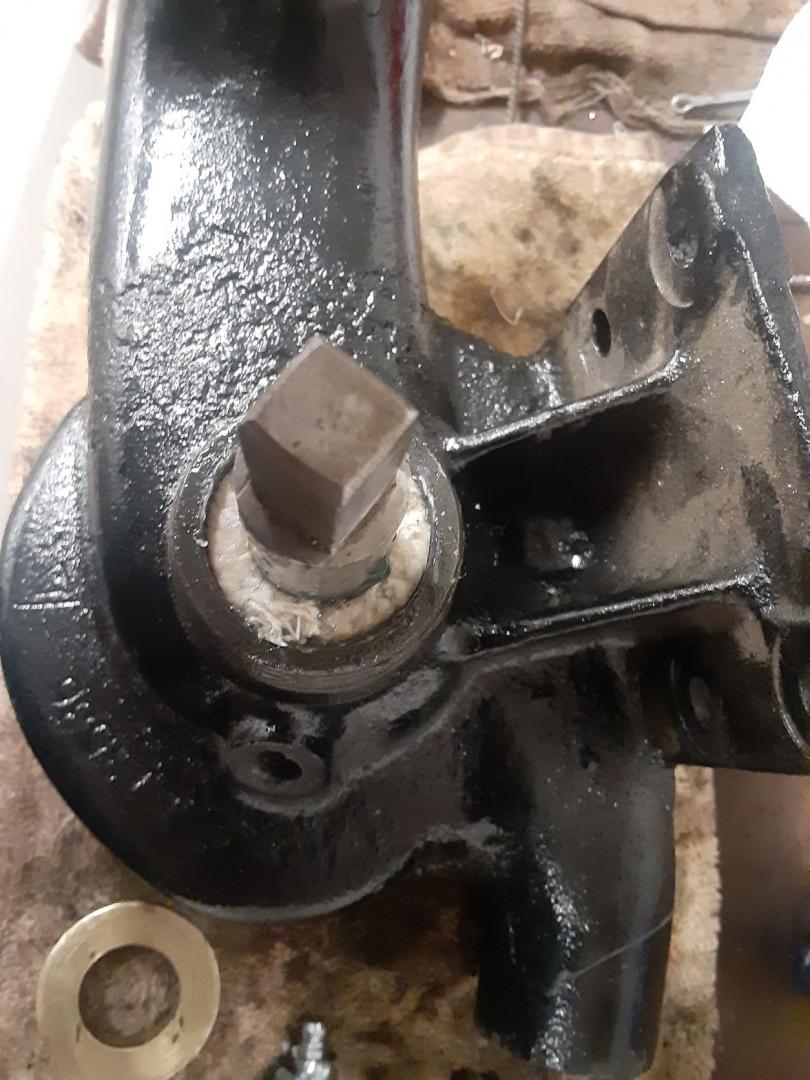
I ended up using 3 rings or about 3/4″ of packing. I rotated the ends of the rings 60 degrees from the ends of the previous ring.
Then place the brass compression ring over the shaft.
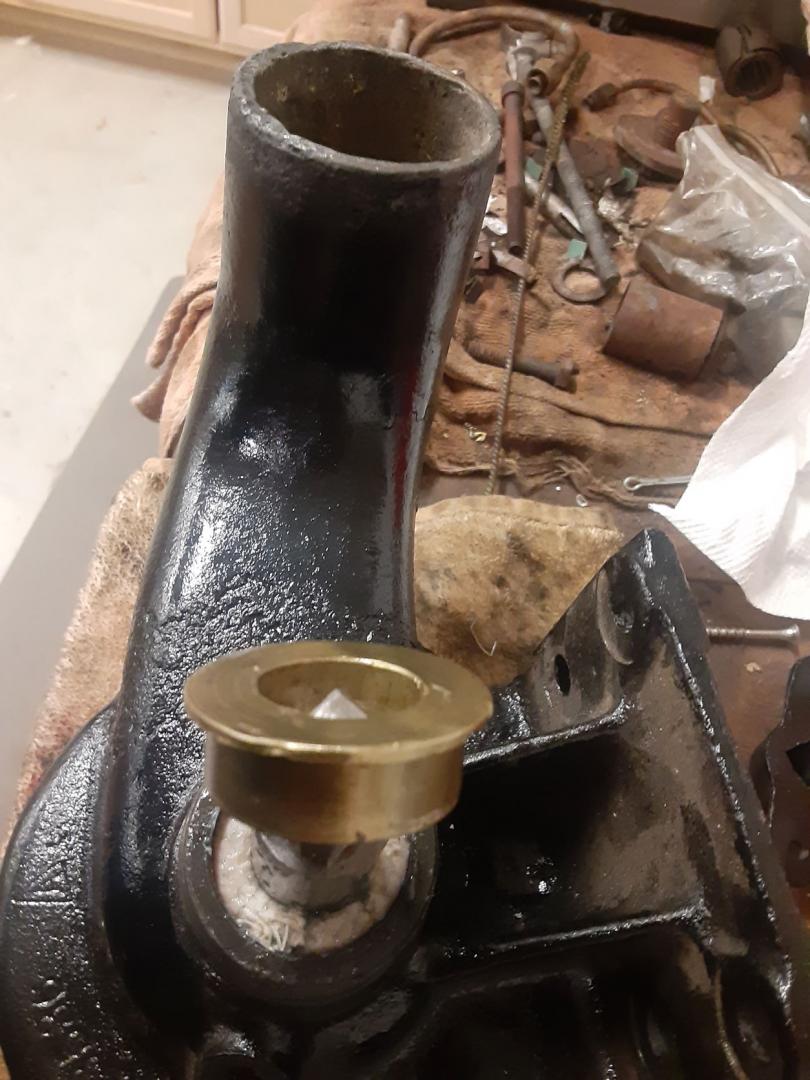
Then screw on the packing nut and tighten enough to get a little compression.
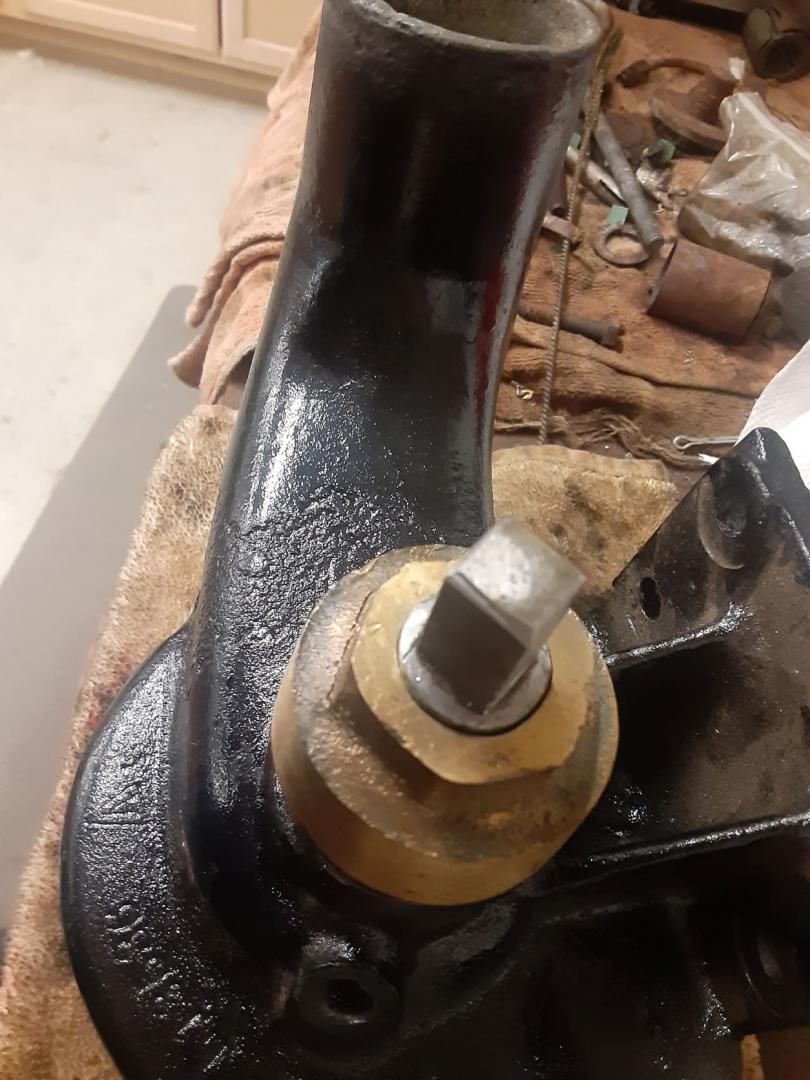
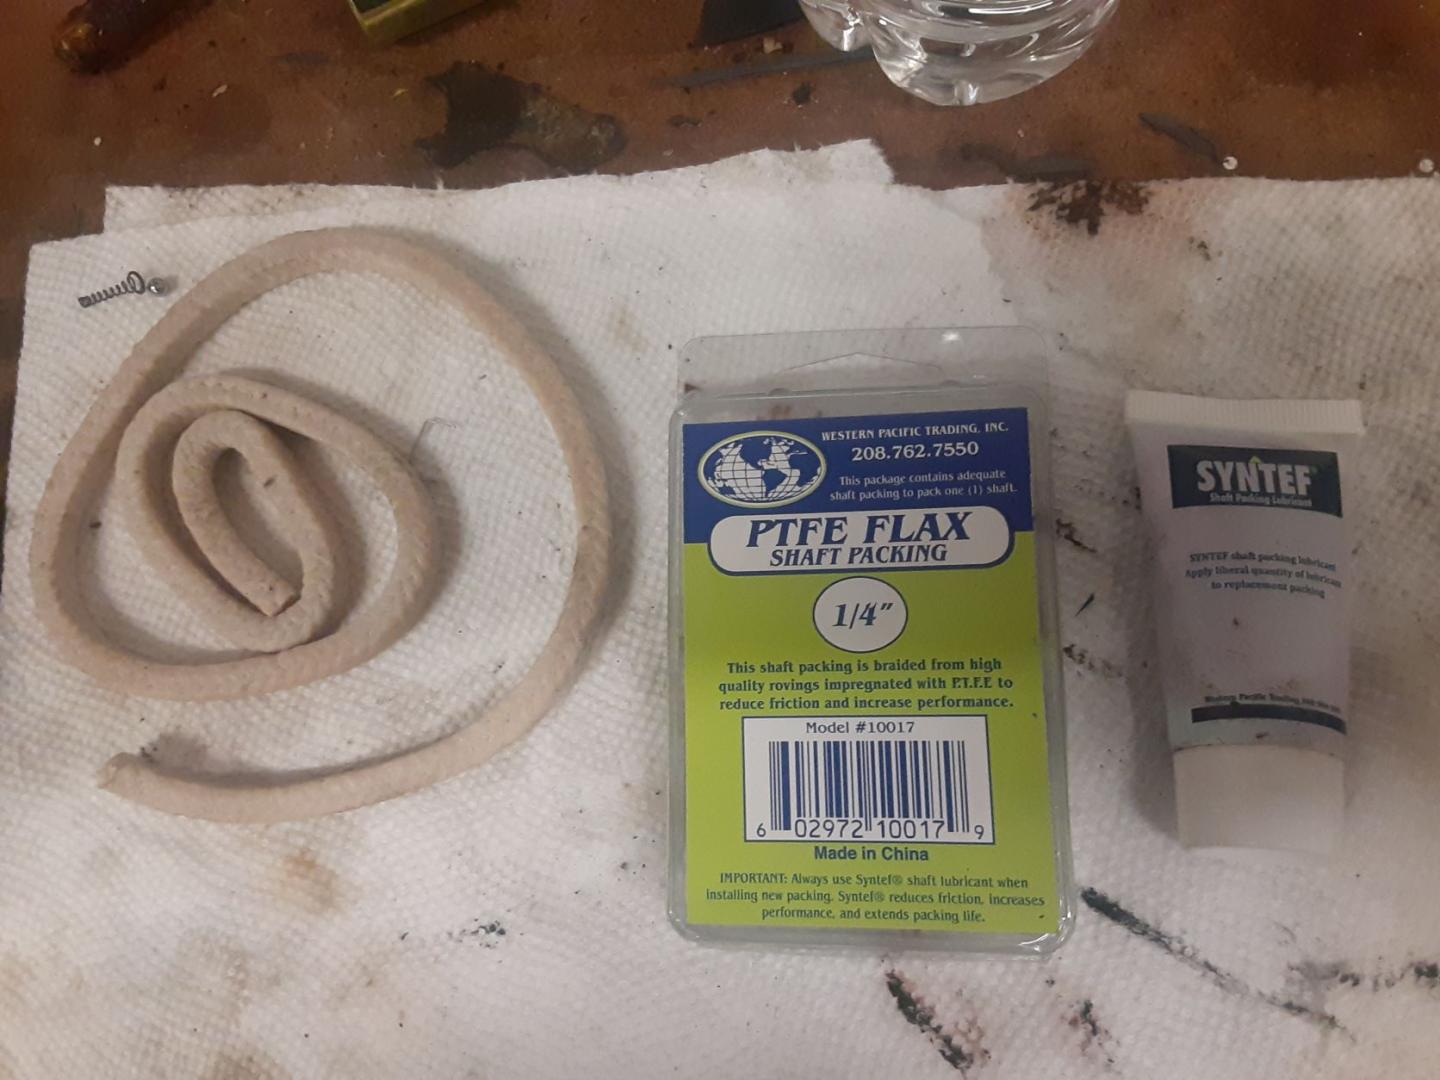
To seal the shaft, I am using marine flax 1/4″ packing. It is PTFE (Polytetrafluoroethylene, say that after 3 martini’s), impregnated.
This is the same stuff I use in the stuffing boxes on the rudder and propshaft of my ’46 mahogany Century runabout. The China thing is unfortunate.
Randy,
That would be a wonderful thing. I will try to stay away from dubious Zerks and women.
Well, fellow PAer’s Herb Tull (technical advice) Bill Witmer, (new shaft and impeller) and all the way from New Zealand, Bruce Skinner, came to the rescue. I got one good shaft and impeller, which I promptly dropped and broke, and a new shaft.
I had was in the process of doing a P******D 12 water pump and compared it to the Pierce. It is made of brass/bronze and was a near perfect match so I installed it on the new shaft.
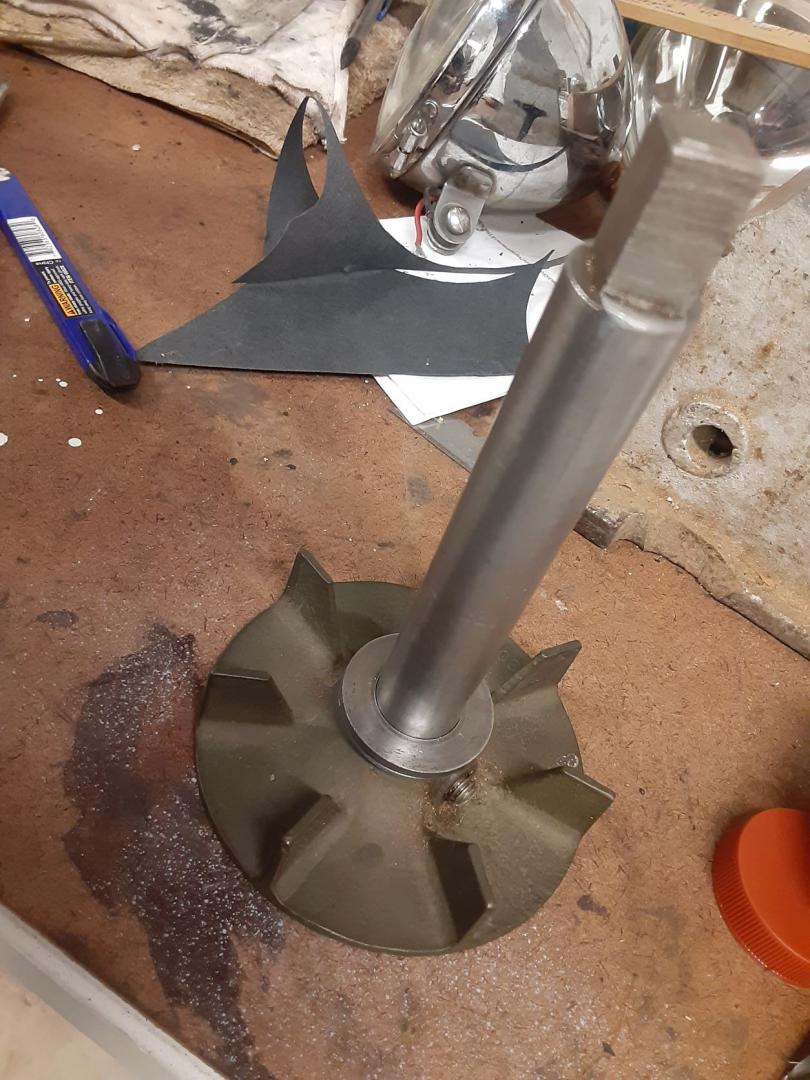
I decided to rebuild it as originally manufactured. I thought about going the modern route, but opted for originality.
I was able to source an oversized bronze flanged sleeve that I was able to machine to fit.
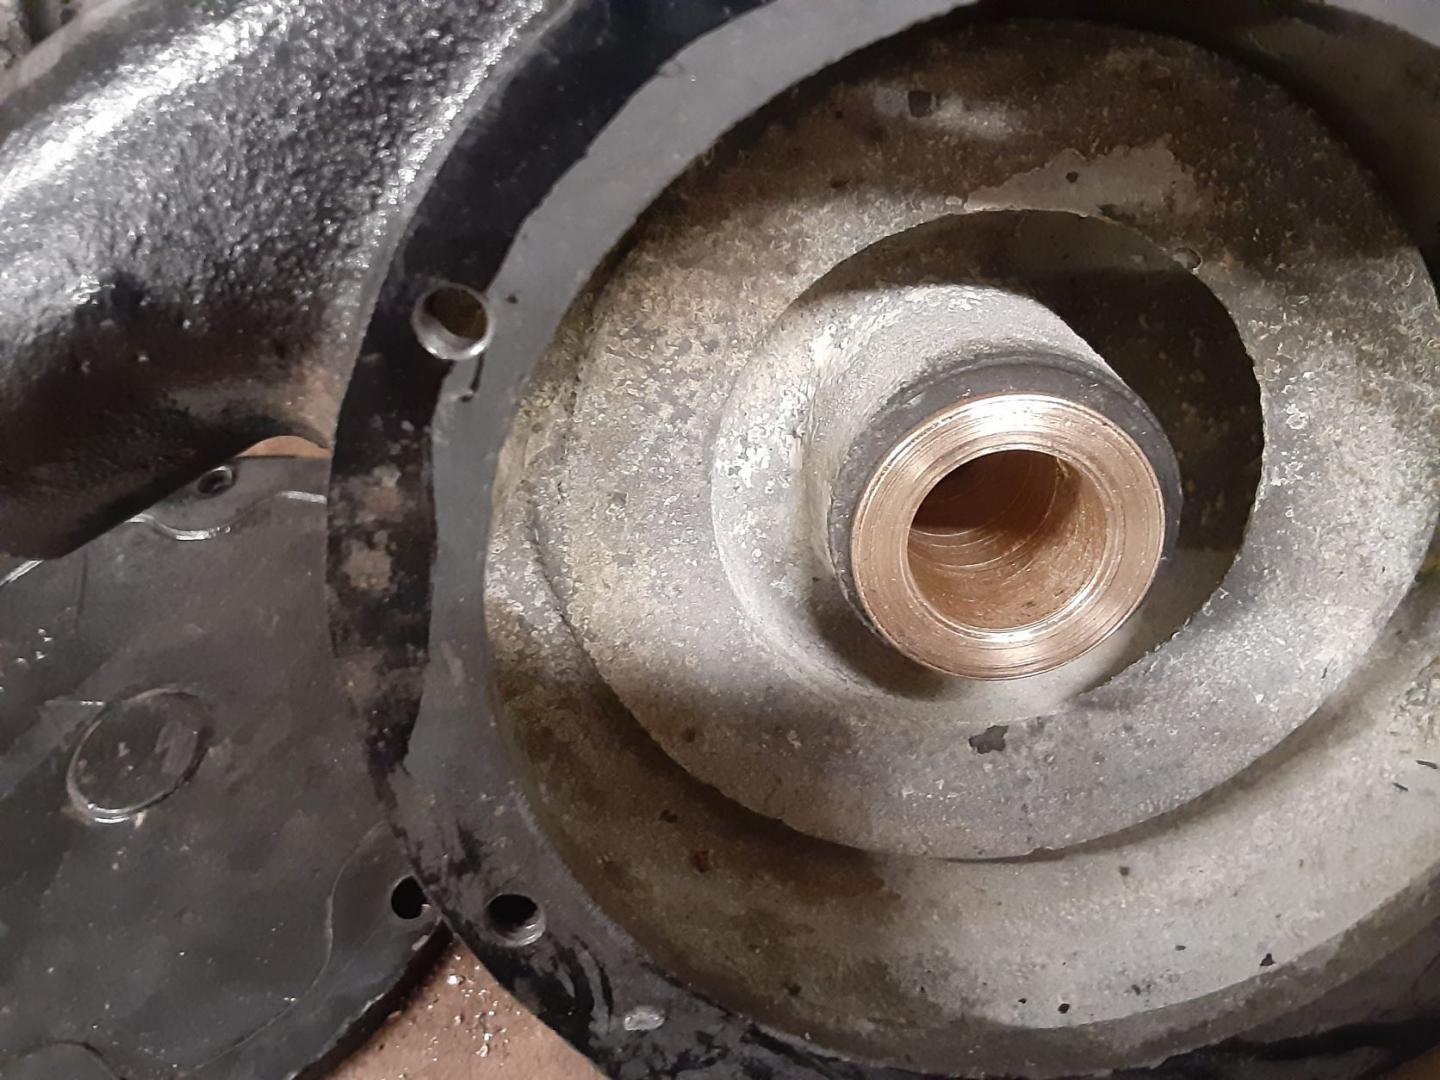
One problem was how to drill the grease hole in the bushing. I didn’t want to just drill through the threaded hole for the grease cup as I was worried about damaging the threads. I looked around and found a break line fitting for the Morgan that threaded into the hole and it served as a pilot to drill the grease hole.
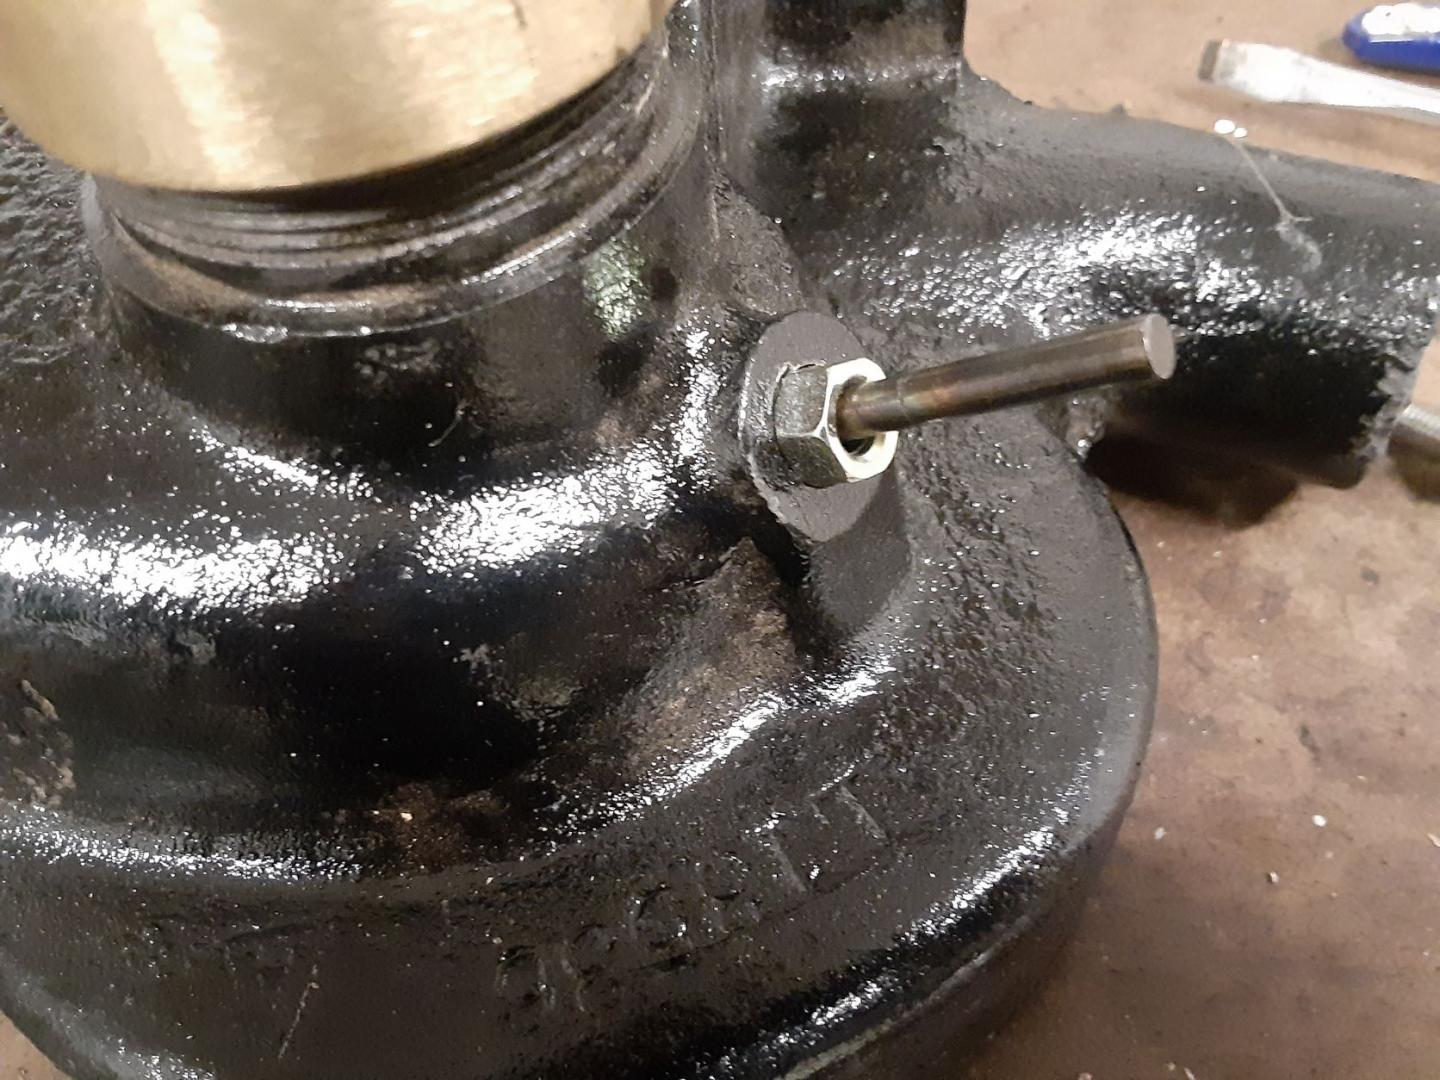
So all that is left is making a gasket, packing the shaft, grease cup with water pump grease and assembly.
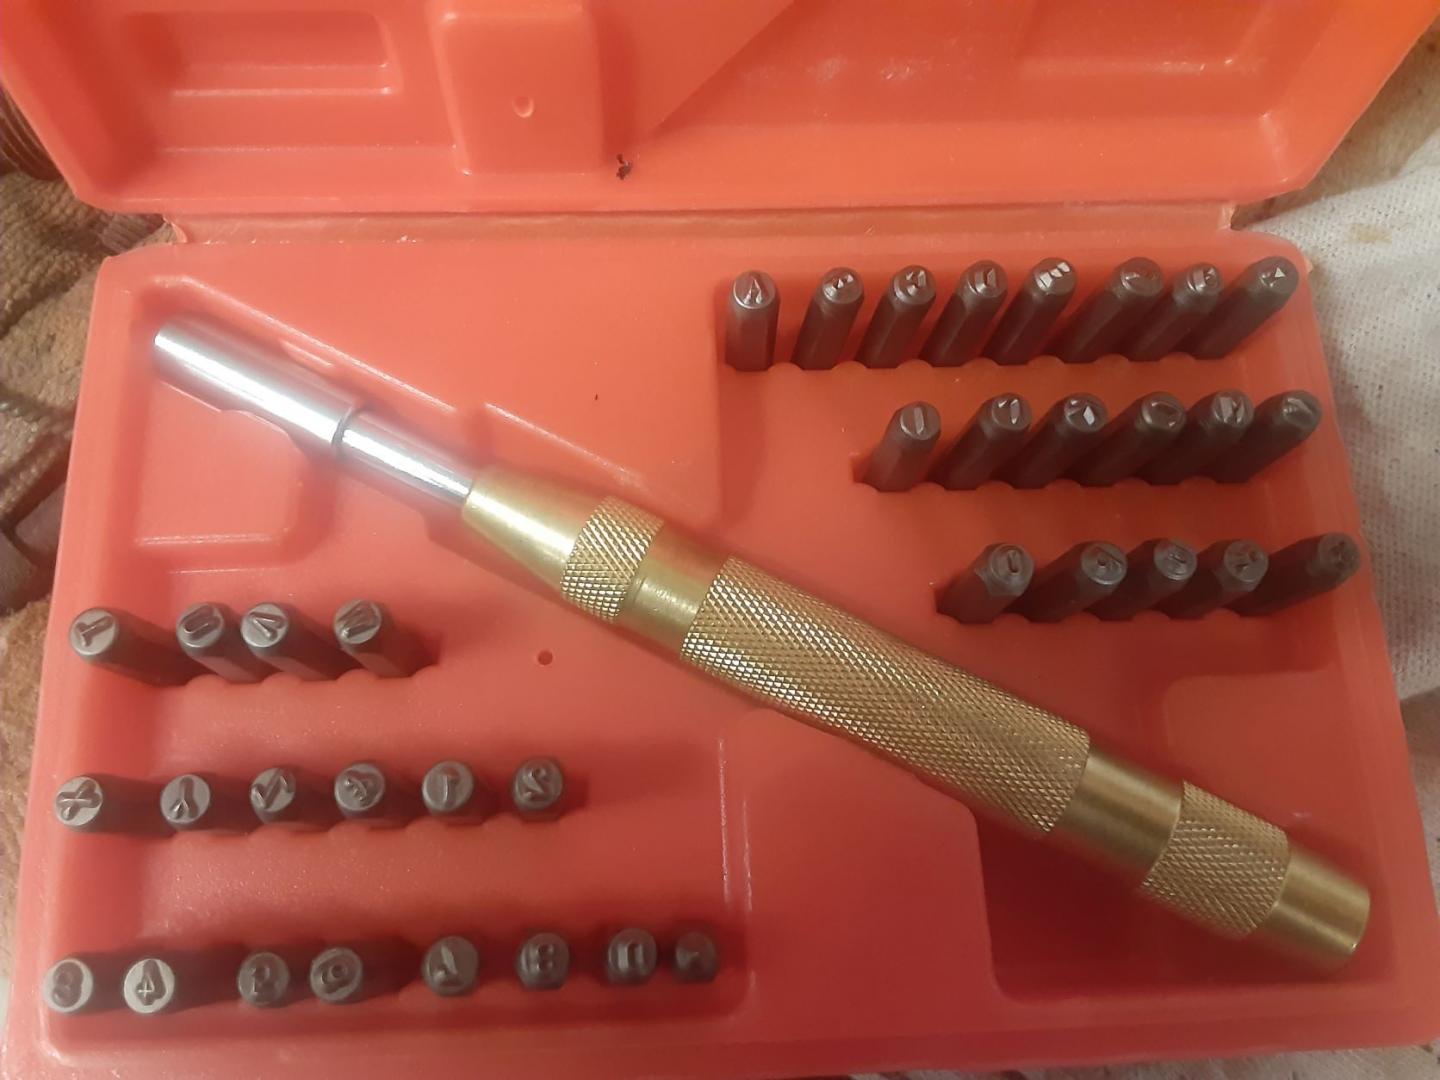
38pc NUMBER AND LETTER STAMPING SET W/ AUTOMATIC PUNCH 1/8″ PUNCH SIZE A-Z 0-8 | eBay
$25.oo
My solution is a tool I found on E-bay. It is spring loaded and operates like a center punch.
The numbers/letters are hex keys that fit into a female hex in the handle.
Just select the font, align the flat edge, position it where you want the font and press down.
There is just the correct amount of force to give a proper indention.
Looks like it is around 28:00
Great color. Love the optional bumper.
